The Ghost in the Glass: Why Your Windows Look Dirty After Cleaning
As a master glazier who has spent twenty-five years staring through everything from simple double-strength float glass to complex low-emissivity (Low-E) coatings, I have seen it all. Homeowners spend thousands on a full replace windows project only to be frustrated six months later when the glass looks hazy. I recall a specific instance where a homeowner in a high-rise called me in a panic because their brand-new windows were perpetually ‘sweating’ and looked filthy no matter how much ammonia they sprayed. I walked in with my hygrometer and found the indoor humidity was at 65 percent. It wasn’t a failure of the glass; it was the physics of the dew point meeting the interior surface of the sash. The residue they were trying to clean off was actually mineral deposits from repeated condensation cycles. This is where the chemistry of cleaning becomes just as vital as the window repair itself.
“Installation is just as critical as the window performance itself. A high-performance window installed poorly will fail to provide the thermal barrier required to prevent surface condensation.” – AAMA Installation Masters Guide
The Molecular Science of Glass Surfaces
To understand why a window cleaner might fail, we have to look at the glass at a microscopic level. While glass feels smooth, it is actually a porous, irregular landscape of silicon dioxide. When you use standard liquid cleaners, the surfactants often get trapped in these microscopic valleys. If you live in a cold climate like Chicago or Minneapolis, the interior temperature of the glass is often significantly lower than the room temperature. This temperature differential influences the viscosity of your cleaning solution. In these Northern environments, U-Factor is king. A window with a poor U-Factor will have a cold interior pane, causing cleaning agents to dry unevenly and leave those infuriating streaks. We focus on U-Factor because it measures the rate of non-solar heat loss. The lower the U-Factor, the better the window stays warm, and ironically, the easier it is to clean without the solution flash-drying into a smear.
Why Cornstarch is the Glazier’s Secret Weapon
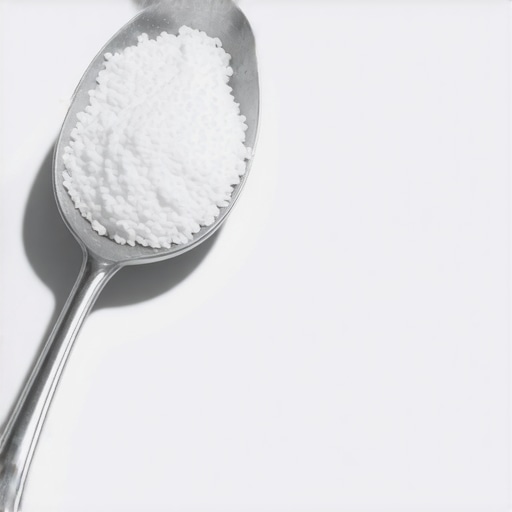
The secret to a streak-free shine isn’t a complex chemical; it’s a simple teaspoon of cornstarch mixed into your cleaning solution. Why? Because cornstarch acts as a microscopic abrasive and a high-capacity desiccant. When you apply a solution containing cornstarch, the starch granules physically lift the lipid-based oils and environmental pollutants that a standard surfactant might just smear across the glazing bead. As you buff the glass, the cornstarch absorbs the excess moisture that would otherwise result in streaks. This is particularly effective on the ‘tin side’ of the glass—the side that was in contact with the molten tin during the Pilkington float process—which can sometimes have a different surface energy than the ‘air side.’ Using cornstarch ensures that you are mechanically removing the film rather than just chemically shifting it.
“The NFRC rating system provides a reliable way to determine if a window’s surface temperature will remain high enough to prevent moisture-related visibility issues.” – NFRC Performance Standards
When Cleaning Cannot Fix the Problem
Sometimes, what looks like a streak is actually a sign that it is time to replace windows or seek professional window repair. If you see ‘blue smoke’ or a rainbow-like oily film between the panes, you are looking at a seal failure. This is often caused by a blocked weep hole in the frame. When water cannot escape the sill pan, it sits against the IGU (Insulated Glass Unit) spacer, eventually breaking down the polyisobutylene seal. Once the argon or krypton gas escapes and moist air enters, you get internal condensation. No amount of cornstarch on the exterior will fix a desiccant that is saturated inside the spacer bar. Furthermore, if you notice the sash is sticking or the muntin bars are misaligned, the structural integrity of the rough opening may be compromised, leading to air leaks that bring in outdoor pollutants directly onto your glass.
The Anatomy of a Professional Clean
To achieve professional results, you must respect the shingle principle of water management. Start from the top and work down. Use a mixture of one gallon of warm water, one cup of white vinegar, and that crucial teaspoon of cornstarch. Avoid working in direct sunlight, especially on South-facing windows with high Solar Heat Gain Coefficients (SHGC). In hot climates, the glass surface can reach temperatures that cause the water to evaporate instantly, leaving the solids behind as streaks. If the glass is too hot, you are fighting a losing battle against physics. Ensure the flashing tape around the frame is intact so you aren’t inadvertently pushing cleaning solution into the wall cavity during your process. Once the glass is clean, inspect the shim spaces and the glazing bead for any signs of cracking or shrinkage, as these are the first lines of defense against the drafts that carry dust back onto your pristine glass surfaces.