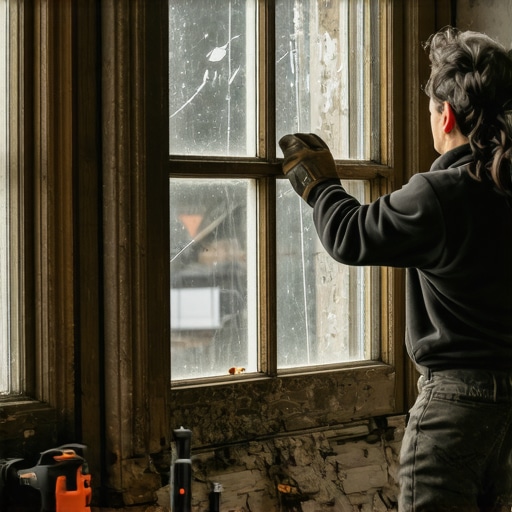
The Reality of Historic Window Repair
In my twenty-five years as a glazier, I have seen every shortcut in the book. I once pulled a double-hung sash out of a 1912 Craftsman home in Milwaukee and the lower rail was a disaster of black rot and crumbling pulp. Why? The previous installer had decided that a tube of cheap silicone was a substitute for traditional glazing putty. They relied on the quick fix instead of understanding how wood and glass interact. This is the hallmark of the ‘caulk and walk’ contractor, a breed that prioritizes speed over the thermal integrity of the home. When we talk about window repair, especially in heritage structures, we are dealing with a delicate balance of moisture management and thermal resistance. A window is a functional void in your thermal envelope: if you do not respect the physics of that void, the house will pay the price.
“Installation is just as critical as the window performance itself. A high-performance window installed poorly will fail.” AAMA Installation Masters Guide
Before you even touch a putty knife, you must understand the climate context of an old wood frame. In northern regions where the winter air is a relentless heat sink, the wood frame acts as a natural thermal break. Wood has a significantly better U-factor than uninsulated aluminum, but only if the glass is seated correctly. When you replace windows or even a single pane, you are addressing the U-factor, which measures the rate of non-solar heat loss. In a cold climate, we want that number as low as possible. The interface between the glass (the lite) and the wood (the sash) is where most DIY repairs fail. If air can migrate through the glazing bed, you have a thermal bridge that will lead to condensation and, eventually, the rot I witnessed in that Milwaukee Craftsman.
The Anatomy of the Sash: Trade Cant and Technical Requirements
To perform a professional-grade window repair, you must speak the language of the assembly. The wood frame contains a Rough Opening where the Sash sits. Within that sash, the glass is held in a Rabbet (a L-shaped groove). The glass is not just held by the putty; it is secured by Glazing Points, which are small metal triangles or clips that provide the mechanical bond. The putty, or glazing compound, provides the weather seal. Do not confuse this with modern Glazing Bead found in vinyl windows: in old wood frames, the putty is both the sealant and the aesthetic finish. When a window cleaner notices a crack, it is often a sign of stress from a sash that has been painted shut or a frame that has shifted, putting pressure on the glass.
Step 1: The Extraction and the Autopsy
Safety is the first priority. Broken glass is a hazard, but the old putty can also contain lead or asbestos depending on the age of the structure. I always use a heavy-duty drop cloth and a HEPA vacuum. Start by removing the sash from the frame if possible. This allows you to work on a flat surface, which is essential for a precise Glazing Bead. Use a heat gun to soften the old, rock-hard putty, but be careful not to scorch the wood or crack the surrounding glass. As you scrape away the old compound, you are performing an autopsy. Is the wood underneath gray and weathered? Is it soft? If the wood is compromised, you must treat it with an epoxy consolidant or a wood hardener before proceeding. A common failure point is the Sill Pan or the lack thereof: if water has been migrating behind the putty for years, the bottom rail of the sash will be the first to go.
Step 2: Preparing the Rabbet
Once the glass is out and the wood is clean, you cannot simply slap new putty in. The dry wood will suck the linseed oil right out of the glazing compound, causing it to shrink and crack prematurely. You must prime the wood. I use a high-quality oil-based primer or a coat of boiled linseed oil. This seals the wood pores and ensures the putty stays flexible for its intended lifespan. This is the difference between a repair that lasts five years and one that lasts fifty. We are managing the dew point: if the seal is not airtight, warm interior air will hit the cold glass and condense in the rabbet, leading to invisible rot.
“Air leakage can account for up to 40 percent of the energy used to heat or cool a home. Proper sealing of the fenestration interface is paramount.” NFRC Performance Standards
Step 3: Setting the New Lite
In a cold northern climate, you might be tempted to try and squeeze a double-pane unit into an old sash. Don’t. The sash was not designed for that weight or thickness. If you want better performance, use a slightly thicker single-pane glass or a specialty ‘restoration’ glass that mimics the waves and seeds of historic glazing. Apply a thin ‘bedding’ layer of putty into the rabbet first. This is a step many skip, but it is vital. The glass must float on a layer of compound so there is no glass-to-wood contact. Press the new lite firmly into the bedding putty until it is seated. You should see a small amount of putty squeeze out on the other side. This is your weather seal.
Step 4: Mechanical Fastening with Glazing Points
Now, drive your glazing points. For a standard-sized pane, two per side is usually sufficient. These should be driven flat against the glass, pushing it into the bedding putty. They are the structural insurance. Without them, the putty alone would eventually fail under the constant expansion and contraction of the wood frame. In our industry, we call this managing the ‘dynamic load’ of the window. Even if the window is not Operable, it still moves with the temperature shifts of the seasons.
Step 5: The Final Putty Bevel
This is where the artistry happens. Take a golf-ball-sized piece of glazing compound and roll it into a ‘snake.’ Press it into the rabbet over the glazing points. Using a stiff-bladed putty knife, draw it along the sash in one smooth motion to create a 45-degree bevel. This bevel must be crisp and consistent. It should stop just shy of the sightline of the sash on the other side. If you see the putty from the inside of the house, your bevel is too wide. This slope is designed to shed water away from the glass and onto the wood, where it can run down to the Weep Hole or the sill. After the putty has ‘skinned over’ (usually 7 to 14 days), it must be painted. The paint should lap slightly onto the glass (about 1/16th of an inch) to create a definitive moisture seal.
Thermal Dynamics and the ROI Myth
Homeowners are often bombarded by high-pressure sales pitches to replace windows entirely with triple-pane units. While triple-pane glass with Argon or Krypton fill has its place in extreme environments, the ROI for replacing a well-maintained wood window is often measured in decades, not years. By performing a proper repair and adding a high-quality storm window, you can achieve a U-factor that rivals modern replacements at a fraction of the cost. The wood sash itself is a great insulator: the weakness is usually in the air infiltration around the Muntins and the perimeter. My job is to fix the science of the hole in your wall, not just sell you more plastic. Focus on the integrity of the seal and the maintenance of the wood, and your historic windows will outlast any modern vinyl unit on the market.