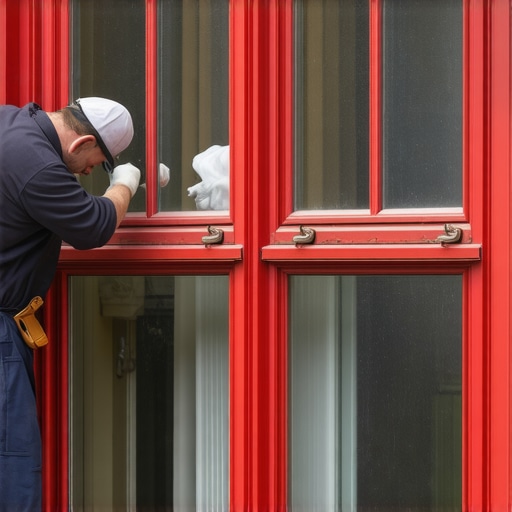
The Anatomy of a Rattling Relic
Every time the wind picks up, you hear it—that rhythmic rattling of the meeting rail against the upper sash. It is the sound of thermal failure, but for a Master Glazier, it is also a signal of structural potential. Victorian sash windows were never intended to be airtight boxes; they were designed as breathable, operable components of a home’s ventilation system. However, a century of paint-clogged pulleys and neglected glazing beads has turned many into drafty liabilities. Before you even think about the phrase replace windows, you must understand the physics of what you currently own. Original Victorian windows were crafted from old-growth timber, a material so dense and resinous that it puts modern finger-jointed pine to shame. When a homeowner asks me if they should rip these out for vinyl, I tell them they are trading a 100-year asset for a 15-year plastic disposable. Restoration isn’t just about aesthetics; it’s about restoring the thermal boundary and mechanical integrity of the Rough Opening.
The Installation Autopsy: A Lesson in Neglect
I recently pulled a lower sash out of a 19th-century townhouse in a damp, northern climate. The homeowner complained of a permanent chill, blaming the single-pane glass. As I stripped the parting bead, I found the real culprit: the Sill Pan area was a disaster of previous ‘quick-fix’ interventions. A previous contractor had used standard caulk to bridge a gap where a proper Shim and Flashing Tape should have been. The header was black with rot because the moisture had no Weep Hole to escape. This is the reality of the ‘caulk-and-walk’ installer. They see a gap and fill it with silicone, trapped moisture, and a prayer. Real window repair requires looking at the shingle principle: water must always have a downward, unobstructed path to the exterior. In this case, the rot had traveled from the Sash tenon into the weight pocket, effectively turning the window’s counterweight system into a damp, moldy cavern.
“Installation is just as critical as the window performance itself. A high-performance window installed poorly will fail.” – AAMA Installation Masters Guide
The Science of the Sash: Wood, Glass, and Air
To restore a Victorian window, we must address the three pillars of fenestration: mechanical movement, glass performance, and air infiltration. Most ‘drafts’ aren’t actually air moving through the glass; they are air moving around the Sash. The Muntin bars, those delicate wooden grids holding the panes, often develop hairline fractures in the Glazing Bead (the putty line). When that putty dries and shrinks, it creates a capillary path for water. I don’t use hardware store glazing compound; I use high-modulus hybrid polymer sealants or traditional linseed oil putty blended with whiting for a specific shore-D hardness. This ensures the glass stays bedded even as the wood expands and contracts with the seasons. We are managing the Dew Point within the weight pocket. If the interior air (loaded with humidity from cooking and breathing) hits the cold pocket, you get condensation. This is why proper weatherstripping—specifically hidden brush piles routed into the meeting rails—is the only way to modernize these units without ruining the profile.
Thermal Logic in Cold Climates
In northern regions, the U-Factor is our primary metric. A single pane of 4mm float glass has a U-Factor that makes a thermal engineer cringe. However, the solution isn’t always a double-glazed unit that requires thickening the Sash and ruining the historic proportions. Instead, we focus on the ‘Surface #3’ logic. By installing a high-performance, low-E storm window on the exterior, we create a dead-air space that rivals a modern IGU (Insulated Glass Unit). The window cleaner will tell you that original cylinder glass has a ‘wavy’ character that defines the house’s soul. You don’t want to lose that. By restoring the Operable nature of the windows, we also allow for natural stack-effect ventilation in the summer, reducing the load on HVAC systems. We aren’t just doing a window repair; we are recalibrating the home’s lungs.
“The interface between the window frame and the rough opening is the most common point of moisture intrusion.” – ASTM E2112 Standard Practice
The Restoration Protocol: Step by Step
Step one is always the removal of the staff bead and the parting bead to release the sashes. This is where we inspect the pulleys. If they are cast iron and rusted, they need a solvent bath and a high-viscosity dry lubricant. Graphite is better than oil here; oil attracts the dust that a window cleaner hates. Next, we address the cords. Modern sash cord with a nylon core is preferred to prevent stretching, which ensures the weights don’t bottom out in the pocket. When we get to the wood, we use liquid epoxy consolidants for any soft spots in the Sash stiles. This is a molecular bond, far superior to wood filler. Finally, we install the weatherstripping. We router a 3mm groove into the top rail, the meeting rail, and the bottom rail. We insert a polypropylene brush pile that compresses against the frame, effectively killing 95% of air infiltration while still allowing the window to glide. This is the difference between a window that ‘looks’ old and one that ‘performs’ new. Don’t listen to the salesman trying to sell you plastic inserts; they are looking for a quick commission. A restored Victorian window, properly flashed and stripped, will outlast any modern replacement while maintaining the architectural integrity that actually adds value to your property.