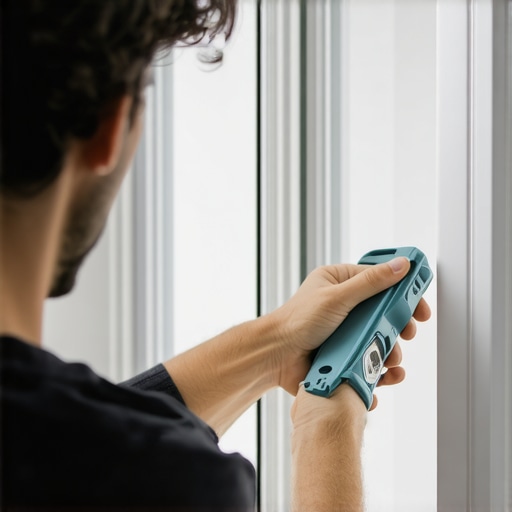
Most homeowners and low-bid contractors view a tube of caulk as a magical eraser for poor craftsmanship. They believe a thick bead of white goo can mask a sloppy rough opening or a misaligned window frame. As a master glazier with a quarter-century in the field, I can tell you that this mindset is exactly why I spend half my year on window repair calls. If you treat caulking as an afterthought, you are essentially inviting moisture to rot your headers and ice to expand in your wall cavities. We aren’t just ‘sealing a crack’; we are engineering a weather-tight thermal envelope that must withstand wind-driven rain and extreme thermal cycling.
The Rot Repair: A Cautionary Tale
A few years ago, I was called to a property where the homeowner complained of a ‘musty smell’ near a beautiful bank of casement windows. To the untrained eye, the installation looked fine. But when I pressed my moisture meter against the drywall, the needle pinned to the red. I pulled the exterior trim and found a horror show. The previous installer had relied entirely on a massive bead of cheap latex caulk to bridge a half-inch gap between the window fin and the house wrap. Because he didn’t use proper flashing tape or a backer rod, the sealant eventually experienced adhesive failure as the house settled. Water had been wicking behind that bead for three seasons. I ended up having to replace windows that were less than five years old, along with two rotted king studs and a header. This is the price of ‘caulk-and-walk’ installations. If you don’t manage the transition between the window and the wall with technical precision, you aren’t a glazier; you’re a handyman with a ticking time bomb.
“Installation is just as critical as the window performance itself. A high-performance window installed poorly will fail.” AAMA Installation Masters Guide
The Science of Thermal Expansion and Sealant Selection
Before you even touch a caulking gun, you must understand the physics of what you are trying to accomplish. Windows are dynamic. In a cold climate like Chicago or Minneapolis, a vinyl window frame will expand and contract significantly more than the surrounding wood or masonry. This is known as the coefficient of linear thermal expansion. If you apply a rigid, high-modulus sealant to a substrate that is constantly moving, the bond will snap. This is why we never use cheap ‘painter’s caulk’ for exterior window seals. You need a high-performance silicone or a hybrid polymer that offers at least 50% movement capability. Silicone is preferred for its UV resistance and its ability to remain flexible at sub-zero temperatures, which is vital for maintaining a low U-Factor. In northern climates, the goal is to prevent warm, moist indoor air from escaping and hitting the cold exterior sheathing, where it would condense and cause structural rot. Your sealant is the primary guard against this air infiltration.
Preparation: The Step Everyone Skips
You cannot achieve professional results on a dirty substrate. I don’t care how expensive your sealant is; if there is dust, old oil-based residue, or bits of the previous window cleaner’s wax on the frame, the bond will fail. I start by mechanically removing every trace of the old material with a sharp pull-scraper or a multi-tool. Then, I use a stiff nylon brush to clear the debris. The final step is a two-rag wipe with isopropyl alcohol. One rag applies the solvent to break down surface tension, and the second clean rag wipes it away before it evaporates. This creates a high-energy surface that allows the sealant to wet-out and bond at a molecular level.
The Critical Role of the Backer Rod
One of the biggest mistakes I see is ‘two-sided adhesion.’ When you pump caulk into a deep gap, it sticks to the back of the gap as well as the two sides. When the window frame moves, the caulk is pulled in three different directions, causing it to tear down the middle. This is called cohesive failure. To prevent this, we use a closed-cell backer rod. This foam rope is stuffed into the gap to create a specific depth-to-width ratio (usually 1:2). It acts as a bond-breaker, ensuring the sealant only adheres to the sides of the joint. This allows the bead to stretch like a rubber band as the window shifts. Without a backer rod, your window repair will be a recurring annual event.
Execution: Tooling Like a Master
A professional bead is not ‘smeared’ with a spit-covered finger. Saliva contains bacteria that can lead to mold growth behind the sealant, and the enzymes in your spit can actually break down the chemical composition of some high-end silicones. We use professional spatulas and a tooling lubricant. When applying the bead, you should push the sealant into the joint rather than pulling the gun away from it. This ensures the material is forced into the pores of the substrate. Once the bead is laid, use a stainless steel tool to profile the joint. The goal is a concave ‘hour-glass’ shape that maximizes the bond area while maintaining a flexible center. [IMAGE_PLACEHOLDER]
“Sealants shall be installed in a manner that provides a continuous air and water barrier between the window frame and the rough opening, accounting for expected joint movement.” ASTM E2112 Standard Practice
The Weep Hole Rule: Where Not to Caulk
The most dangerous thing you can do with a caulking gun is seal the weep holes. Most modern windows are designed as a ‘rainscreen’ system. They expect some water to get past the initial glazing bead or the sash tracks. That water is collected in the sill pan and directed out through weep holes at the bottom of the frame. I have seen countless ‘pros’ caulk the entire perimeter of a window, including the bottom edge, effectively trapping water inside the wall. If that water can’t escape, it will find its way into your subfloor. Always leave the bottom edge or the specific weep channels clear to allow for proper drainage.
Maintenance and the Role of the Window Cleaner
Regular maintenance is the only way to avoid a full-scale project to replace windows. I always tell my clients to pay attention when they hire a window cleaner. A professional cleaner will notice when a bead of caulk has started to pull away or if the glazing bead is cracked. These are the early warning signs of envelope failure. If you catch a sealant failure early, a simple window repair (removing the failed section and re-caulking) can save you fifteen thousand dollars in structural repairs down the road.
Conclusion: Don’t Buy the Hype, Buy the Process
There is no such thing as a ‘permanent’ caulk. Environmental factors, UV degradation, and structural settling will eventually take their toll. However, by selecting the right chemistry, respecting the physics of expansion, and following a rigorous preparation protocol, you can create a seal that lasts decades rather than seasons. Don’t let a salesman tell you that their windows are ‘maintenance-free.’ Everything on the exterior of a home requires an expert eye. If you want to caulk like a professional, stop looking at it as a cosmetic fix and start looking at it as a critical piece of structural engineering.