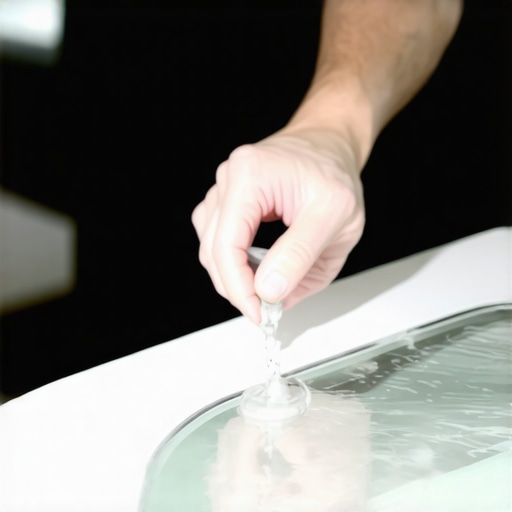
The Professional Glazier Guide to Pristine Glass Restoration
In my twenty-five years of handling everything from high-rise curtain walls to delicate historic wood sash restorations, I have seen homeowners commit absolute atrocities against their glass. Most people see a window as a simple transparent plane, but as a master glazier, I see it as a precision-engineered substrate with specific surface tensions and often, delicate metallic coatings. When you decide to remove an old decal, a holiday sticker, or a commercial sign, you are not just peeling plastic. You are engaging in a chemical and mechanical battle with aged polymers that have likely cross-linked with the glass surface due to years of ultraviolet radiation exposure. If you approach this with a ‘caulk-and-walk’ attitude, you will end up with permanent scratches or a hazy ghost image that no amount of standard window cleaner can touch.
The Condensation Crisis: A Lesson in Surface Integrity
A homeowner once called me in a panic because their new windows were ‘sweating’ only in specific rectangular patterns. I walked in with my hygrometer and found the interior humidity was hovering at 65 percent, but the real culprit was the residue left behind from the manufacturer labels. The previous installer had ripped the stickers off and used a harsh, abrasive scrub pad to remove the glue. This micro-abraded the surface, changing the nucleation points for water vapor. I had to explain that it wasn’t the windows failing; it was a fundamental misunderstanding of how glass surfaces interact with the environment. They didn’t need to replace windows; they needed a technical lesson in surface chemistry. This experience highlights why understanding the molecular bond of adhesives is critical for any window repair professional or meticulous homeowner.
“Installation and maintenance are just as critical as the window performance itself. A high-performance window that is chemically or mechanically compromised during cleaning will not meet its designed lifespan.” – AAMA Installation Masters Guide
The Science of Adhesion and Thermal Stress
Before you reach for a razor blade, you must understand what you are working with. In northern climates like Chicago or Minneapolis, glass undergoes significant thermal cycling. Adhesives become brittle in the winter and bake into the pores of the glass in the summer. Glass might look smooth, but at a microscopic level, it has peaks and valleys. Over time, the adhesive in a decal flows into these microscopic valleys. If you try to pull it off cold, you risk ‘plucking’ or creating microscopic fissures, especially on the tin side of float glass. This is why temperature control is your first tool. Using a heat gun is effective, but you must be wary of thermal shock. If you heat a small area of a cold window sash too rapidly, the localized expansion can lead to a stress crack that radiates from the rough opening faster than you can blink.
The Multi-Stage Removal Protocol
To achieve a residue-free finish, you must follow a protocol that respects the glazing bead and the structural integrity of the unit. First, we apply localized heat to soften the polymer chains of the adhesive. We are looking for a temperature that makes the decal pliable but does not melt it into a gooey mess. Once softened, the mechanical removal begins. I always advocate for a new, surgical-grade stainless steel blade, but only on non-coated surfaces. If you have a Low-E coating on surface #4 (the interior surface), a metal blade is forbidden. You will strip the microscopic layers of silver or tin oxide right off the glass, necessitating a full glass replacement.
“The integrity of the glass surface must be maintained to ensure the emissivity ratings and solar heat gain coefficients remain within the specified tolerances for the building envelope.” – NFRC Technical Bulletin
Second, we address the ‘ghosting’ or residual tack. This is where most people fail. They use a standard window cleaner which is mostly water and ammonia. Ammonia is a weak solvent for cross-linked adhesives. Instead, we use a citrus-based solvent or a high-purity isopropyl alcohol. The goal is to swell the adhesive residue without affecting the shim materials or the flashing tape surrounding the frame. You want to use a microfiber cloth to lift the dissolved adhesive away rather than smearing it back into the glass pores.
Understanding Your Glass Type
Before starting any window repair, identify if your glass is tempered, annealed, or laminated. Tempered glass is prone to ‘fabrication debris’ scratches. During the tempering process, microscopic glass fines can fuse to the surface. If you slide a razor blade across these, you will drag them, creating ‘scratches’ that look like spider webs. For tempered glass, chemical removal is the only safe path. If you are working on a sash that is part of a high-performance system, check the NFRC label for the U-Factor. High-performance glass in cold climates often has coatings that are extremely sensitive to pH changes. Using the wrong solvent can cause ‘edge deletion’ effects where the coating begins to oxidize near the glazing bead.
The Professional Finisher’s Secret
After the adhesive is gone, the glass is technically ‘naked.’ It lacks the natural oils and dust-repelling properties of a seasoned window. I finish the job by neutralizing the solvent with a deionized water rinse and then applying a hydrophobic coating. This fills those microscopic valleys I mentioned earlier, making it much harder for future decals or environmental pollutants to bond. This is the difference between a simple cleaning and a professional glazing restoration. We don’t just remove the eyesore; we restore the surface energy of the glass to its factory-intended state. Remember, whether you are trying to replace windows or simply maintain them, the glass is the most visible part of your home’s thermal envelope. Treat it with the technical respect it deserves, and avoid the ‘Tin Man’ shortcuts that lead to permanent damage.