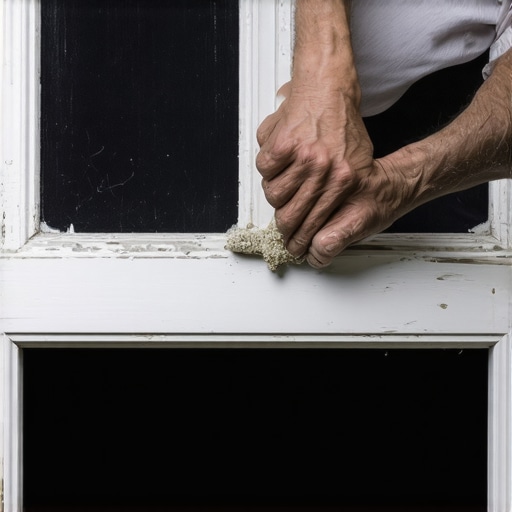
A window is not a static object. It is a dynamic thermal valve that manages the constant struggle between your indoor climate and the chaotic exterior environment. When I walk onto a job site and see a contractor using a power sander at high speed on a 100 year old Douglas Fir sash, I see a professional who does not understand the material science of wood or the physics of fenestration. Proper window repair starts with understanding that the sash is the heart of the unit. If you fail to prepare the surface correctly during the restoration process, you are essentially inviting moisture to sit against the wood grain, which leads to the inevitable rot that forces a homeowner to replace windows prematurely.
The Restoration Autopsy: Why Most Repairs Fail
I once pulled a wood sash out of a historic home in a coastal region where the bottom rail was completely soft. The homeowner thought they needed a simple window cleaner to get rid of the ‘haze’ on the wood. I had to show them that the previous installer had sanded the wood so aggressively that they rounded off the glazing bead profile. This created a microscopic valley where water could pool against the glass. Because the capillary action was never broken, water was wicked into the end grain of the stiles. That is the cost of poor technique. You aren’t just making it look pretty; you are managing a water shed system. The sash must maintain its geometric integrity to interface correctly with the rough opening and the weatherstripping. If you sand away the crisp edges of your muntins, you lose the ability to create a proper seal with the glazing putty.
“Installation is just as critical as the window performance itself. A high-performance window installed poorly will fail.” <cite>AAMA Installation Masters Guide</cite>
The Physics of the North: Why Surface Preparation Matters
In colder climates, the window faces a brutal temperature differential. Inside, you have a warm, humid environment; outside, the air is dry and freezing. This creates a pressure gradient. If your sash frames are not properly sanded and sealed, the wood will absorb interior moisture. When that moisture reaches the cold exterior face of the wood, it can hit the dew point and condense inside the cellular structure of the timber. This is why we focus on ‘Glazing Zooming’ the sanding process. We aren’t just removing old paint; we are creating a specific anchor pattern for the primer to bond to. This bond is the only thing preventing the wood from behaving like a sponge. In Minneapolis or Chicago, a poorly prepared sash will show paint failure within two seasons because the moisture is pushing the coating off from the inside out.
The Step by Step Professional Sanding Protocol
Before any abrasive touches the wood, you must address the lead paint issue. This is not a suggestion. For windows built before 1978, the paint is a hazardous material. I use a HEPA vacuum shroud on all mechanical sanders and often prefer wet sanding or chemical stripping to keep dust at zero. Once the sash is stripped, we begin the grit sequence.
First, we analyze the wood species. Old growth heartwood is incredibly dense. We start with a 60 grit paper to level the surface and remove any ‘grayed’ wood fibers that have been damaged by UV radiation. UV light breaks down lignin, and paint will not stick to dead wood. You must sand until you see the bright, natural color of the timber. We then move to 80 grit to remove the scratches from the 60. Finally, we finish with 100 or 120 grit. Do not go higher than 120 on exterior wood. If you sand the wood to a furniture grade 220 grit, you effectively burnish the fibers, closing the pores and preventing the primer from penetrating the surface. We need that mechanical bite.
“The air barrier and water resistive barrier must be continuous to ensure the long term durability of the fenestration assembly.” <cite>ASTM E2112 Standard Practice</cite>
When sanding the muntins (the small bars separating the glass panes), precision is everything. I use a custom shaped sanding block to maintain the profile. If you round these over, the glazing bead or putty will not sit flush, and you will have a leak. Use a carbide scraper for the tight corners where a sander cannot reach. Once the sanding is complete, every surface must be vacuumed and wiped with a tack cloth. Any leftover dust acts as a bond breaker. This is the difference between a window repair that lasts five years and one that lasts fifty.
Thermal Dynamics and the Choice to Replace
While I love a good restoration, there comes a point where the math no longer works. If the sash is so thin from years of aggressive sanding that it can no longer hold the weight of the glass, it is time to replace windows. Modern replacements offer a U-Factor that old single pane sashes can never match. In a northern climate, we are looking for a low U-Factor (below 0.30) and a warm-edge spacer. The spacer is the piece that separates the two panes of glass in an Insulated Glass Unit (IGU). Old metal spacers conduct cold right to the edge of the glass, which is why you see condensation and ice on the bottom of old windows. By upgrading to a fiberglass or thermally broken frame, you move the dew point away from the interior surface.
The Maintenance Loop: Window Cleaner and Longevity
Once the sash is sanded, primed, and painted with a high quality alkyd or acrylic coating, the job isn’t over. I tell my clients that their choice of window cleaner matters. Avoid anything with high ammonia content on the wood frames, as it can soften the paint film over time. A simple solution of mild dish soap and water is all that is needed to keep the glass clear and the frames clean. Check the weep holes in your storms or the exterior sill annually. If these are blocked by debris or paint, water will back up and rot the beautiful sanding work you just completed. Proper window maintenance is a holistic system that involves the glass, the wood, and the drainage path.