The Thermal Reality of Single Pane Glass
If you are sitting in a room with single-pane glass during a polar vortex, you are not just experiencing a draft. You are witnessing a direct violation of your home’s thermal envelope. In my twenty-five years as a glazier, I have seen every possible failure of the window system, but the single-pane sash remains the most persistent thermal sieve in the modern residential landscape. A single sheet of glass offers nearly zero resistance to heat transfer. We measure this through the U-Factor, which is the rate of non-solar heat flow. While a high-performance triple-pane window might have a U-Factor of 0.15, your old single-pane units are likely hovering around 1.0. This means heat is radiating out of your living space almost as fast as your furnace can generate it.
“Installation is just as critical as the window performance itself. A high-performance window installed poorly will fail.” AAMA Installation Masters Guide
The Condensation Crisis: A Reality Check
I recall a homeowner who called me in a panic because their windows were literally raining inside. I walked into the property with my hygrometer and showed them the relative humidity was nearing 65 percent. It was not a window failure in the traditional sense; it was a physics problem. The single-pane glass was so cold that the interior moisture reached its dew point the moment it touched the surface. You cannot simply use a window cleaner to wipe away a humidity problem. You must address the thermal bridge. When we talk about window repair on a budget, we are looking for ways to create an insulating air gap where none exists. The goal is to move that dew point away from the interior glass surface.
The Anatomy of a Leak: Where the Cold Gets In
To winterize effectively, you must understand the difference between the Rough Opening and the Sash. Most people think the cold comes through the glass, and while radiant heat loss is significant, air infiltration is often the bigger culprit. Air moves through the gaps between the sash and the frame, or worse, through the weight pockets in old double-hung windows. If you can feel a breeze, your weatherstripping has failed. We look at the Glazing Bead or the putty holding the glass in place. If that putty is cracked or missing, air is bypassing the glass entirely. Before you spend a dime on plastic film, you need to ensure the structural integrity of the seal is intact.
Step 1: The Sealant Audit
Start by inspecting the exterior perimeter. You are looking for gaps where the window frame meets the siding. This is where Flashing Tape and proper Shim placement become vital in a professional installation, but for a budget winterization, we focus on high-quality silicone or polymer sealants. Do not be a “caulk-and-walk” amateur. Clean the joint thoroughly before applying new material. If the gap is wider than a quarter-inch, use a foam backer rod. This provides a three-point bond break and ensures the sealant can expand and contract with the temperature swings of the season.
Step 2: Managing the Sash and Glazing
If the glass is rattling, your glazing putty is dead. You can perform a basic window repair by scraping out the brittle linseed-oil-based putty and applying a modern glazing compound. This stops the air from whistling through the Muntin bars. Once the glass is secure, address the weatherstripping. For budget-conscious homeowners, V-seal or adhesive-backed EPDM rubber strips can be applied to the sash tracks. This creates a compression seal that stops the chimney effect from drawing cold air in through the Sill Pan area.
“The air leakage rating of a window is a critical component of its overall energy footprint, often overlooked in favor of the U-Factor alone.” NFRC Performance Standards
The Physics of the Interior Barrier
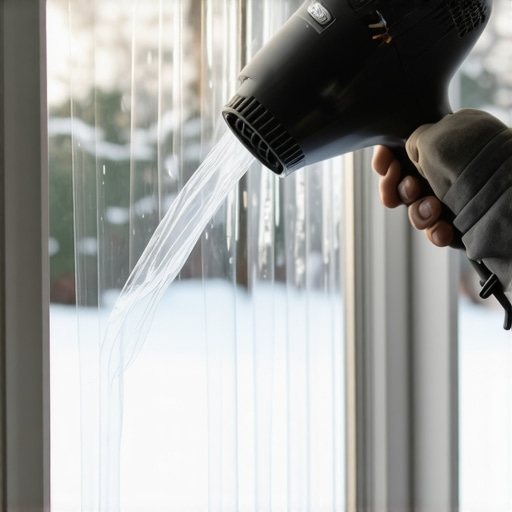
Since we are dealing with single panes, we must simulate the performance of an Insulated Glass Unit (IGU). The most cost-effective way to do this is with a cellular shade or a shrink-film kit. When you apply that plastic film, you are creating a dead-air space. This air space acts as an insulator, significantly reducing convective heat transfer. It is not about the plastic; it is about the air trapped behind it. For the best results, ensure the film is anchored to the Rough Opening trim rather than the sash itself. This creates a secondary seal over the entire window unit, including the leaky sash joints.
Thermal Curtains and Radiant Barriers
In cold climates, the enemy is heat loss via radiation. Your body heat is literally being sucked toward the cold glass. Heavy thermal curtains with a white reflective backing can help. This acts similarly to a Low-E coating on surface number three of a modern double-pane window, reflecting long-wave infrared radiation back into the room. While it is not a permanent solution like a decision to replace windows, it provides an immediate increase in the Mean Radiant Temperature of the room, making you feel warmer even if the air temperature remains the same.
When to Stop Repairing and Start Replacing
There comes a point where window repair is simply throwing good money after bad. If the Sill is soft to the touch or if you see black mold blooming under the Glazing Bead, the wood is likely rotting from the inside out. This usually happens when the Weep Hole system in a window is blocked or when the original installer failed to use a proper Sill Pan. At this stage, winterization is a bandage on a broken limb. You are better off saving the money spent on temporary fixes and investing in a full-frame replacement. A modern window with an Argon gas fill and a warm-edge spacer will provide an ROI not just in energy bills, but in the structural preservation of your home’s framing. Until then, stay diligent with your seals, keep your humidity in check, and use the dead-air space to your advantage.