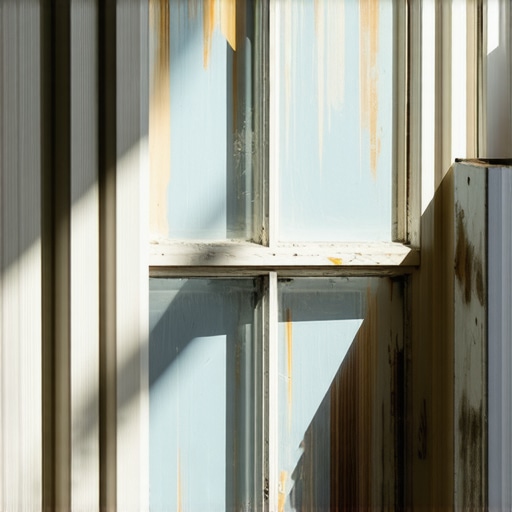
The Reality of Decades of Neglect
In my twenty five years of handling glass and frames, I have seen every possible failure of a window assembly. I recall pulling a vinyl replacement out of a house in Boston where the header was completely black with rot. Why? The previous installer relied on the nailing fin instead of proper flashing tape and left the original wood structure to decay behind a plastic facade. This is the danger of the ‘quick fix’ in the window industry. When we talk about a window painted shut for decades, we are not just talking about a stubborn sash. We are talking about the loss of the most basic function of a fenestration unit: ventilation. A window that does not open is just a poorly insulated wall. To fix this, you must understand the physics of the bond between the paint film and the wood substrate.
“Installation is just as critical as the window performance itself. A high-performance window installed poorly will fail.” AAMA Installation Masters Guide
The Anatomy of the Paint Bond
When paint dries, it creates a cohesive film that bridges the gap between the operable sash and the fixed jamb. Over thirty or forty years, multiple layers of lead based oil paint or modern latex create a structural bridge that can withstand hundreds of pounds of pressure. If you simply grab the sash lift and pull, you will likely break the rail before you break the paint bond. You have to approach this with the precision of a surgeon. The goal is to sever the paint film without gouging the wood fibers of the sash or the stop bead. This requires understanding the Rough Opening and how the sash sits within the frame. If the house has settled, the frame may be out of square, putting additional lateral pressure on the sash, making the paint bond even harder to break.
The Technical Tool Kit for Restoration
Forget the standard screwdriver. To do this right, you need a window zipper, which is a small serrated tool designed specifically to fit into the narrow gap between the sash and the stop. You also need a stiff putty knife, a 5-in-1 tool, and a heavy mallet. Most importantly, you need a HEPA vacuum and a respirator. If the window has been shut for decades, the paint is almost certainly lead based. As a professional, I cannot stress this enough: do not create dust without containment. You are not just a window cleaner in this scenario; you are a technician performing a surgical extraction. We start by scoring the perimeter. You must run your blade along the intersection of the sash and the stop bead, and again between the sash and the parting bead. This is where most installers fail, they only score one side. You have to free the sash from all three points of contact.
Breaking the Seal: The Physics of Leverage
Once the perimeter is scored, we look at the meeting rail. This is where the top and bottom sashes overlap. This area is notorious for being globbed with paint by lazy landlords. You need to drive your putty knife into this horizontal gap from the interior. If you can get the sash to move even a millimeter, you have won the battle. Once you have a gap, you can use a small pry bar, but only if you use a wood block to protect the Sill Pan or the stool. If you pry directly against the wood, you will crush the cellular structure of the timber, leading to permanent damage that will eventually require you to replace windows entirely because the wood can no longer hold a seal.
“Field measurement and inspection of the rough opening are essential before any repair or installation begins to ensure the long-term integrity of the building envelope.” ASTM E2112 Standard Practice
Thermal Performance and the North Climate Challenge
In colder climates like Chicago or Minneapolis, once you get that window open, you will notice the draft immediately. This is the U-Factor in action. The U-Factor measures the rate of non-solar heat loss. Older single pane wood windows have a U-Factor of around 1.0, which is abysmal. Once the window is operable, you must address the air infiltration. This is the ‘Enemy’ in the North: Heat Loss. When you unstick a window, you are often destroying the only thing that was keeping the draft out: the paint. You must now install high quality weatherstripping. I prefer V-bronze or a heavy duty silicone bulb seal. This manages the Dew Point within the frame. If you leave it drafty, warm moist air from the interior will hit the cold glass, condense, and run down into the Glazing Bead, starting the rot cycle all over again.
Restoring the Balance System
A window that is painted shut often has broken sash cords. Once the sash is free, you will likely find that it won’t stay up. This is because the cast iron weights hidden in the pockets have been disconnected for years. To truly perform a window repair, you have to open the weight pockets, fish out the weights, and install new cotton sash cord with a synthetic core. This is where you see the difference between a master and a handyman. A master understands the counterweight physics. If you don’t balance the sash properly, the user will struggle to open it, putting torque on the Muntin bars and eventually cracking the glass. Every component, from the Shim to the Flashing Tape used in later repairs, must work in harmony to manage the hole in the wall.
When Repair is No Longer Logical
There comes a point where the wood is too far gone. If I can stick an awl into the sill and it sinks two inches into soft pulp, the structural integrity is gone. At that point, we talk about replacement. But we don’t just throw in a cheap insert. We look for a Fiberglass or Thermally Broken Aluminum frame that can handle the specific SHGC (Solar Heat Gain Coefficient) needs of the house. In the North, we want a Low-E coating on Surface #3 to reflect heat back into the room. If we were in the South, we would put it on Surface #2 to reflect the sun’s energy back outside. This is the science of glazing. Whether you are unsticking a 100 year old sash or installing a new triple pane unit, the goal is the same: managing the environment while providing a view to the world outside.