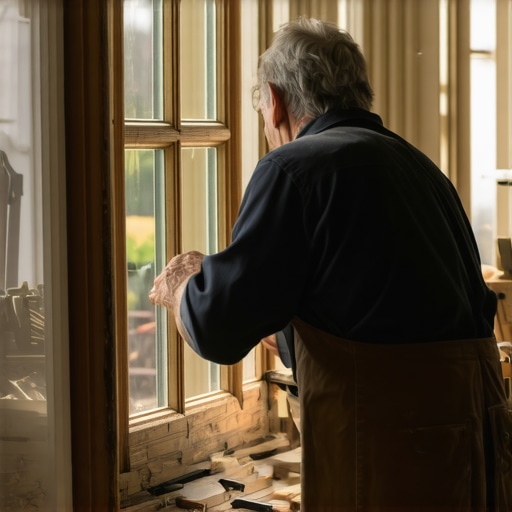
The Mechanics of Victorian Craftsmanship: Why Original Hardware Matters
When I walk into a Victorian-era home, I do not just see a window; I see a complex mechanical system designed for ventilation and durability that has often survived a century of neglect. The biggest mistake modern contractors make is suggesting a total tear-out the moment they see a stuck sash or a broken cord. I once pulled a sash out of a 1890s brownstone where the previous installer had simply shoved a vinyl insert into the original frame. Because they ignored the flashing and the weight pockets, the entire header was a mass of black rot. They relied on a bead of cheap caulk instead of the structural integrity of the original wood and metal assembly. This is the reality of the ‘caulk-and-walk’ culture. To truly restore a Victorian window, we must look at the hardware not as decoration, but as the engine of the aperture.
“Installation is just as critical as the window performance itself. A high-performance window installed poorly will fail.” AAMA Installation Masters Guide
The Anatomy of the Sash Weight and Pulley System
The Victorian sash window operates on a sophisticated balance of gravity and friction. Unlike modern windows that use tension springs or plastic tilt-latches, these original systems use cast iron or lead weights hidden within the weight pocket. When you perform a window repair on these units, the first thing to inspect is the pulley. These are usually solid brass or cast iron. Over decades, layers of paint seize the axle. This creates friction that snaps the sash cord. You cannot just spray some lubricant and expect it to work. You need to strip the hardware back to the base metal. If the pulley doesn’t spin freely, the sash will never be truly operable.
Identifying and Salvaging Period Hardware
Victorian hardware was often made of cast brass or bronze. These materials were chosen for their longevity and resistance to the corrosion that plagues modern zinc-plated components. When we talk about restoring these pieces, we are talking about mechanical renewal. Look at the muntin profiles and ensure the hardware does not obstruct the glass. The sash locks, often referred to as fitch locks, are not just for security; they are designed to pull the meeting rails together to create a thermal seal. If that lock is misaligned by even an eighth of an inch, your U-Factor goes out the window because of air infiltration. This is where the physics of the house comes into play. A drafty meeting rail in a cold climate like Chicago can drop the local temperature near the window by fifteen degrees, leading to the Dew Point being reached on the interior glass surface, resulting in condensation and eventual rot.
The Technical Process: From Stripping to Re-Installation
Restoration begins with a careful removal of the glazing bead or the stop bead. Use a sharp utility knife to break the paint bridge; otherwise, you will splinter the old-growth heartwood. Once the sash is out, you have access to the weight pocket. Clean the interior of the pocket of all debris. Often, you’ll find 100-year-old dust and bits of plaster that act like an abrasive against the weights. For the hardware itself, avoid harsh abrasives that can pit the metal. A professional window cleaner might remove surface grime, but for hardware restoration, you need a chemical dip or an ultrasonic cleaner to remove oxidized paint layers. When re-cording the window, use a waxed cotton cord with a synthetic core. The wax provides traditional lubrication against the pulley, while the synthetic core prevents the stretching that causes sashes to hang unevenly. Ensure the Rough Opening is still square. If the house has settled, you may need to shim the pulley housing to ensure the cord pulls at a perfectly vertical angle.
“Standard Practice for Installation of Exterior Windows, Doors and Skylights requires that the fenestration system be integrated into the water-resistive barrier of the wall.” ASTM E2112
The Thermal Logic of Historical Windows
There is a common myth that you must replace windows to achieve energy efficiency. In a northern climate, the primary enemy is heat loss. However, a restored wood sash with a high-quality storm window can often rival the U-Factor of a modern double-pane unit. The wood itself is a natural thermal break. Unlike aluminum frames, wood does not conduct cold directly into the home. By restoring the original hardware and ensuring the fitch lock pulls the sashes tight, and by adding a discrete pile weatherstripping into a routed groove in the sash, you can stop 95% of air infiltration. This preserves the historical Sash while meeting modern performance needs. The Sill Pan area must also be checked during this process. Any water that bypasses the outer Weep Hole or the primary seal must be directed back out. If the hardware restoration is done correctly, the window becomes a part of the building’s thermal envelope again, rather than a point of failure.
Final Assembly and Maintenance
Once the hardware is polished and the cords are balanced, the re-installation must be precise. The weights must be heavy enough to hold the sash in any position but light enough that the user doesn’t struggle to open it. This is a fine-tuned calibration. After the mechanicals are sorted, the window cleaner should be used on the glass to ensure no oils from the hardware restoration remain. Remember, Victorian glass is often thinner and more brittle than modern float glass; handle with extreme care. The goal of this restoration is to ensure another century of use. When you maintain the original hardware, you are maintaining the soul of the architecture while proving that modern replacement isn’t always the superior path.