The Reality of Fenestration Failure: When Glass Quits but the Frame Stays
In twenty five years of hanging off scaffolding and inspecting residential rough openings, I have seen every possible failure mode a window can exhibit. One of the most common calls I receive involves a homeowner staring at a spiderweb of cracks in their sash, terrified that they need to replace windows entirely. They expect a quote for a full frame tear out, which involves ripping back the exterior siding and interior casing, often leading to a four figure bill per opening. However, if the frame is structurally sound and hasn’t succumbed to the rot I often find in poorly flashed units, a surgical strike is the better path. Replacing just the glass, specifically the Insulated Glass Unit or IGU, is a precision task that requires an understanding of thermal dynamics and glazing mechanics.
I recall a specific instance where a homeowner in a high humidity environment called me in a panic because their relatively new windows were sweating and showing internal fogging after a minor hairline crack appeared. I walked in with my hygrometer and showed them that their interior humidity was hovering at 60 percent. The crack had breached the hermetic seal of the IGU, allowing that moisture laden air to bypass the desiccant in the spacer bar and condense on the colder interior of the outboard lite. It was not a failure of the window’s design, but a failure of the atmospheric barrier. This is why understanding the anatomy of your window repair is critical before you reach for a hammer.
“Installation is just as critical as the window performance itself. A high-performance window installed poorly will fail.” AAMA Installation Masters Guide
The Anatomy of the Insulated Glass Unit (IGU)
When we talk about a window pane today, we are rarely talking about a single sheet of glass. We are discussing an IGU. This is a sandwich of two or more lites of glass separated by a spacer and sealed into a single unit. In our northern climates, we focus heavily on the U-Factor, which measures the rate of heat transfer. A cracked pane is not just an aesthetic issue: it is a thermal hole in your envelope. Once the seal is broken, the Argon or Krypton gas that was factory injected between the lites to provide insulation escapes. It is replaced by ambient air, which has a much higher thermal conductivity. This is why you feel that sharp chill near a cracked window in January.
The glass itself likely has a Low-E coating. In cold climates, we typically see this coating on Surface number three, the inward facing side of the interior lite. This reflects long wave infrared radiation back into the room, keeping your heat where it belongs. When you replace windows glass without removing the frame, you must ensure the new IGU matches these specifications exactly or you will end up with a room that feels unbalanced and a window that performs significantly worse than its neighbors.
Phase 1: Assessing the Sash and Glazing Bead
Before ordering a replacement, you must determine how the glass is held in the sash. Most modern vinyl and aluminum windows use a glazing bead: a plastic or metal strip that snaps into a channel in the sash to hold the glass against a bed of sealant. Look at the interior side of the window. You will see a small line where the bead meets the sash. This is the key to a frame-in replacement. If the window is an older wood sash, the glass might be held in with glazing points and putty, but the principles of measurement remain the same.
You must measure the visible glass and then add the depth of the glazing channel. Professional glaziers measure to the nearest sixteenth of an inch. If your measurement is off by even an eighth, the IGU will either not fit or will not have enough of a bite on the seal to prevent air infiltration. This is where many DIY attempts fail. They forget to account for the shim space. A window needs a small amount of room to expand and contract with temperature swings.
“Proper flashing and sealant application are the primary defenses against water infiltration, which remains the leading cause of window related structural damage.” ASTM E2112 Standard Practice
Phase 2: The Surgical Removal of the Damaged IGU
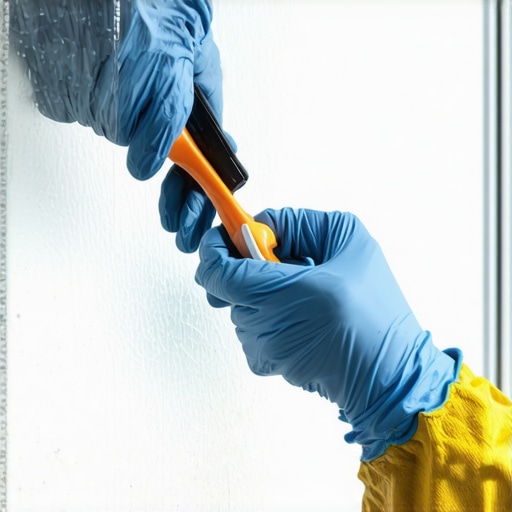
To begin the window repair, you must first remove the glazing beads. I prefer using a stiff putty knife or a specialized glazing tool. You start in the middle of the longest bead, carefully prying it away from the sash. Be careful not to gouge the vinyl or wood. Once the beads are removed, the glass is often still stuck to the sash by a double sided foam tape or a bead of silicone. This is the most dangerous part of the job. You must use a thin blade to slice through this sealant around the entire perimeter.
Once the sealant is cut, you can tilt the IGU out of the sash. This is a two person job. Even a small double pane unit can be deceptively heavy, and if the crack shifts, the glass can lose its structural integrity and shatter. Always wear cut resistant gloves. After the glass is out, the sash must be cleaned. Every bit of old sealant, tape, and debris must be scraped away. If you leave a lump of old silicone in the corner, the new glass will not sit flush, and you will create a stress point that could lead to a new crack the first time the sun hits the window.
Phase 3: The Installation and The Importance of the Sill Pan Logic
Before the new glass goes in, we must talk about the weep hole system. Every window is designed to take in a small amount of water and then drain it back out through weep holes in the bottom of the frame. If you block these holes with too much sealant during your repair, you will trap water inside the sash, leading to rot or seal failure in the new IGU. I always check the weep holes with a small wire to ensure they are clear before the new glass is set.
Place setting blocks (usually small pieces of rubber or plastic) at the bottom of the sash. These blocks hold the glass up off the frame, allowing water to flow underneath to the weep holes. Center the new IGU in the opening. There should be an even gap around all four sides. Apply a fresh bead of high quality neutral cure silicone or glazing tape to the sash before pressing the glass into place. Neutral cure is vital; some cheaper silicones release acetic acid as they cure, which can attack the primary seal of the IGU and cause premature failure.
Phase 4: Snapping the Beads and Final Seal
The final step is to reinstall the glazing beads. They should snap back into their channels with a satisfying click. If they feel loose, they may have been deformed during removal and might need a small dab of sealant to stay secure. Finally, use a high quality window cleaner to remove any oils from your hands or sealant smudges. Those oils can actually etch into the glass if left in direct sunlight, creating permanent marks.
This method of repair preserves the integrity of the wall’s weather barrier. We are not touching the flashing tape or the rough opening, which means we are not risking the structural rot that occurs when a replacement window is poorly integrated into the house’s siding. By focusing on the glass and the internal sash components, you are performing a technical fix that addresses the failure without the collateral damage of a full replacement. It is a cleaner, more efficient, and more professional approach to window maintenance.