The Anatomy of a Failing Sash: Why Casement Hinges Snap
In my twenty five years of hanging glass and squaring frames, I have seen every possible failure point in a building envelope. One of the most common service calls involves a casement window that refuses to close or hangs at a precarious angle. I once pulled a vinyl window out of a house in a suburb near Chicago and the header was completely black with rot. The homeowner thought the hinge was just old, but the reality was that the previous installer relied on the nailing fin instead of proper flashing tape. The resulting water infiltration had softened the rough opening, causing the frame to sag and putting five times the intended load on the lower hinge assembly until the metal finally experienced a catastrophic shear. This is the reality of window mechanics; every component exists in a state of tension and balance. When you are dealing with a casement window, the hinge is the unsung hero that manages the cantilevered weight of the sash. If that hinge fails, you are not just looking at a hardware problem; you are looking at a compromise in your home’s thermal boundary and structural integrity.
“Installation is just as critical as the window performance itself. A high-performance window installed poorly will fail.” AAMA Installation Masters Guide
Understanding the Physics of the Casement Hinge
A casement window is essentially a door for your wall. Unlike a double-hung window that slides within a track, a casement sash swings outward. This requires a complex hinge system, often a two-bar or four-bar friction hinge, which must support the glazing’s weight while fighting gravity. In northern climates where we deal with extreme cold, the casement is the gold standard for energy efficiency. This is because the wind actually pushes the sash tighter against the weatherstripping, creating a superior seal compared to the brush seals of a slider. However, this tight seal depends entirely on the hinge’s ability to pull the sash into the frame evenly. If the hinge is bent or corroded, the U-factor of your window sky-rockets because air begins to bypass the compression seals. We focus on U-factor in the north because heat loss is the primary enemy. A broken hinge creates a thermal bridge where warm indoor air meets cold outdoor air, leading to localized condensation, mold on the wood sash, and eventually, the kind of rot that destroys a rough opening. To fix this, you need more than a screwdriver; you need an understanding of sash weights and metal fatigue.
Identifying the Correct Replacement Hardware
Before you begin the window repair, you must identify the specific type of hinge. Not all casement hinges are created equal. You likely have either a standard hinge or a washability hinge. A washability hinge is designed to slide the sash away from the frame as it opens, allowing you to reach your hand around to clean the exterior glass from the inside. This is a favorite feature for a window cleaner but it adds a layer of complexity to the repair. Look for the manufacturer’s stamp on the hardware. You might see names like Truth, Caldwell, or Amesbury. You must match the stack height, which is the vertical thickness of the hinge when it is closed. If you install a hinge with the wrong stack height, the sash will not sit flush in the frame, and you will never achieve a proper seal again. This is where many DIY attempts fail; they buy a generic hinge from a big-box store and wonder why their window now whistles when the wind blows.
The Step by Step Restoration Process
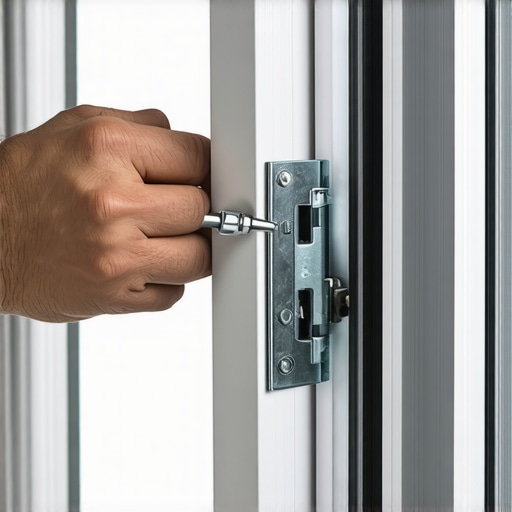
First, you must secure the sash. Never attempt to replace a hinge on a windy day. The sash acts like a sail, and a sudden gust can rip the remaining hardware right out of the vinyl or wood. I always use a second person to hold the sash or use a heavy duty suction cup meant for glass handling to maintain control. Open the window to the point where the hinge track is fully exposed. You will need to disconnect the operator arm first. This is the geared mechanism that you crank. Once the operator is detached, the sash is free-swinging, so be extremely careful. Support the weight of the sash from the bottom using a shim to prevent it from dropping and damaging the sill pan. Unscrew the hinge from the sash first, then from the frame. This is the moment to inspect the substrate. If the screws come out with wood pulp or rust, you have a water infiltration issue that requires more than just a new hinge. You might need to inject an epoxy consolidant or replace a portion of the frame.
“Field testing has shown that hardware failure is often the first sign of a failing exterior seal.” ASTM E2112 Standard Practice
The Importance of Fastener Integrity and Alignment
When installing the new hinge, the choice of fastener is critical. Most high quality hinges use stainless steel to prevent galvanic corrosion. If you use a standard zinc-plated screw in a coastal environment or even in a high-humidity bathroom, the metal will react with the aluminum track and eventually seize. I always recommend using undercut head screws that sit flush in the hinge track. If the screw head protrudes even a fraction of a millimeter, it can catch on the sliding shoe of the hinge, causing the window to bind. This binding is exactly what snaps hinges in the first place. Once the new hardware is in place, you must check the squareness of the sash within the frame. This is where the shim becomes your best friend. You may need to slightly adjust the position of the hinge on the frame to ensure the sash hits the weatherstripping simultaneously on all four sides. If the top hits before the bottom, you have a diagonal tension that will lead to another failure in six months. Lubricate the tracks with a dry silicone spray; never use a heavy grease that will attract dirt and turn into an abrasive paste over time.
When to Repair vs. When to Replace Windows
Homeowners often ask me if a broken hinge means they need to replace windows entirely. The answer depends on the state of the glazing bead and the insulated glass unit (IGU). If your window is over twenty years old, has a failed seal (manifesting as fogging between the panes), and now has broken hardware, the ROI for a repair is low. In a cold climate, the energy savings from a new triple-pane unit with a warm-edge spacer and a Low-E coating on Surface 3 can be significant. Modern windows use argon or krypton gas fills to reduce convective heat transfer within the glass unit. If your current frames are solid and the glass is clear, then a hinge replacement is a smart, cost-effective window repair. But if you see signs of frame warping or if the muntins are popping out, you are fighting a losing battle. A master glazier knows when to save a window and when to admit that the unit has reached the end of its service life. Do not let a high-pressure salesman convince you that a single broken hinge requires a 50,000 dollar whole-house replacement, but do not ignore the signs of a deeper structural failure either.