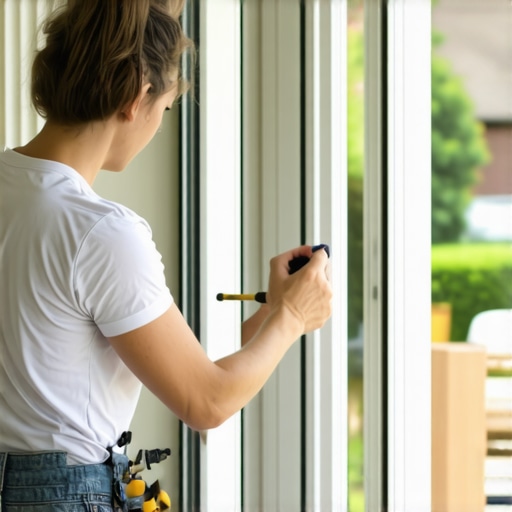
The Invisible Failure of Your Sliding Glass Door
In the world of professional glazing, we do not view a sliding glass door as a simple piece of furniture. It is a massive, operable thermal bridge in your building envelope. When that door was first installed, the rough opening was shimmed to perfection, and the seals were plush. But over ten years of cycles, the EPDM (Ethylene Propylene Diene Monomer) or pile weatherstripping undergoes compression set. It loses its memory. Suddenly, that $3,000 door has the thermal resistance of a screen door because air is bypassing the glass entirely.
A homeowner called me in a panic because their new windows and sliding doors were ‘sweating’ and growing black mold along the bottom rail. I walked in with my hygrometer and showed them the humidity was 60%, and the surface temperature of the glass was 45 degrees. It wasn’t that the windows were defective; it was that the weatherstripping on the sliding door had collapsed, allowing a constant stream of cold, dry air to collide with the warm, moist air of their kitchen. This isn’t just a comfort issue; it is a building science failure. If you think a simple bead of caulk will fix a drafty slider, you are practicing ‘caulk-and-walk’ DIY, and you are inviting rot into your subfloor.
The Anatomy of the Sliding System
Before you start pulling panels, you need to understand the anatomy of the unit. The operable panel slides along a track, while the stationary panel is fixed. The most critical point of failure is the interlock where the two panels meet in the center. This is where the vertical stiles have a hooked profile that should engage perfectly. If the door has settled or the rollers have worn down, the interlock fails, and the weatherstripping there might as well not exist. You are also dealing with the head track at the top and the sill at the bottom, which usually features weep holes to allow moisture to escape the track without entering the home.
“Installation is just as critical as the window performance itself. A high-performance window installed poorly will fail.” AAMA Installation Masters Guide
Step 1: The Heavy Lift and Inspection
To do a professional job, you cannot just jam new foam into the cracks. You must remove the operable panel. Locate the roller adjustment screws at the bottom of the door. Use a screwdriver to retract the rollers so the door sits flat on the track. Lift the panel upward into the head track and swing the bottom inward. Once the door is out, place it on a pair of padded sawhorses. This is where you see the true state of your glazing. Check the glazing bead; if it is brittle or cracking, you might be looking at a larger window repair job than just a seal replacement.
Step 2: Cleaning the Track and Weep Holes
This is where most people fail. They try to install new seals over ten years of grit and pet hair. You need a high-quality window cleaner that does not contain ammonia, as ammonia can degrade certain types of synthetic rubber. Clean the entire track, specifically looking for the weep holes. If those holes are plugged, water will back up into the sill pan and eventually rot your subfloor. Use a stiff brush to clear the debris. A clean track is essential for the new adhesive-backed or T-slot weatherstripping to seat correctly.
Step 3: Identifying the Seal Profile
Not all weatherstripping is created equal. You will likely encounter three types: Pile (the fuzzy stuff), Bulb (hollow rubber tubes), or Fin-Seal (pile with a plastic fin in the middle). The Fin-Seal is the gold standard for sliding doors because the plastic fin provides a secondary barrier against high-velocity wind. When you replace windows or door components, you must match the ‘reach’ of the seal. If the seal is too thin, the draft remains. If it is too thick, the door will be nearly impossible to slide, putting undue stress on the rollers.
The Physics of Air Infiltration
In cold climates like Chicago or Minneapolis, we focus heavily on the U-Factor, which measures the rate of non-solar heat loss. However, air leakage (AL) is equally important. A sliding door that is not sealed correctly allows cold air to enter through the ‘Sill Pan’ and exit through the ‘Head Track’ via the stack effect. This bypasses the Low-E coating on Surface #3 of your Insulated Glass Unit (IGU), rendering that expensive glass useless. By replacing the weatherstripping, you are restoring the door’s ability to manage the dew point. You want the interior glass surface to stay above the temperature where water vapor turns to liquid.
“Properly sealed fenestration products are the primary defense against uncontrolled air infiltration, which accounts for up to 40% of a home’s heating and cooling costs.” NFRC Energy Performance Labeling Guide
Step 4: Installing the New Seals
Slide the old pile out of the T-slot on the door stile. If it’s glued, you may need a heat gun to soften the adhesive, but be careful not to crack the glass or warp the vinyl frame. Feed the new Fin-Seal into the slot. Ensure it is continuous; every break in the seal is a point for air to enter. On the interlock, ensure the weatherstripping is not crushed when the door closes. You should feel a slight resistance when the door is about an inch from closing—that is the sound of a proper seal being made.
Long-Term Maintenance: Beyond the Seal
Once the new weatherstripping is in place, reinstall the door and adjust the rollers. The door should be square in the frame. If the gap at the top is larger on one side than the other, the door is racked, and the weatherstripping will fail prematurely. Use a level on the side jambs. If the house has settled, you may need to adjust the shims behind the frame, though that often requires a full frame tear-out. Finally, treat the new seals with a dry silicone spray. Never use oil-based lubricants; they attract dirt which acts like sandpaper on your new pile seals. A professional window cleaner should be used twice a year to keep the tracks clear of abrasive grit.