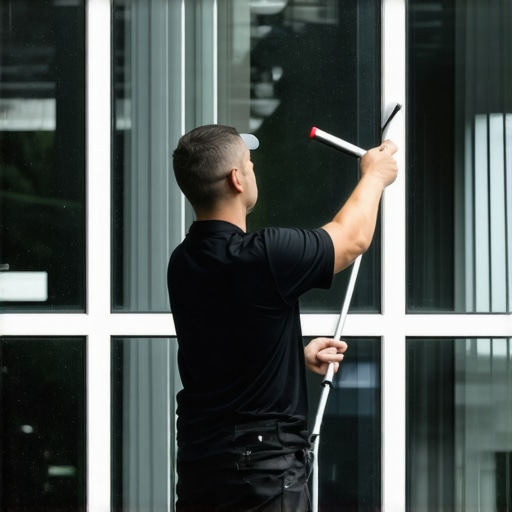
Beyond the Glass: A Master Glazier’s Perspective on Maintenance
In my two and a half decades in the glazing trade, I have seen thousands of homeowners treat their windows as an afterthought until the moment a seal fails or a draft becomes unbearable. They often think a professional window cleaner possesses some secret chemical solution, but the reality is far more technical. It is about physics, surface tension, and the mechanical integrity of the sash. When you approach a window with a squeegee, you are not just cleaning; you are performing a diagnostic check on the most critical component of your home’s thermal envelope. Many homeowners in colder climates struggle with interior moisture during the winter months, and this is where my story begins. I once visited a property in a northern suburb where the owner was convinced their new high-performance units were defective because of persistent ‘sweating’ on the glass. I brought out my hygrometer and a professional 14-inch brass squeegee to demonstrate the reality of the situation. As I cleared the glass with a single, fluid fanning stroke, I showed them that the moisture was not a leak between the panes but a result of the interior dew point being reached on Surface #4 of the glass due to an indoor humidity level of 55 percent while the exterior temperature sat at a bone-chilling 5 degrees. The windows were performing exactly as designed, but the home’s ventilation was failing. This realization is the difference between a ‘caulk-and-walk’ mentality and true glazing expertise.
“Installation is just as critical as the window performance itself. A high-performance window installed poorly will fail.” AAMA Installation Masters Guide
The Physics of the Perfect Squeegee Stroke
To clean glass like a professional window cleaner, you must understand the interaction between the rubber blade and the glass surface. Professionals do not use the ‘straight pull’ method often seen in gas stations. Instead, we utilize the ‘fanning’ technique. This involves a continuous motion that manages the water volume at the leading edge of the blade, preventing ‘holidays’ or streaks. The key is the angle of the blade, typically maintained at 45 degrees relative to the direction of travel. When you start at the top of the sash, you perform a ‘cut-in,’ which is a horizontal stroke that clears a small strip of dry glass at the top. This prevents water from the top glazing bead from bleeding down into your clean work. From there, the swivel motion begins. As you rotate the squeegee, the water is pushed toward the center of the glass and then down toward the sill. This technique requires a high-quality rubber blade with a specific Shore A hardness. If the rubber is too soft, it will ‘chatter’ on the glass; too hard, and it will skip over the microscopic valleys in the glass surface. This is why a glazier insists on fresh rubber for every major project. The goal is to break the surface tension of the water completely, leaving a bone-dry surface that requires no buffing.
When Cleaning Reveals the Need for Window Repair
While you are using this professional squeegee technique, you are in the perfect position to inspect for structural issues. If you notice a persistent fog that cannot be wiped away from either the interior or exterior, you are looking at a compromised IGU (Insulated Glass Unit). This happens when the primary polyisobutylene seal fails, allowing the desiccants in the spacer bar to become saturated. Once the desiccant can no longer absorb moisture, the gas fill (usually Argon in modern units) escapes and is replaced by humid ambient air. This is the moment when window repair becomes necessary. In some cases, you can replace just the glass unit, but if the sash itself is warped or the glazing bead has become brittle from UV exposure, you may need to replace windows entirely. A professional glazier looks for ‘scalloping’ in the glass, which indicates that the vacuum seal has pulled the two panes closer together in the center, a sign of extreme pressure changes and impending failure. Inspecting the weep hole at the bottom of the frame is also vital. If these are clogged with debris, water will back up into the rough opening, leading to rot in the subfloor and framing.
“Properly integrated flashing systems are the primary defense against water penetration in the window assembly.” ASTM E2112 Standard Practice
The Anatomy of High-Performance Glazing
In northern climates where heat loss is the primary enemy, we focus heavily on the U-Factor. This number represents the rate of heat transfer through the window assembly. A lower U-Factor means better insulation. To achieve this, we use Low-E coatings, specifically on Surface #3 for cold climates. This coating is a microscopically thin layer of silver or other low-emissivity material that reflects long-wave infrared radiation. In the winter, it reflects the radiant heat from your furnace back into the room rather than letting it escape. When you are cleaning these windows, it is important to know that most Low-E coatings are ‘soft-coat’ and are protected inside the IGU, but some older or specific ‘hard-coat’ versions (pyrolytic) are on the exposed surface. Using abrasive cleaners on a pyrolytic coating will ruin its thermal properties. This is why a simple solution of deionized water and a drop of dish soap is preferred by any experienced glazier. Furthermore, the spacer between the glass panes plays a massive role in performance. Old-fashioned aluminum spacers act as a thermal bridge, conducting cold directly to the edge of the glass and causing condensation. Modern ‘warm-edge’ spacers use structural foam or specialized polymers to break this bridge, keeping the edge of the glass warmer and reducing the risk of mold growth on the sash.
Installation Integrity: Shims and Sill Pans
If you decide to replace windows, the installation process is where the real science happens. A window is only as good as its interface with the wall. We start with the rough opening, ensuring it is square, level, and plumb. We then install a sill pan, a critical component that many ‘cheap’ installers skip. The sill pan ensures that if water ever gets past the primary seals, it is directed back out to the exterior rather than into the wall cavity. When the window is set, we use a high-quality shim to support the frame. These shims must be placed at the load-bearing points, typically under the vertical members of the sash, to prevent the frame from sagging over time. Once the window is leveled using the shim, we apply flashing tape in a specific ‘shingle’ pattern: bottom first, then the sides, and finally the top. This ensures that water always flows over the next layer of tape rather than under it. We do not rely on caulk to keep the water out; we rely on the flashing system. The caulk is merely an air seal. For those in the North, we also prioritize air infiltration ratings. A window that is not properly shimmed will have a frame that bows, preventing the weatherstripping from making a tight seal. This results in the dreaded ‘whistling’ sound on windy nights and a significant increase in heating costs. By following these professional standards, you ensure that the window will remain operable and efficient for decades, rather than just a few seasons.
{“@context”:”https://schema.org”,”@type”:”HowTo”,”name”:”Professional Squeegee Technique”,”step”:[{“@type”:”HowToStep”,”text”:”Prepare a solution of deionized water and a small amount of dish soap in a bucket.”},{“@type”:”HowToStep”,”text”:”Apply the solution to the glass using a microfiber scrubber, ensuring all debris is loosened.”},{“@type”:”HowToStep”,”text”:”Perform a ‘cut-in’ by pulling the squeegee horizontally across the top inch of the glass.”},{“@type”:”HowToStep”,”text”:”Use a continuous fanning motion, keeping the blade at a 45-degree angle to clear the rest of the glass.”},{“@type”:”HowToStep”,”text”:”Wipe the edges and the glazing bead with a clean, lint-free cloth to prevent drips.”}],”totalTime”:”PT10M”}