The sound of shattered tempered glass hitting the pavement at three in the morning is a noise no business owner ever wants to hear. It is the sound of a structural failure, a security breach, and a massive thermal leak all occurring at once. When a storefront window is compromised, your immediate concern is the inventory behind the glass, but as a master glazier with a quarter-century in the trade, my concern is the integrity of the rough opening and the preservation of the aluminum extrusion. Most people call a board-up service and pay five hundred dollars for twenty dollars worth of material and ten minutes of work. I am going to teach you the $10 plywood protocol that professional glaziers use to secure a site while waiting for a custom glass order to arrive from the tempering furnace.
The Rot Behind the Board: A Narrative Warning
I remember pulling a vinyl window out of a mixed-use commercial building in downtown Chicago about ten years ago. The tenant had suffered a break-in and used a DIY approach to board it up, drilling wood screws directly through the vinyl nailing fin and into the building’s header. They left that board up for six months while fighting with insurance. When I finally arrived to perform the window repair, the header was completely black with rot. Why? The previous installer and the tenant relied on the plywood as a primary barrier instead of understanding the shingle principle of water management. They had bypassed the flashing tape and blocked the weep hole system. Water had migrated behind the plywood, sat against the untreated wood of the rough opening, and turned a simple glass replacement into a multi-thousand dollar structural repair. This is why the protocol matters; it is about protecting the building as much as the contents.
“Installation is just as critical as the window performance itself. A high-performance window installed poorly will fail.” AAMA Installation Masters Guide
The Anatomy of the $10 Plywood Protocol
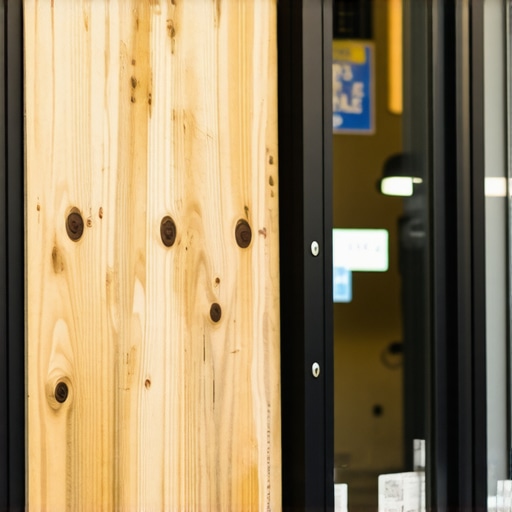
The goal is to secure the opening without drilling a single hole into your expensive aluminum storefront frame. If you drill into the frame, you compromise the thermal break and create a permanent path for moisture. Instead, we use the compression method. You need one sheet of 5/8 inch CDX plywood, four carriage bolts (six inches long), four oversized washers, and two pieces of 2×4 lumber. You cut the plywood to be two inches larger than the daylight opening of the glass on all sides. On the inside of the building, you place the 2x4s vertically across the opening. You drill through the plywood and the 2x4s, then run your carriage bolts through. As you tighten the nuts from the inside, the plywood is sucked tight against the exterior gaskets of the storefront. This creates a pressurized seal that keeps out the rain and the intruders without a single screw hole in your sash or frame.
The Thermal Reality of the Broken Storefront
In a cold climate, a broken window is a thermal emergency. Standard storefront glass is usually 1 inch insulated units. When that glass is gone, your U-Factor goes from a respectable 0.30 to essentially zero. The U-Factor is the rate at which a window, door, or skylight conducts non-solar heat flow. The lower the U-Factor, the more energy-efficient the assembly is. When you replace windows in a commercial setting, you must look at the NFRC label. If you are in the North, you want a Low-E coating on Surface #3. This reflects the long-wave infrared radiation from your heating system back into the room. If you are just boarding up with plywood, you are losing hundreds of dollars in energy costs every week because the plywood has an R-value of about 0.77, which is pathetic compared to a gas-filled, Low-E insulated glass unit.
Why Your Window Cleaner is Your Best Inspector
A professional window cleaner does more than just remove dirt; they are your first line of defense for maintenance. During a standard cleaning, a pro will notice if the glazing bead is starting to pop or if the setting blocks have shifted. Setting blocks are small pieces of EPDM or silicone that support the weight of the glass within the frame. If the glass shifts and touches the aluminum frame directly, it creates a stress point that can lead to a spontaneous fracture. This is often misdiagnosed as a break-in when, in reality, it was an installation failure. If the glass is not centered in the opening with the proper shim placement, the expansion and contraction of the aluminum will eventually crush the glass edge.
“The fenestration system must be designed to withstand the design wind loads and provide a water-resistant barrier that integrates with the building’s weather-resistive barrier.” ASTM E2112 Standard Practice
The Physics of Glass Selection
When you finally move from the plywood protocol to the permanent fix, you have to choose your glass. For storefronts, you are looking at tempered or laminated glass. Tempered glass is heat-treated to be four times stronger than annealed glass, and it breaks into small, relatively harmless cubes. However, once it breaks, the entire opening is gone, hence the need for the plywood protocol. Laminated glass, on the other hand, consists of two layers of glass with a polyvinyl butyral (PVB) interlayer. Even if the glass breaks, it stays in the frame. This is the gold standard for security. It also has the added benefit of blocking 99 percent of UV rays, which prevents your window display from fading. When we talk about Solar Heat Gain Coefficient (SHGC), laminated glass combined with a high-performance tint can significantly reduce the cooling load on your building by blocking the sun’s radiant heat before it even enters the space.
The Installation Autopsy: Why Most Repairs Fail
Most window repair companies are what I call caulk-and-walk artists. They slap a piece of glass in, run a bead of cheap silicone around the edge, and send the bill. A true master glazier looks at the sill pan. The sill pan is the bottom-most part of the frame designed to collect any water that gets past the exterior gaskets and direct it back outside through the weep hole. If your installer clogs the weep hole with sealant, that water is going into your wall. This leads to the rot I mentioned earlier. Every time I replace windows, I ensure the rough opening is flashed with a high-quality butyl tape that integrates with the building’s house wrap. We don’t rely on the window frame to be waterproof; we assume it will leak and we design the system to manage that water safely.
Technical Specifications for the Replacement Unit
When ordering your new glass, you need to specify the “bite.” The bite is the distance the glass extends into the pocket of the frame. If the bite is too shallow, the glass can blow out during a high-wind event. If it is too deep, you don’t have enough room for thermal expansion. We typically look for a 1/2 inch bite on all four sides. You also need to ensure the spacer between the glass panes is a “warm-edge” spacer. Old-school aluminum spacers conduct cold directly from the outside pane to the inside pane, which is how you get condensation and mold on your interior muntin and sash surfaces. Modern spacers use stainless steel or structural foam to break that thermal bridge, keeping the interior glass temperature above the dew point.