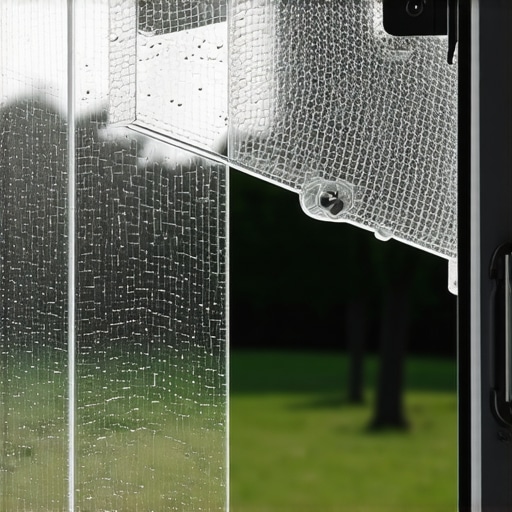
The Cost of the Quick Fix: Why Screws Ruin Window Assemblies
As a glazier with over two decades in the field, I have seen every imaginable shortcut taken by installers who want to finish a job before lunch. The most egregious offense is the over-reliance on rigid screws to secure storm windows. Homeowners often complain about a persistent rattling every time the wind kicks up, and their instinct is to drive another screw into the frame. This is a fundamental mistake in moisture management and structural integrity. I pulled a vinyl window out of a house in Milwaukee and the header was completely black with rot. Why? The previous installer relied on the nailing fin instead of proper flashing tape, then compounded the error by driving screws through the storm window frame directly into the blind stop. Those screw holes became high-speed lanes for capillary action, drawing water deep into the rough opening where it could never evaporate.
“Installation is just as critical as the window performance itself. A high-performance window installed poorly will fail.” – AAMA Installation Masters Guide
When you use screws to fix a rattling storm window, you are fighting against the coefficient of thermal expansion. Aluminum, the most common material for storm frames, expands and contracts significantly more than the wood or vinyl of the primary window. By pinning the frame with screws, you prevent the sash from moving naturally. This tension eventually pulls the screw heads through the thin aluminum or strips the wood threads, leading to a rattle that is louder than the one you started with. This is why a $6 set of storm window clips, also known as turn buttons or swivel clips, is the professional choice for any window repair or maintenance task. These clips provide a clamping force that holds the storm window tight against the weatherstripping while allowing the frame to shift as temperatures fluctuate.
The Physics of the $6 Clip Fix
The magic of the swivel clip lies in its ability to maintain pressure without piercing the primary water barrier. When you replace windows or upgrade an existing unit, you must respect the shingle principle: every layer must shed water to the layer below it and eventually to the exterior. A screw creates a hole. A clip creates a mechanical bond. For the price of a cup of coffee, you can install a set of stainless steel or zinc-plated clips that engage the glazing bead of the storm window. This ensures that the unit remains snug against the stop, eliminating the vibration that causes that annoying metallic clatter during winter storms.
In northern climates where heat loss is the primary enemy, the air gap between the primary window and the storm window acts as a thermal buffer. However, this buffer only works if the air is relatively stagnant. If your storm window is rattling, it means air is bypassing the frame, which effectively kills your U-factor. The U-factor measures the rate of heat transfer; a lower number means better insulation. When I explain this to homeowners, I focus on the glazing zooming of the assembly. The Low-E coating on the primary sash reflects long-wave infrared radiation back into the room, but the storm window is your first line of defense against convective heat loss. By using clips to ensure a tight seal, you preserve that dead air space, which is far more effective than any bead of caulk could ever be.
Analyzing the Rough Opening and Moisture Control
Every professional glazier knows that the rough opening is not a static environment. It breathes, it shifts, and most importantly, it collects moisture. This is why the weep hole is the most misunderstood component of a window. If you screw a storm window too tightly to the sill, you often block the weep holes designed to let condensation escape. Water then backs up, saturates the muntins, and begins to rot the bottom of the sash. When performing a window repair, I always check the sill pan. If water has been ponding there because of a poorly installed storm window, the entire assembly is at risk.
“The primary purpose of a storm window is to provide an additional layer of thermal resistance and reduce air infiltration through the primary operable sash.” – NFRC Performance Standards
Using clips allows for easy removal, which is essential for any window cleaner who actually wants to do a thorough job. If your storm windows are screwed in, you are less likely to remove them for seasonal cleaning. This leads to a buildup of debris in the tracks, which eventually clogs the drainage system. A clean window is not just about aesthetics; it is about ensuring that the mechanical parts, like the operable sash and the balance system, are not grinding against grit and salt.
The Thermal Logic of Storm Window Placement
In cold climates, we are looking to minimize the U-factor. The storm window should be installed with a high-quality bulb seal or closed-cell foam gasket. The clips provide the necessary compression to engage this seal. If you are in a situation where you are considering whether to replace windows entirely or just fix the storms, look at the integrity of the primary glazing. If the primary windows are historic wood sashes with single-pane glass, a well-fitted storm window with clips can bring the thermal performance close to that of a modern double-pane unit without the massive capital expense of a full-frame replacement. This is the math of the industry that most high-pressure salesmen will not tell you: the ROI on replacement windows can be thirty years, whereas the ROI on a $6 clip fix and some fresh weatherstripping is often realized in a single heating season.
Installation Steps for Swivel Clips
To install these clips properly, you first need to align the storm window within the opening. Use shims if necessary to ensure the frame is square. Once positioned, mark the locations for the clips on the blind stop or the exterior casing. You want at least two clips per side for a standard-sized window. Drill a small pilot hole to prevent the wood from splitting, then screw the clip in just enough so that it can still be rotated with firm thumb pressure. This allows you to lock the window in place for the winter and swivel them out of the way when it is time for the window cleaner to take over in the spring. This method preserves the flashing tape and the structural wood, ensuring that your window repair lasts for decades rather than just a few seasons. Stop using screws as a primary fastener for storm windows; they are a destructive solution to a simple mechanical problem. Embrace the clip, protect your rough opening, and keep your home quiet and dry.