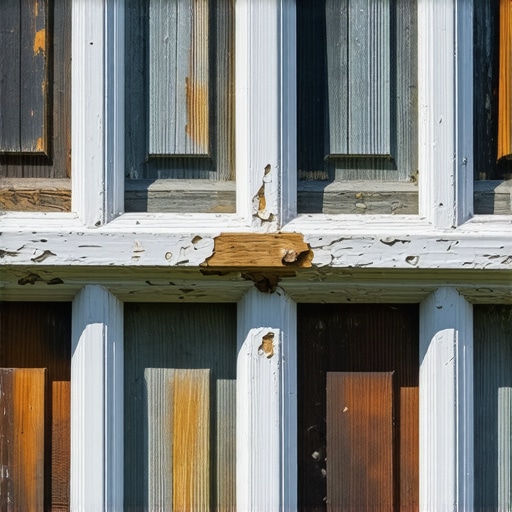
The Silent Destroyer Within Your Walls
I have spent twenty-five years staring into the guts of residential wall cavities, and if there is one thing I have learned, it is that water is a patient predator. Most homeowners believe that window rot starts on the exterior, visible as peeling paint or graying wood. In reality, the most catastrophic damage is often invisible, occurring behind the brick mold and the siding, deep within the rough opening. When you finally notice the soft spot on your windowsill, the structural integrity of your wall is likely already compromised. This is not a situation where a simple window cleaner can solve the problem; it is a forensic engineering challenge that requires an understanding of thermodynamics and fluid dynamics.
I remember pulling a series of high-end vinyl windows out of a custom home in a damp, northern climate. To the naked eye, they looked perfectly fine from the street. However, the homeowner complained of a faint, musty smell every time it rained. When I pried back the interior casing, the header was completely black with rot. Why? The previous installer had relied solely on the nailing fin for water management instead of using proper flashing tape integrated with a house wrap. They had committed the cardinal sin of the trade: they assumed the window unit was a waterproof box. It is not. A window is a complex assembly of glass, gaskets, and frames that must manage the movement of moisture through the building envelope. Because they ignored the sill pan and failed to provide a path for incidental water to escape, every drop of wind-driven rain that bypassed the outer seal was trapped against the jack studs, slowly turning the timber into compost.
“Standard practice for installation of exterior windows, doors, and skylights requires that the flashing system be designed to prevent water penetration into the wall cavity, even if the primary seal of the window unit fails.” – ASTM E2112
The Physics of Internal Rot: Vapor Drive and the Dew Point
In colder climates, the rot often starts from the inside out due to a process called vapor drive. During the winter, your heated interior air holds significantly more moisture than the cold exterior air. This moisture-laden air is under pressure to migrate toward the dry, cold outside. If your windows lack a proper thermal break or if the weatherstripping is failing, that warm air hits the cold surfaces within the window frame or the rough opening. When the temperature of that air drops below the dew point, the water vapor transitions into liquid water. If this happens inside the frame, it creates a micro-environment perfect for fungal growth.
This is where the U-factor becomes critical. Most people think of the U-factor as just an energy-saving metric, but for a master glazier, it is a condensation-management tool. A lower U-factor means the interior surface of the glass and the frame stays warmer. By keeping the surface temperature above the dew point, we prevent the moisture from ever liquefying. For those in the North, I always recommend triple-pane glass with an Argon or Krypton gas fill and a Low-E coating on Surface #3. This configuration reflects long-wave infrared radiation back into the room, keeping the glass warm and the wood dry. Without this thermal management, you will find yourself needing to replace windows every ten years regardless of the brand name on the sash.
The Installation Autopsy: Where the Systems Fail
When I perform a window repair or a full teardown, I am looking for the failure of the “shingle principle.” This is the basic architectural rule that every layer of the building must overlap the one below it so that gravity pulls water away from the structure. Most leaks that cause internal rot happen at the head flashing or the sill. If the drip cap is missing or improperly tucked under the house wrap, water will track behind the window unit. Once water enters that space, it has no way out unless the installer has used a sloped sill pan with dedicated weep holes.
We also have to talk about the rough opening tolerances. If an installer shims the window too tightly without leaving room for backer rod and high-quality sealant, the frame cannot expand and contract with the seasons. This mechanical stress eventually cracks the glazing bead or separates the miter joints. In vinyl windows, these cracks are often microscopic, but they are wide enough for capillary action to draw water into the core of the frame. Unlike fiberglass, which is incredibly stable, vinyl expands and contracts at a rate seven times higher than the glass itself. That movement is a constant battle against your sealant joints.
“Air leakage is not just an energy issue; it is a durability issue. Moisture transported by air through the building envelope is the primary cause of premature building component failure.” – AAMA Installation Masters Guide
Identifying the Signs: The Screwdriver and the Hygrometer
How do you know if your frames are rotting from within? Start with the screwdriver test. Take a flathead screwdriver and press firmly against the bottom rail of the sash and the lowest point of the exterior sill. If the wood yields more than a sixteenth of an inch, you have active rot. But the internal signs are subtler. Look for bubbling paint on the interior casing or drywall. This is often a sign that water is saturated behind the wood and is trying to evaporate through the paint. Check for discoloration on the miter joints of your interior trim. If the wood looks darker at the corners, it is wicking moisture from the rough opening.
Another telltale sign is the behavior of the operable components. If a sash that used to glide easily is now sticking, it is likely that the wood core of the frame has absorbed moisture and swollen. This distortion can also cause the glass to crack or the insulated glass unit (IGU) seal to fail, leading to permanent fogging. At this point, the debate between window repair and a full-frame replacement is usually over. If the structural timber is soft, a pocket replacement (where we just drop a new window into the old frame) is a waste of money. You are just hiding the rot, not fixing it.
The Solution: Water Management as a Science
To truly protect a home, we must move beyond the “caulk-and-walk” mentality. A proper installation involves a comprehensive flashing system. This starts with a mechanically sloped sill pan made of either a flexible flashing membrane or a rigid plastic. This pan ensures that any water that gets past the window’s primary seals is caught and directed back out onto the building’s drainage plane. We then use high-performance flashing tape to seal the side flanges, ensuring we do not seal the bottom flange. Leaving the bottom flange unsealed is a counter-intuitive but critical step; it allows the sill pan to breathe and drain.
When you choose to replace windows, don’t just look at the brand of the glass. Look at the credentials of the person holding the caulk gun. Ask them about their flashing strategy. Ask them how they manage the interface between the window and the weather-resistive barrier. If they tell you they just “seal it up tight with foam,” find a different contractor. Proper water management requires an understanding that every seal will eventually fail, and when it does, the structure must be prepared to handle it. Your windows are the eyes of your home, but the frames are the bones. Don’t let them rot from the inside out because of a ten-dollar roll of tape or a lack of understanding of the dew point. Professional installation is the difference between a window that lasts fifty years and one that fails in five. It is an investment in the very skeleton of your house.
{“@context”: “https://schema.org”, “@type”: “HowTo”, “name”: “How to Detect and Prevent Internal Window Frame Rot”, “step”: [{“@type”: “HowToStep”, “text”: “Perform a screwdriver test on the exterior sill and sash to check for soft wood.”}, {“@type”: “HowToStep”, “text”: “Inspect interior drywall and casing for bubbling paint or musty odors.”}, {“@type”: “HowToStep”, “text”: “Verify that the sash operates smoothly without sticking, which could indicate swelling.”}, {“@type”: “HowToStep”, “text”: “Check for condensation between the glass panes, indicating a failed seal.”}, {“@type”: “HowToStep”, “text”: “Consult a professional to inspect the flashing and sill pan if rot is suspected.”}]}