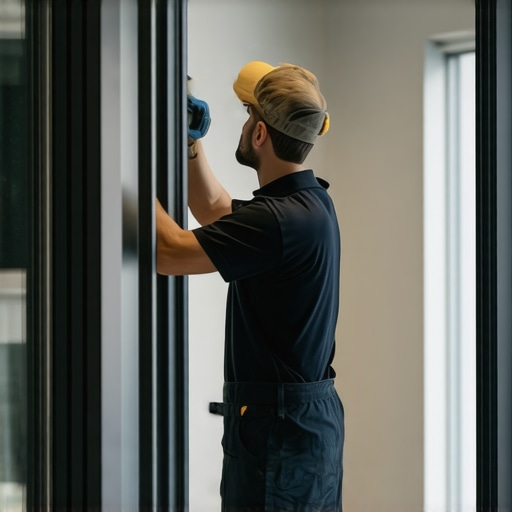
A sliding glass door is a mechanical assembly that must fight gravity, wind pressure, and thermal expansion simultaneously. When you see a gap at the top of your sliding door, you are not just looking at a cosmetic flaw. You are looking at a failure of the building envelope. As a glazier with over two decades in the field, I have seen homeowners try to solve this with rolls of adhesive foam or, worse, tubes of cheap latex caulk. Neither works. To fix a gap, you must understand the geometry of the Rough Opening and the mechanics of the tandem roller system.
The Condensation Crisis: A Narrative of Structural Shift
I recall a call in late October from a homeowner who was convinced their glass seals had failed because of heavy condensation on the interior glass. I arrived with a hygrometer and a digital level. The humidity was high, yes, but the culprit was a 3/16 inch gap at the top left corner of the active panel. I showed the owner how the warm, moist indoor air was escaping through that gap, hitting the cold exterior frame, and liquefying. It was not a window repair issue in the traditional sense; it was a leveling issue. The house had settled slightly, and the Sill was no longer level, causing the door to ‘rack’ within the frame. This ‘out of square’ condition is the primary driver of air infiltration in sliding systems.
“Installation is just as critical as the window performance itself. A high-performance window installed poorly will fail.” – AAMA Installation Masters Guide
The Physics of the Gap: Why It Happens
Sliding glass doors rely on a track and roller system. The active panel sits on two adjustable tandem rollers. If the Rough Opening is not perfectly square, or if the house has experienced even a millimeter of movement, the door will not seat into the head track correctly. In cold climates, this gap triggers the Stack Effect. Warm air, being less dense, rises and pushes out through the top of the door, while cold air is sucked in at the bottom. This ruins your home’s U-Factor performance, regardless of how many Low-E coatings you have on the glass.
The Roller Paradox: Fixing the Top by Adjusting the Bottom
It sounds counterintuitive to many, but you fix a gap at the top of the door by adjusting the screws at the very bottom. Most modern sliding doors have two adjustment holes, one on each end of the bottom rail. By turning these screws clockwise, you extend the rollers, lifting that side of the door. If the gap is at the top right, you likely need to raise the right roller or lower the left roller. This tilts the entire panel back into a square orientation relative to the Side Jamb. However, if you have to extend the rollers to their maximum height to close the gap, you likely have a sag in the header, a much more serious structural concern.
Glazing Zooming: Understanding Thermal Performance
When we talk about the need to replace windows or doors, we are often talking about the failure of the thermal break. In aluminum doors, a gap at the top allows the ‘short-circuiting’ of the thermal barrier. If the gap is present, the Solar Heat Gain Coefficient (SHGC) becomes irrelevant because you have direct air exchange. For those in northern climates, the goal is a low U-Factor. A gap acts as a thermal bridge that bypasses the insulating properties of the Argon gas fill between your glass panes. We must maintain a tight seal against the Weatherstripping (usually a high-density polypropylene pile) to ensure the window’s performance matches its NFRC rating.
“Air leakage is a primary contributor to building energy loss, often exceeding the conductive heat transfer through the glazing itself.” – NFRC Performance Standards
The Step-by-Step Fix for an Out-of-Square Door
First, use a vacuum to act as a window cleaner for the tracks. Grit and debris are the enemies of the roller assembly. A single pebble can cause a roller to jump or wear flat spots, leading to an uneven hang. Second, locate the adjustment screws. These are often hidden by plastic caps. Third, while an assistant watches the gap at the top, turn the screw with a Phillips head driver. You will see the Sash move up or down. Fourth, check the Interlocker. This is the vertical piece where the two panels meet. If the door is crooked, the interlocker will not engage, and you will lose your air seal. Fifth, inspect the Weep Holes. If the door is tilted too far to one side, water may collect in the track instead of draining out, leading to rot in the subfloor.
When a Simple Adjustment Fails
If you adjust the rollers and the gap remains, the issue is likely the Rough Opening itself. I have seen headers that were undersized for the span of a six-foot door. Over time, the weight of the roof loads the header, causing it to bow downward. In this scenario, the center of the head track is lower than the ends. This is when you stop looking for a window repair kit and start looking for a structural contractor. A ‘racked’ frame cannot be fixed with a screwdriver; it requires a full-frame replace windows strategy where the Sill Pan and Flashing Tape are re-integrated from scratch.
Maintenance and the Role of the Window Cleaner
Regular maintenance is not just about aesthetics. When you hire a window cleaner, ensure they are also cleaning the head track and the Glazing Bead areas. Dust accumulation in the top track creates friction against the top of the door, which can cause the rollers to work harder and fail prematurely. Lubricate the tracks with a dry silicone spray. Never use grease or WD-40, as these attract dirt and create a grinding paste that will destroy the stainless steel rollers within a season. A well-maintained sliding door should move with the touch of a single finger.
Final Verdict: The Importance of the Sill
Water management is the silent partner in window installation. If your sliding door has a gap at the top, it may also have a drainage problem at the bottom. A properly installed door sits on a Sill Pan that is sloped to the exterior. If the gap at the top is caused by the sill sinking, water will eventually find its way into your floor joists. Do not ignore the gap. It is the first warning sign of a failing system. Adjust your rollers, clean your tracks, and if the frame remains distorted, accept that the ‘life’ of that unit has reached its conclusion. Investing in a high-quality fiberglass or thermally broken aluminum replacement is the only way to restore the integrity of your home’s thermal envelope.