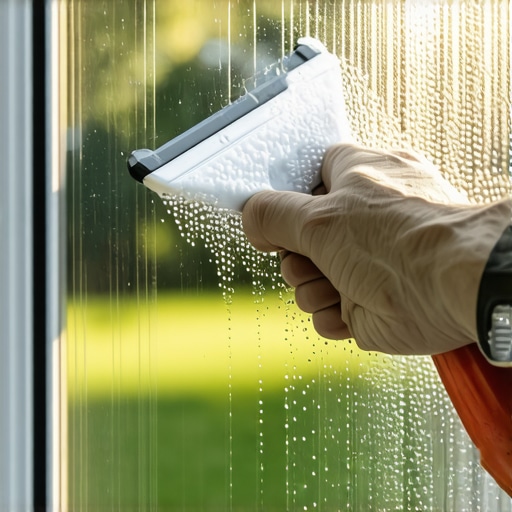
Beyond the Squeegee: The Technical Reality of Window Maintenance
In twenty five years of hanging glass, I have seen every possible failure of the window system. A homeowner called me in a panic because their new windows were ‘sweating.’ I walked in with my hygrometer and showed them the humidity was 60%. It was not the windows; it was their lifestyle choices and lack of proper ventilation. They thought they needed a window cleaner, but what they actually had was a physics problem. When we talk about how to dry windows for a crystal clear finish, we are not just discussing a spray bottle and a rag. We are discussing the management of surface tension, mineral desiccation, and the thermal properties of the glazing bead.
“Installation is just as critical as the window performance itself. A high-performance window installed poorly will fail.” AAMA Installation Masters Guide
The Physics of Surface Residuals
To achieve a truly clear finish, you must understand the molecular behavior of water on a glass substrate. Most people fail because they allow evaporative cooling to dictate the process. When you apply a window cleaner and let it sit, the water carrier evaporates, leaving behind a concentrated layer of particulates. These particulates are often minerals like calcium or magnesium found in tap water. This is why a master glazier never uses tap water for a final rinse. If you are attempting a window repair involving a seal failure, you will notice that the internal glass surfaces are perpetually ‘dirty.’ This is because the desiccant in the spacer bar has reached its saturation point and is now outgassing, creating a permanent haze that no amount of drying will fix.
Glazing Zooming: The Role of Low-E Coatings
In northern climates like Chicago or Minneapolis, we prioritize the U-Factor. We want to keep heat inside. This often means applying a Low-E coating on Surface #3. However, high-performance units may also have a hard coat on Surface #4, which is the interior face you actually touch. This coating changes the emissivity of the glass, which fundamentally alters how water behaves during the drying process. A window with a Surface #4 coating will feel different to your squeegee; it has higher friction. If you use a standard abrasive window cleaner on this surface, you risk microscopic degradation of the metallic oxide layer. To dry these windows without leaving a ghostly residue, you must use a surgical grade huck towel to detail the edges near the glazing bead, ensuring no moisture remains trapped in the shim space or the rough opening perimeter.
When Cleaning Becomes a Window Repair Conversation
If you find that your windows remain cloudy regardless of your drying technique, you are likely looking at a compromised IGU (Insulated Glass Unit). When the secondary seal of a sash fails, the argon gas escapes and moist air enters. No amount of microfiber buffing will resolve this. You are no longer in the realm of maintenance; you are in the realm of window repair or full replacement. This is where the rough opening tolerances become critical. If the original installer did not properly shim the frame, the resulting stress on the sash can cause the glass to flex, eventually popping the seal. I have seen countless ‘caulk-and-walk’ jobs where the installer ignored the sill pan and flashing tape, leading to water infiltration that rotted the framing before the homeowner even noticed the first streak on their glass.
“Standard Practice for Installation of Exterior Windows, Doors and Skylights must be followed to ensure the thermal envelope remains intact.” ASTM E2112
The Professional Drying Protocol
To dry a window for a crystal clear finish, follow the protocol used by those of us who install five thousand dollar curtain walls. First, remove the bulk of the water with a high-grade rubber squeegee. The ‘S-technique’ is mandatory to prevent water from being pushed into the weep hole where it can stagnate. Second, use a dry, lint-free microfiber cloth to address the perimeter. You must be careful not to pull old dirt from the muntin or the sash joints back onto the clean glass. Third, inspect the glass at a forty five degree angle. This allows you to see the refraction of light through any remaining surfactant film. If you see streaks, you are seeing the chemical residue of the cleaner, not the glass itself. This is why many professionals move toward pure water systems that use deionization to strip the water of all minerals, allowing it to dry naturally without a single wipe.
Framework and Hardware Maintenance
A crystal clear finish is wasted if the hardware is failing. While you are drying the glass, check the operable parts of the window. Does the sash slide smoothly? Is the weatherstripping compressed or brittle? If you see water pooling in the bottom track, your weep holes are likely clogged. Use a small wire or compressed air to clear them. If water cannot escape the frame, it will eventually find its way into your subfloor. This is the difference between a homeowner who cleans and a specialist who maintains. When you decide to replace windows, you are buying more than glass; you are buying a water management system. Ensure your installer uses high-quality flashing tape and a proper sill pan to protect the rough opening from the inevitable moisture that occurs during cleaning and rain events.