The Silent Destruction of the Wood Cell
I pulled a wood-clad sash out of a home in the Pacific Northwest recently, and while the exterior aluminum cladding looked pristine, the structural pine core was essentially compost. Why? The previous installer had failed to integrate the window into the drainage plane, relying on a bead of cheap latex caulk that had long since cracked. This is the reality of residential fenestration: water does not simply sit on a surface; it migrates through capillary action into the most vulnerable parts of your rough opening. When you see a soft spot on your windowsill, you are not just looking at a cosmetic blemish. You are looking at the failure of a complex moisture management system. As a glazier with over two decades in the field, I can tell you that by the time the paint bubbles, the lignin in the wood has often already been consumed by fungal organisms. You have a limited window of time to act before a simple window repair turns into a mandatory project to replace windows across the entire facade.
“Water penetration is the single greatest cause of building envelope failure. Proper flashing and sill pan integration are mandatory, not optional, for the longevity of the fenestration assembly.” – ASTM E2112 Standard Practice for Installation of Exterior Windows
The Anatomy of Decay: Why Windowsills Rot
To understand how to save a sill, you must understand why it is dying. Wood rot occurs when the moisture content of the timber exceeds 20% for a sustained period, allowing aerobic fungi to feast on the cellulose. In northern, damp climates, the enemy is often the dew point. When warm, humid indoor air hits a cold glass surface, condensation forms. This liquid then tracks down the glazing bead and pools at the intersection of the sash and the sill. If the weep holes in the frame are blocked by debris or if a window cleaner has accidentally pushed gunk into the drainage channels, that water stays trapped. Over time, the paint film fails, and the wood begins to absorb moisture like a sponge. This is where ‘Glazing Zooming’ becomes critical: we aren’t just talking about ‘wet wood.’ We are talking about the hygroscopic nature of wood fibers. As they swell and contract, they create micro-fissures in the wood’s cellular structure, which further accelerates the intake of water. This cycle is what leads to the ‘punky’ texture you feel when you press a screwdriver into a failing sill.
The Diagnostic Phase: Probing the Rough Opening
Before you commit to a repair, you must perform a forensic audit of the damage. Use a thin-blade awl or a flathead screwdriver to probe the entire length of the sill and the lower six inches of the side jambs. If the metal tip sinks more than a quarter-inch with minimal pressure, the rot is structural. You also need to inspect the transition where the sill meets the exterior siding. In many cases, the absence of a drip cap or a properly sloped sill (it should have a minimum 15-degree pitch) is the primary culprit. If you find that the rot has reached the jack studs or the header, you are no longer in the realm of simple repair; you are looking at a full-frame tear-out. However, if the damage is localized to the surface of the sill, we can employ advanced chemical stabilization techniques to halt the decay.
The Restoration Protocol: Chemical Consolidation
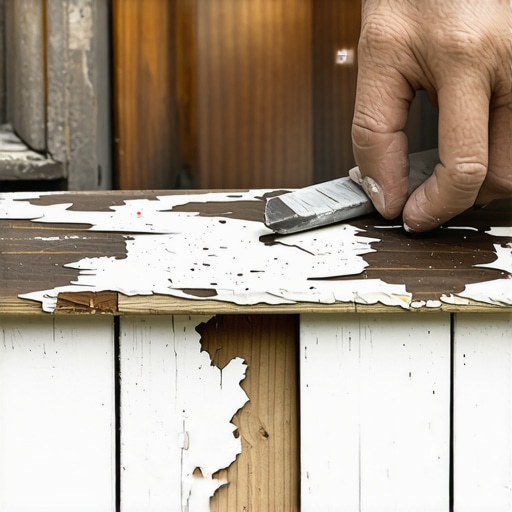
Saving a rotted sill requires more than just wood filler. You need a two-part epoxy system that acts as a structural consolidant. First, you must remove all the soft, decayed material using a vacuum and a scraper. Once you are down to firm (even if discolored) wood, you apply a liquid epoxy penetrant. This low-viscosity resin wicks into the dry wood fibers, replacing the air pockets with a plastic-like bond. This process effectively petrifies the remaining wood, making it impervious to future moisture. After the consolidant has cured, you use a high-viscosity wood epoxy paste to rebuild the profile of the sill. This is where the skill of the glazier meets the precision of a sculptor. You must shim the area if necessary to ensure the new surface maintains the correct slope for water runoff. This is not a ‘caulk-and-walk’ fix; it is a permanent molecular bond that, when painted correctly, will outlast the original wood.
“Installation is just as critical as the window performance itself. A high-performance window installed poorly will fail due to uncontrolled water intrusion and air infiltration.” – AAMA Installation Masters Guide
When to Replace Windows vs. Repairing
I often have to explain to homeowners that while I can save a sill, I cannot save a failed Insulated Glass Unit (IGU). If you see fogging between the panes or if the spacers have shifted, the argon gas has escaped and the thermal integrity is gone. In these cases, even if you fix the wood rot, the window will continue to be a source of energy loss. In colder climates, a low U-factor is the priority to prevent the very condensation that causes the rot. If your current windows are single-pane or have aluminum spacers that conduct cold, the repair might only be a temporary band-aid. If the cost of the repair exceeds 50% of the cost of a new, high-performance fiberglass unit with a warm-edge spacer and a Low-E coating on surface #3, it is time to move toward replacement. A modern unit with an integrated sill pan will eliminate the moisture risk at the source by ensuring that any water that bypasses the primary seals is directed back outside through the weep holes.
Maintenance: The Role of the Professional Window Cleaner
The best way to avoid this entire process is preventative maintenance. A professional window cleaner does more than just make the glass sparkle; they are your first line of defense. They should be checking that the weep holes are clear and that the glazing bead is not pulling away from the glass. If water can bypass the glazing bead, it will find its way into the sash rail and eventually the sill. I recommend a semi-annual inspection of all exterior caulking. If you see gaps where the window frame meets the casing, you must remove the old sealant and apply a high-quality neutral-cure silicone or a high-performance hybrid polymer. Do not use cheap acrylic latex; it cannot handle the thermal expansion and contraction of a window frame, which can move up to an eighth of an inch in a single day. Keeping the exterior envelope tight is the only way to ensure the longevity of your home’s structural integrity.