The Hidden Rot Behind the Nailing Fin: A Glazier’s Warning
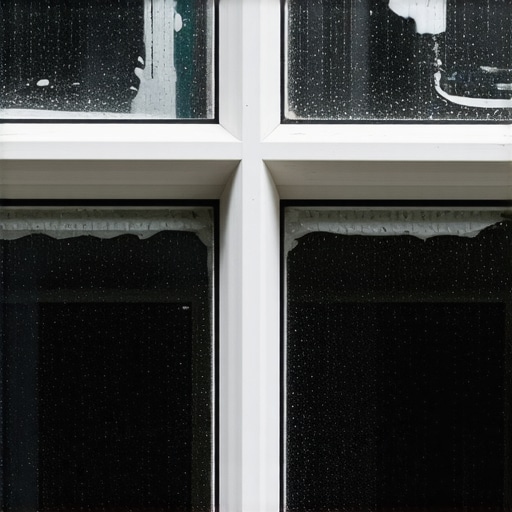
I pulled a double-hung wood window out of a Victorian in the North End last November and what I found behind the exterior casing was a masterclass in structural failure. The homeowner had tried to tackle a window repair himself after noticing a small leak during a spring thunderstorm. He had spent hours with a high-end sealant gun, but the header was completely black with rot. Why? The previous DIY attempt relied on the nailing fin and a bead of silicone instead of integrated flashing tape and a proper drip cap. Water doesn’t care about your intentions; it only cares about gravity and capillary action. When you trap moisture behind the window flange because you didn’t understand the shingle principle of water shedding, you aren’t fixing a window; you are building an incubator for wood-destroying fungi.
The Physics of the Thermal Bridge
Most homeowners believe that a window is a static object. In reality, a window is a dynamic thermal valve that expands and contracts at a different rate than the surrounding rough opening. In northern climates where the temperature differential between the interior 70 degrees and the exterior sub-zero wind chill is extreme, the U-Factor becomes the ultimate arbiter of comfort. A DIYer often attempts to replace windows using pocket inserts, failing to realize that the original weight pockets are now uninsulated voids. This creates a massive thermal bridge. When warm, moist indoor air hits that cold pocket, it reaches the dew point instantly. Condensation forms inside the wall cavity, and within six months, you have saturated insulation and mold growth that no window cleaner can scrub away.
“Installation is just as critical as the window performance itself. A high-performance window installed poorly will fail.” – AAMA Installation Masters Guide
The Failure of the ‘Caulk-and-Walk’ Method
The primary reason a window repair fails within the first two seasons is the misuse of sealants. A glazier knows that sealant is the secondary line of defense, never the primary. The primary defense is the flashing system. When a DIYer applies a thick bead of caulk over a weep hole, they effectively dam the window’s internal drainage system. Every operable sash is designed to allow a minute amount of water into the glazing channel, which then exits through the weep holes. Plug those holes, and the water backs up into the sash rail, causing the insulated glass unit (IGU) to suffer seal failure. Once that seal is breached, the argon gas escapes, and you are left with permanent fogging and a window that has the R-value of a screen door.
Understanding the NFRC Label and Surface Coatings
In our cold northern environment, we prioritize the U-Factor over the Solar Heat Gain Coefficient (SHGC). A professional installation involves selecting glass with a Low-E coating specifically on Surface #3. This placement is strategic; it reflects long-wave infrared radiation—the heat from your furnace—back into the living space. Many DIY-grade windows off the shelf at big-box retailers are optimized for southern climates with the coating on Surface #2 to reject solar gain. If you install these in a cold climate, you are effectively fighting your own heating system. Furthermore, the glazing bead on cheaper units is often not UV-stabilized, leading to embrittlement and cracking after just one summer of exposure to high-altitude ultraviolet rays.
“The flashing system shall be designed and installed to prevent water from entering the building envelope or damaging the window frame.” – ASTM E2112 Standard Practice
The Critical Role of the Sill Pan
If you aren’t using a sill pan, you aren’t installing a window correctly. A sill pan is a three-sided flashing component that sits at the bottom of the rough opening. It is designed with a back-dam to ensure that any water that penetrates the frame is directed back to the exterior. Most DIYers skip this step because it requires more prep work. Instead, they set the window directly onto the wooden sub-sill. Without a shim to level the unit and create a gap for drainage, the window sits in a permanent puddle. By the time the first six months have passed, the constant moisture has caused the wood to swell, making the window difficult to operate and eventually leading to the catastrophic rot I see every week.
Why Precision Shimming Matters
A window must be square, level, and plumb, but it also must be ‘planar.’ If one corner of the frame is pulled further toward the interior than the others, the sash will not seat properly against the weatherstripping. This creates an air bypass. A DIYer often over-tightens the mounting screws, bowing the jamb. We use a shim at every attachment point to maintain the structural integrity of the frame. Without this, the operable parts of the window will eventually bind. The stress of trying to force a bound window shut can crack the muntin bars or even the glass itself. True window repair isn’t about more caulk; it’s about restoring the geometry of the opening to allow the hardware to function as engineered.