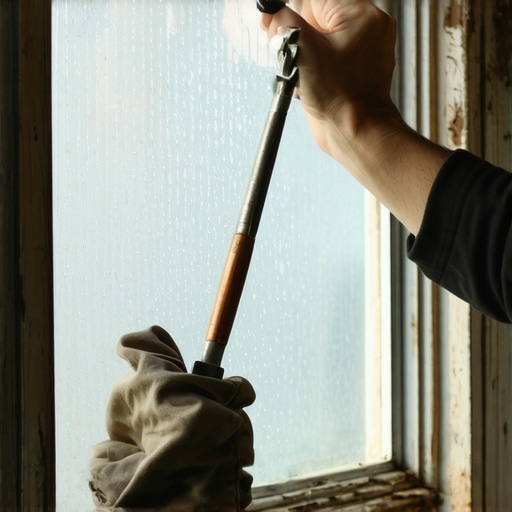
The Art of the Bedding Bead: Why Your Old Windows Are Worth Saving
In my twenty-five years of handling glass, I have seen thousands of homeowners rush to replace windows because of a single cracked pane. They think the wood is obsolete. They think the draft is the fault of the design. But more often than not, the failure is in the maintenance, not the material. A well-maintained wood sash can outlast a vinyl replacement three times over if you understand how to manage the glazing system. I remember a homeowner in a drafty Victorian who called me in a panic because their new windows were ‘sweating’ after a cold snap. I walked in with my hygrometer and showed them the humidity was 60 percent. It wasn’t the windows; it was their lifestyle and a lack of proper air exchange. That same house had beautiful original wood sashes in the attic that just needed a bit of glass work. We saved them for a fraction of the cost of a full frame tear-out. Repairing an old wood sash is a masterclass in moisture management and thermal boundary control.
The Anatomy of a Wood Sash
Before you pick up a putty knife, you have to understand the rough opening and the components involved. An old wood window relies on a Sash, which is the moveable part of the window. Within that sash, you have Muntins (the thin strips of wood that divide the panes). When glass breaks, it is usually because of structural shifting or, more commonly, the failure of the glazing compound. Over thirty years, the linseed oil in the putty evaporates, leaving the compound brittle. Once the seal is gone, water find its way into the Glazing Bead area, causing the wood to swell and the glass to crack under pressure.
“Installation is just as critical as the window performance itself. A high-performance window installed poorly will fail.” – AAMA Installation Masters Guide
Step 1: The Surgical Removal of Old Putty
You cannot just slap new putty over the old. This is where most DIY attempts fail. You must remove the sash from the frame to do this correctly. This might involve removing the stop molding and disconnecting the sash cords. Once the sash is on a flat bench, use a heat gun to soften the ancient glazing compound. Be extremely careful here. Too much heat in one spot can cause Thermal Shock, cracking the adjacent healthy panes. You are looking to achieve a leather-like consistency. Once soft, use a stiff-handled putty knife to rake out the old material. You will eventually reveal the Glazier’s Points, which are the small metal triangles or diamonds that actually hold the glass in place. Pull these out with needle-nose pliers. You are now left with the bare wood rabbit.
Step 2: Priming the Thirsty Wood
One of the biggest mistakes in window repair is placing new putty directly onto raw, old wood. Old wood is thirsty. It will suck the oil right out of your new glazing compound, causing it to shrink and fail within a year. You must seal the wood first. I use a high-quality oil-based primer or a mixture of boiled linseed oil and turpentine. This ensures the Glazing Bead stays flexible for decades. While the primer dries, you can focus on the glass. If you are in a cold climate, the U-Factor of your glass is critical. While you are likely replacing like-for-like with single-pane glass, consider using a slightly thicker double-strength glass (1/8 inch) if the rabbit allows it, as it offers better resistance to wind pressure.
Step 3: The Bedding Bead and Glass Setting
Now we get to the technical core: the bedding bead. Most people think putty only goes on the outside. Wrong. You must apply a thin rope of glazing compound into the wood rabbit before the glass goes in. This is your primary weather seal. Press the glass firmly into this ‘bed’ until it oozes out the other side. This ensures there are no voids where condensation can collect. Once the glass is seated, drive in new glazier’s points every six inches. They should be driven flat against the glass, not angled, to avoid putting uneven stress on the pane.
“Standard Practice for Installation of Exterior Windows, Doors and Skylights emphasizes the importance of a continuous seal to prevent air and water infiltration.” – ASTM E2112
Step 4: The Finish Glazing and the 1/16th Rule
Take a golf-ball-sized piece of compound and warm it in your hands. Roll it into a long ‘snake’ and press it into the corner of the sash. Holding your putty knife at a 45-degree angle, draw it across the compound in one smooth motion. This creates the finished bevel. Here is the professional secret: the putty line must be slightly below the sightline of the wood on the other side. When you eventually paint, you must ‘lap’ the paint onto the glass by exactly 1/16th of an inch. This paint-to-glass bond is what creates the ultimate waterproof seal. Without this lap, water will run down the glass, get behind the putty, and start the rot cycle all over again.
Thermal Considerations for Northern Climates
In regions like Minneapolis or Chicago, a single pane of glass has a dismal U-Factor, often around 1.0. This means heat is escaping your home as fast as the laws of physics allow. While replace windows is the common advice, you can significantly improve the thermal performance of your repaired wood sash by ensuring a tight seal and using a high-quality storm window. The air gap between the primary sash and the storm window acts as a thermal buffer, similar to how an insulated glass unit works. This prevents the interior glass surface from reaching the Dew Point, which is the temperature at which air can no longer hold its water vapor, resulting in that dreaded condensation on your sashes. Keeping the interior humidity in check is just as important as the window cleaner you use to keep them sparkling.
The Professional Verdict
If the wood is sound, repair is almost always the superior choice for historic integrity and long-term durability. Modern vinyl windows rely on chemical seals and gas fills that will eventually leak. A wood window, properly glazed with a deep bedding bead and a correct paint lap, is a mechanical system that can be serviced indefinitely. Don’t let a salesman tell you that a little cracked glass means the whole unit is trash. Grab a putty knife, find your glazier’s points, and restore the thermal envelope of your home one pane at a time. It is a slow process, but the results are a window that breathes with the house and stands up to the harshest winters without failing at the seals.