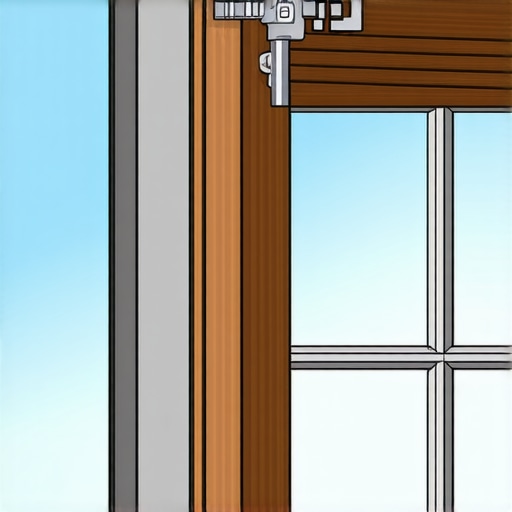
The Anatomy of a Failing Sash
Few things are as frustrating as an operable window that refuses to cooperate with gravity. You attempt to open your double-hung window to let in a crisp autumn breeze, only to have the upper or lower sash slowly slide back down like a tired eyelid. Most homeowners assume the internal mechanism is snapped and that they need to replace windows entirely. However, as someone who has spent over two decades in the glazing trade, I can tell you that nine times out of ten, the issue is simply a loss of tension in the spiral balance. A sagging sash isn’t just a nuisance; it is a thermal liability. When a sash fails to seat properly against the head or the sill, the weatherstripping cannot compress. This creates a direct path for air infiltration, effectively rendering your expensive Low-E glass useless because the rough opening is no longer airtight. Before you call a window cleaner or a contractor for a full tear-out, you need to understand the physics of the balance system.
“Installation is just as critical as the window performance itself. A high-performance window installed poorly will fail.” – AAMA Installation Masters Guide
A homeowner called me in a panic because their new windows were ‘sweating.’ I walked in with my hygrometer and showed them the humidity was 60%. It wasn’t the windows; it was their lifestyle, but more importantly, the sashes weren’t closing tightly because the balances had lost their preload. The moisture was condensing on the glass because the cold exterior air was leaking past the meeting rail, dropping the surface temperature of the glass below the dew point. They thought they needed a window repair specialist to swap the IGU (Insulated Glass Unit), but all they needed was a $6 tension tool and five minutes of calibration. We lowered the interior humidity and tightened the sashes, and the ‘leaky windows’ were suddenly performing at their rated U-Factor again.
The Science of Spiral Balances and Torsion
To understand why your window is sagging, we must look at the mechanics of the spiral balance. Inside that slim metal or plastic tube hidden in the window jamb is a high-tension torsion spring wrapped around a spiral rod. This rod is attached to a carrier that holds the sash. The spring’s job is to provide a counter-force exactly equal to the weight of the sash. Over years of operation, the steel in that spring can fatigue or the grease can dry out, leading to a loss of torque. If the spring cannot exert enough upward force, the sash will succumb to gravity. In colder climates like Chicago or Minneapolis, this is exacerbated by the contraction of vinyl frames. As the vinyl shrinks in the winter, the friction between the glazing bead and the jamb decreases, making it even easier for a weak balance to fail. This is why U-Factor is king in the north; you need that sash to stay pressed firmly into the pocket to maintain the thermal envelope.
The $6 Solution: The Spiral Tensioning Tool
The tool in question is a simple steel rod with a notched end, designed specifically to engage the pins at the bottom of a spiral balance. You do not need a complex window repair kit. You simply need to bypass the ‘caulk-and-walk’ mentality and do the mechanical work. To fix a sagging sash, you first raise the sash and remove it from the frame, or at least disengage it from the balance. You then use the tension tool to hook the pins at the bottom of the balance tube. By pulling the rod down and turning it clockwise (usually two to three full rotations), you increase the stored energy in the internal spring. This is precision work. Over-tensioning can cause the sash to ‘hop’ or even bend the mounting bracket, while under-tensioning leaves you back at square one with a sagging window. Once the tension is set, you re-engage the pin into the carrier, and the sash should hold its position at any height.
“The air leakage of an installed window shall be determined by the air pressure difference across the specimen.” – ASTM E2112 Standard Practice
When you are performing this repair, it is also the perfect time to act as your own window cleaner and inspector. Check the weep holes in the sill. If these are clogged with debris, water will back up into the sill pan and eventually rot out your wooden framing or cause mold growth behind the drywall. Use a small wire to clear the weep holes and ensure the shingle principle is maintained—water must always have a clear, downward path to the exterior. If you see daylight through the corners of the sash when it is closed, no amount of tension will fix a warped frame, and that is the point where you must consider the ROI of a full-frame replacement.
The Replacement Reality Check
While the $6 tool can save a functional window, there are limits to what repair can achieve. If your windows are single-pane units from the 1970s, the energy loss isn’t just coming from a loose sash; it is coming through the glass itself via radiant heat transfer. In the North, we worry about heat escaping. A single-pane window has an R-value of about 1, whereas a modern triple-pane unit with Argon gas fill and a Low-E coating on surface #3 can reach an R-value of 5 or higher. The $6 tool fixes the mechanical operation, but it won’t stop the molecular heat transfer. However, I always tell clients: don’t buy the sales pitch of a 5-year ROI on energy savings. The real reason to replace windows is comfort and structural integrity. A window that stays up when you want it to and locks tight against the wind is a window that preserves your home’s value.