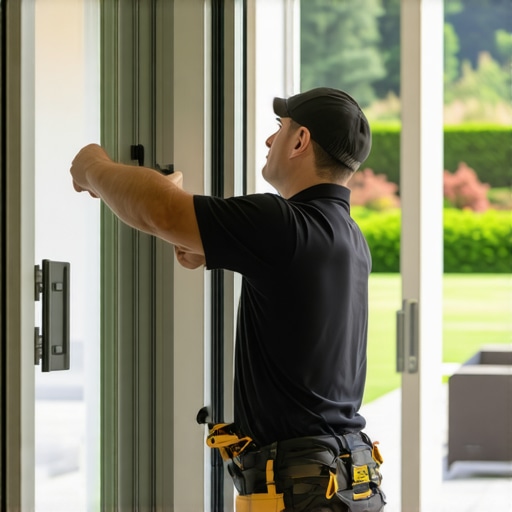
The Structural Reality of a Failing Patio Door
A drooping patio door is rarely just a cosmetic annoyance. It is a sign of a failing thermal envelope and a potential structural hazard. In my 25 years as a Master Glazier, I have seen thousands of homeowners ignore a sticking door until the day the tempered glass shatters because the frame has shifted beyond its design tolerances. I once pulled a sliding unit out of a residence where the homeowner thought the rollers were just dirty. Upon removing the exterior trim, I found the entire Rough Opening header was soft and black with rot. The previous installer had neglected the head flashing, and water had been siphoning into the framing for a decade. This is why we do not just ‘caulk and walk.’ We analyze the physics of the opening. A standard sliding door is a massive Operable window that must manage hundreds of pounds of glass while maintaining an airtight seal. When it droops, you lose the U-Factor performance you paid for, and your HVAC system starts trying to heat the entire neighborhood through a gap in the interlocker.
“Installation is just as critical as the window performance itself. A high-performance window installed poorly will fail.” AAMA Installation Masters Guide
Step 1: The Rough Opening and Structural Diagnostic
Before you touch a screwdriver, you must understand if the door is drooping because of hardware failure or structural deflection. We use the ‘L over 175’ rule in glazing, which refers to the allowable deflection of a member under load. If your header is sagging, it puts vertical pressure on the Sash, preventing it from sliding. Use a long level to check the head jamb and the Sill Pan. If the center of the head jamb is lower than the corners, you have a structural issue, not a door issue. However, if the frame is square but the door sits crooked in the frame, we look at the shimming. Proper installation requires a high-impact plastic Shim every 12 inches to ensure the load is transferred to the building’s framing without distorting the vinyl or aluminum extrusions. If you are considering the need to replace windows, always ensure the new Rough Opening is properly waterproofed with Flashing Tape integrated into the weather-resistive barrier in a shingle-fashion, meaning the top layer overlaps the bottom to shed water effectively.
Step 2: Tandem Roller Calibration and Mechanical Alignment
Most modern patio doors utilize a tandem roller system located at the bottom of the Sash. These rollers are the unsung heroes of the Glazing world, often made of stainless steel or heavy-duty nylon. Over time, these rollers can collapse or flat-spot. To fix a droop, you must locate the adjustment holes, usually found at the bottom of the door face or the edge, often hidden by a plastic plug. By turning the adjustment screw clockwise, you raise the door. You are not just looking for it to move; you are looking for parallel alignment with the side jamb. If the gap at the top of the door is wider than the gap at the bottom when the door is nearly closed, you must raise that side. This alignment is critical for the weatherstripping to engage. If the door is not square, the ‘brush’ or EPDM gaskets will not compress, leading to air infiltration. This is particularly devastating in northern climates where a cold draft can lower the interior surface temperature of the glass, leading to condensation and mold growth on the Glazing Bead.
“A window’s airtightness is determined by the quality of its seals and the precision of its installation, not just the number of glass panes.” NFRC Performance Standards
Step 3: Track Maintenance and Water Management Systems
A common mistake is thinking a simple window cleaner will fix a sticking door. While cleanliness is important, the mechanics of a sliding door rely on the integrity of the track and the functionality of the Weep Hole system. If water sits in the track because the weep holes are clogged with debris, it will eventually bypass the internal dams and rot your subfloor. Use a vacuum to remove grit, then clean the track with a mild detergent. Never use heavy grease or oil on patio door tracks; it attracts abrasive dust that acts like sandpaper on your rollers. Instead, use a dry silicone spray. While you are there, inspect the Glazing Bead that holds the Insulated Glass Unit (IGU) in place. If it is cracked or pulling away, water can enter the sash and cause the spacer bar to fail, leading to that foggy look between the panes. If the seal is gone, your Argon gas has escaped, and your R-value has plummeted. At this stage, a professional window repair might involve replacing the glass unit itself rather than the entire frame.
Thermal Performance and Climate Logic
In colder regions, a drooping door is a thermal disaster. When the interlocker (the part where the two doors meet) does not line up, you lose the benefit of your Low-E coatings. In a northern climate, we want the Low-E coating on Surface 3 to reflect radiant heat back into the room. A gap in the door allows that heat to escape via convection, rendering the expensive glass useless. We look for a high Condensation Resistance Factor (CRF). If your door is properly aligned and you still see moisture, check your home’s humidity with a hygrometer. Often, it is not a window failure but a lack of air exchange in a tight house. However, if the draft is physical, the mechanical alignment from Step 2 is your only cure. Precision in the Rough Opening is the difference between a door that lasts 30 years and one that needs a full frame tear-out in five. Don’t be the installer who relies on caulk; be the one who understands the science of the shim and the flow of the water.