The Invisible Seal: Why Glazing Beads Are the Unsung Heroes of Your Home
In my twenty-five years as a master glazier, I have seen thousands of homeowners rush to replace windows when a simple window repair would have sufficed. The glazing bead is a small, often overlooked strip of vinyl, aluminum, or wood that holds the glass unit securely within the sash. Over time, these components degrade due to UV exposure and thermal cycling. Before you decide to replace windows entirely, understanding how to manipulate these beads with a professional-grade putty knife can save you thousands in unnecessary contractor fees.
The Condensation Crisis: A Master Glazier’s Perspective
I remember a call-out in a drafty suburb of Chicago during a brutal January cold snap. A homeowner called me in a panic because their brand-new double-pane windows were ‘sweating’ and dripping water onto the sill. They were convinced the seals had failed. I walked in with my hygrometer and showed them the indoor humidity was hovering at 60 percent while it was 5 degrees outside. It was not a manufacturing defect; it was their lifestyle choices combined with shrinking glazing beads that allowed cold air to reach the interior glass edge. The beads had contracted so much that they created a thermal bridge. I did not sell them new glass; I taught them how to reset the beads and manage their interior dew point. This is the difference between a salesman and a craftsman.
Technical Anatomy of the Glazing System
To perform a successful window repair, you must understand the physics of the Insulated Glass Unit (IGU). The glass is not just sitting in the frame; it is held in place by a combination of setting blocks at the bottom and the glazing beads on the perimeter. In cold climates like Minneapolis or Toronto, the U-Factor is the most critical metric. A low U-Factor indicates better resistance to heat flow. The glazing bead acts as the primary barrier against air infiltration that can bypass the glass itself. When these beads become brittle, the argon or krypton gas fill inside your IGU becomes your only line of defense, but if moisture enters the glazing pocket, it will eventually overwhelm the primary polyisobutylene seal.
“Installation is just as critical as the window performance itself. A high-performance window installed poorly will fail.” AAMA Installation Masters Guide
The Tool of the Trade: Selecting Your Putty Knife
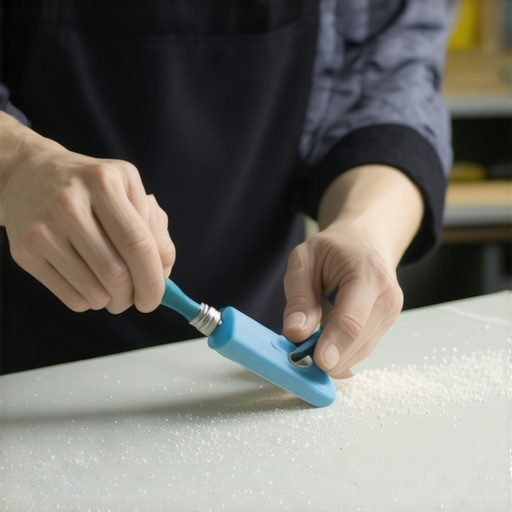
Not all putty knives are created equal. For removing glazing beads, you need a 1.5-inch stiff-blade putty knife. A flexible spreader used for drywall will simply buckle under the pressure. The blade must be sharp enough to find the seam between the bead and the sash but dull enough not to gouge the vinyl or wood. I always keep a dedicated ‘bead knife’ in my kit that I have slightly rounded at the corners with a bench grinder to prevent scratching the glass. This is a surgical operation, not a demolition job.
Step-by-Step: The Professional Removal Technique
First, ensure the area is clean. Any professional window cleaner will tell you that grit and dirt act like sandpaper during this process. Wipe down the sash and the bead thoroughly. Locate the longest bead first, usually the side pieces. Insert the corner of your stiff putty knife into the center of the bead length. Do not start at the corners; this is where the mitered joints are tightest and most prone to snapping. Gently apply pressure away from the glass. You are looking to disengage the ‘barb’ of the bead from the ‘kerf’ or channel in the sash. Once the center pops out, work your way toward the corners. You will hear a distinct clicking sound as the vinyl releases. If you are working on an older operable sash, be mindful of the muntins, which can be fragile. Repeat this for the top and bottom beads, always supporting the glass as the last bead is removed to ensure it does not tip out of the rough opening unexpectedly.
Climate-Specific Considerations: The North/Cold Logic
In northern climates, the goal is to keep heat inside. This is why we focus on Surface #3 Low-E coatings, which reflect long-wave infrared radiation back into the room. However, if your glazing beads are loose, that expensive coating is doing only half the work. Air will ‘wash’ over the interior surface of the glass, creating a convection current that makes the room feel cold despite what the thermostat says. Properly seated beads ensure that the warm-edge spacers between the glass panes can do their job of preventing condensation at the perimeter. When you perform a window repair, check the weep holes at the bottom of the frame. If these are clogged while you are replacing the beads, moisture will trap against the IGU, leading to premature seal failure.
“Proper integration of the window into the building envelope is mandatory for long-term performance.” ASTM E2112 Standard Practice
When to Repair and When to Replace
While mastering the putty knife can extend the life of your fenestration, there is a point of diminishing returns. If the sash itself is warped or the wood is rotted due to a failed sill pan, no amount of bead replacement will save it. However, many people are talked into a full-frame replacement when a simple IGU swap and new glazing beads would suffice. The ROI on total replacement can take 30 to 50 years to realize in energy savings alone. Comfort and structural integrity are the real reasons to upgrade. If your frames are solid, learn the art of the bead. It is the hallmark of a homeowner who understands that a house is a living system that requires maintenance, not just consumption.