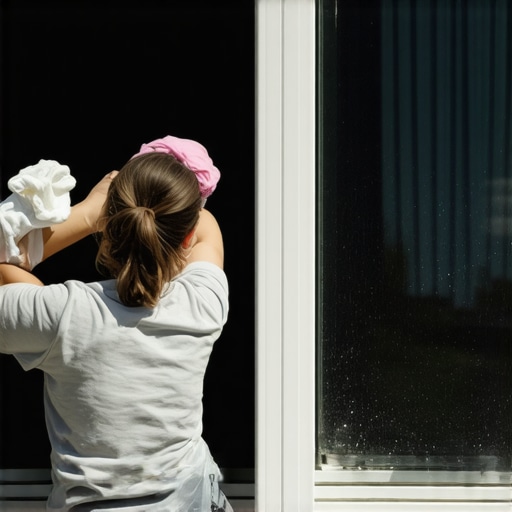
The Mud Slurry Mistake: Why Your Cleaning Routine is Killing Your Glazing
In twenty-five years of hauling glass and setting sashes, I have seen more glass damaged by ‘good intentions’ than by actual accidents. Most homeowners, and frankly, a lot of amateur window cleaners, approach a dirty pane with a spray bottle and a prayer. They douse the glass in a cleaning agent, creating a thick, abrasive mud slurry that they then proceed to grind into the surface of the glass with a rag. This is a fundamental failure in maintenance logic. If you want to avoid a premature window repair or an expensive call to replace windows, you have to understand the physics of the dry scrub.
A window is not just a piece of glass; it is a precision-engineered thermal barrier. In my time, I have walked into countless homes in cold climates like Chicago or Minneapolis where the owners are baffled by fine scratches or failing seals. I remember one specific case where a homeowner called me in a panic because their new windows were ‘sweating’ and looked permanently foggy. I walked in with my hygrometer and a high-intensity inspection light. I showed them that the humidity in the house was hitting 60 percent, but more importantly, the ‘fog’ they saw was actually a dense network of micro-scratches caused by years of ‘wet-first’ cleaning. They were effectively sanding their windows every spring.
“Installation is just as critical as the window performance itself. A high-performance window installed poorly will fail.” AAMA Installation Masters Guide
The Physics of Abrasive Particulates
When wind hits your home, it deposits more than just dust. It carries silica, soot, and microscopic mineral debris. These particles have a Mohs hardness often equal to or greater than the glass itself. When you apply water or a liquid cleaner immediately, you suspend these particles in a liquid film. As you move your cloth or squeegee, you are pressing those hard particulates against the glass. By employing the dry scrub method first, you remove the majority of these abrasive elements using a soft-bristled brush or a vacuum with a specialized attachment before any moisture is introduced. This preserves the integrity of the glass and any specialized coatings.
Protecting the Low-E Coating
In northern climates, we prioritize the U-Factor. We want to keep the heat inside. This is achieved through Low-E coatings, typically applied to Surface #3 (the inner face of the exterior pane). However, some modern high-performance units have hard-coat Low-E on Surface #4, which is the glass face inside your room. If you are grinding dust into that surface, you are literally scraping away the metallic oxide layer that reflects long-wave infrared radiation. A window repair cannot fix a scratched Low-E coating; once it is compromised, the thermal efficiency of the unit drops, and the visual clarity is permanently marred.
The Glazing Bead and Weep Hole Connection
The danger of the ‘wet-first’ method extends beyond the glass surface. Every operable sash has a complex drainage system. When you create a muddy runoff by spraying a dirty window, that silt flows down into the glazing bead. The glazing bead is the trim that holds the glass in place within the frame. Once the silt gets trapped behind the bead, it holds moisture against the seal of the Insulated Glass Unit (IGU). Over time, this moisture-trapping debris leads to seal failure, resulting in the dreaded ‘blown’ window where the Argon gas escapes and moisture enters the gap.
Furthermore, this mud eventually migrates into the weep holes. These are the small exit ports at the bottom of the frame designed to let water escape to the exterior. If your weep holes are choked with dried mud and household dust, water will back up. In a heavy storm, that water has nowhere to go but over the interior dam of the sill pan and into your rough opening. This is how you end up with a rotted header or moldy drywall. A simple dry scrub of the tracks and sills before cleaning the glass prevents this mechanical failure of the window’s drainage system.
“A window is a hole in the wall that must manage heat, light, and water. Failure to maintain the drainage path is a failure of the building envelope.” ASTM E2112 Standard Practice
The Professional Dry Scrub Protocol
To execute this properly, you need the right trade tools. Start with a soft-bristled boar’s hair brush or a dedicated microfiber duster. Begin at the top of the window frame and work your way down. You are looking to dislodge any particulate matter from the muntins and the junction where the glass meets the glazing bead. Pay special attention to the horizontal surfaces where dust settles most heavily. If the window is particularly filthy, use a vacuum with a brush tip to suck the debris away rather than just brushing it into the air.
Once the glass is ‘dry-clean,’ you then move to your aqueous solution. This ensures that the only thing your squeegee or cloth is moving is the cleaning liquid and any microscopic oils that the dry scrub couldn’t reach. This method is the difference between a window that lasts forty years and one that needs a window repair within ten. When you eventually need to replace windows, starting this habit from day one will protect your investment.
Maintenance is Non-Negotiable
Many homeowners think that high-performance windows are ‘maintenance-free.’ This is a marketing lie. While vinyl or fiberglass frames don’t need paint, the mechanical components and the glass surfaces require technical care. If you ignore the dry scrub, you are effectively ignoring the longevity of your home’s thermal envelope. Keeping the sash clean and the weep holes clear is just as important as the initial shimming and level check performed during installation. If you treat your windows with the precision of a master glazier, they will return the favor by keeping your home dry and your energy bills low for decades to come.