The Reality of Historic Fenestration
In my twenty-five years as a master glazier, I have seen thousands of homeowners convinced that their drafty, rattling wood windows are a lost cause. The common refrain from high-pressure sales teams is that you must replace windows the moment the glazing putty begins to crumble. They want to sell you a vinyl insert with a twenty-year lifespan to replace a wood sash that has already survived a century. But as someone who has spent decades analyzing the thermal performance of the building envelope, I know that a restored wood sash combined with a high-quality storm window can often rival the U-factor of modern double-pane units without the inevitable seal failure. The heart of this restoration is the glazing putty, the sacrificial barrier that keeps water out of the wood-to-glass interface.
I once pulled a double-hung sash out of a Victorian home in a historic district where the bottom rail was completely black with rot. Why? The previous owner had tried a quick window repair using hardware store silicone instead of traditional linseed oil putty. They ignored the shingle principle of water management. The silicone pulled away from the wood, created a tiny pocket, and trapped moisture against the tenon. By the time I arrived, the structural integrity of the sash was compromised. This is the danger of the ‘caulk-and-walk’ mentality. True restoration requires stripping the sash back to its component parts, and that begins with the hardest task of all: removing petrified glazing putty without shattering the original cylinder glass.
“Installation and maintenance are just as critical as the window performance itself. A high-performance window system that is not properly integrated into the water-resistive barrier will eventually fail, regardless of its initial ratings.” – AAMA Installation Masters Guide
The Physics of the ‘Ice Cube’ Trick
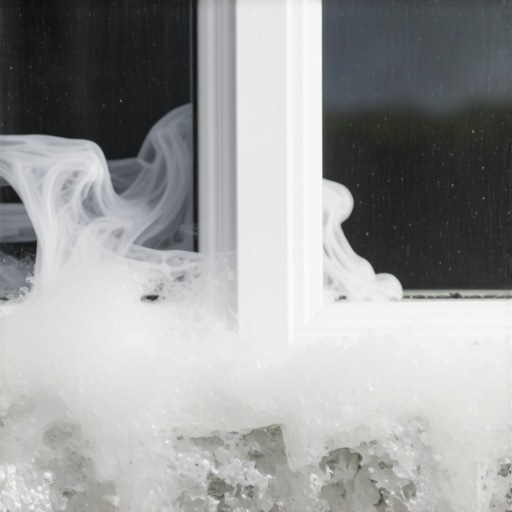
When you are dealing with putty that has been baked by the sun for eighty years, it becomes as hard as concrete. Traditional methods involve a heat gun, but heat is the enemy of old, fragile glass. One uneven hot spot and you will hear that sickening ‘tink’ as a crack traverses the pane. This is where we look to thermal dynamics. Instead of expanding the putty with heat, we can use extreme cold to induce contraction. This is what I call the ‘Ice Cube’ trick. By applying a localized source of cold directly to the putty line, we create micro-fractures in the bond between the putty and the glazing bead area of the wood sash. Glass has a very low coefficient of thermal expansion compared to the dense, oil-depleted putty. The ice causes the putty to shrink and pull away from the wood ever so slightly, allowing a glazing knife to pop the segments out in large chunks rather than grinding them into dust.
Why Cold Beats Heat in Sash Restoration
In cold climates like the Northeast or Midwest, we deal with the ‘Dew Point’ every winter. We see how moisture behaves when temperatures drop. Using ice to remove putty mimics the natural stress cycles windows undergo, but in a controlled, surgical manner. When you use a heat gun, you risk scorching the muntin or, worse, igniting old lead paint dust. The ice cube method is clean and significantly reduces the risk of glass breakage. You simply run an ice cube along the perimeter of the pane, wait sixty seconds for the thermal shock to take effect, and then use a stiff-handled putty knife to pry. You will find that the bond, once thought to be permanent, is now brittle and cooperative.
The Anatomy of the Window Sash
To understand why this works, you have to understand the components of the operable sash. We have the stiles (vertical), the rails (horizontal), and the muntins which hold the individual lights of glass. Each piece of glass is bedded in a thin layer of putty, secured with glazing points (small metal triangles), and then sealed with a final triangular bead of putty. Over time, the linseed oil in the putty oxidizes and vanishes, leaving behind a brittle limestone-like substance. If this seal is broken, water enters the rough opening of the window frame, travels down the sash, and begins the slow process of rotting the sill or the sill pan. A window cleaner might see the dirt, but a glazier sees the failure of the thermal boundary.
“The U-factor of a window is not just about the glass; it is about the entire assembly’s ability to resist non-solar heat flow. Air leakage around a poorly maintained sash can negate the benefits of even the most expensive glazing.” – NFRC Performance Standards
Managing the Thermal Envelope
In northern climates, our primary enemy is heat loss and condensation. When the putty fails, cold air infiltrates the gap between the glass and the wood, lowering the temperature of the interior wood surface below the dew point. This leads to condensation, which drips down and feeds mold growth. By restoring the sash and using proper glazing techniques, we ensure the U-factor remains as low as possible for a single-pane system. While a triple-pane window with a low-E coating on surface three is the gold standard for new construction, a restored wood window with a tight putty seal and a low-E storm window can achieve impressive results. The goal is to keep the radiant heat inside where it belongs and prevent the ‘drafty window’ sensation that many homeowners blame on the glass when the culprit is actually the failed glazing bead.
Step-by-Step: The Ice Cube Method
First, remove the sash from the frame. This may involve removing the stop beads and disconnecting the sash cords or weights. Lay the sash flat on a workbench. Take a standard ice cube and move it slowly along the edge of the putty. You are looking to drop the temperature of the putty rapidly. Do not apply the ice directly to the center of the glass; keep it on the putty line. After a minute, take your chisel or a stiff putty knife and find a weak point, usually near a corner. Apply firm, steady pressure. You should hear the putty ‘pop’ as the bond breaks. Once the putty is removed, you must carefully extract the glazing points with needle-nose pliers. After the glass is out, the wood must be scraped, sanded, and most importantly, primed with an oil-based primer before new putty is applied. Never apply new putty to raw wood, as the dry wood will suck the oil out of the putty, leading to premature failure and cracking.
Conclusion: The Value of Restoration
Don’t let a salesman tell you that your windows are obsolete. The craftsmanship in old-growth vertical grain Douglas fir or Atlantic white cedar cannot be bought at a big-box store today. By using techniques like the ice cube trick, you can maintain the character of your home while ensuring it remains weather-tight. Window repair is a science of water management and thermal dynamics. Whether you are a professional or a dedicated DIYer, remember that a window is a hole in your home’s defense against the elements. Treat it with the technical respect it deserves. Use shims where necessary to keep the frame square, ensure your weep holes are clear, and never rely on caulk to do the job of a proper flashing tape or a well-tooled glazing bead.
Comments are closed.