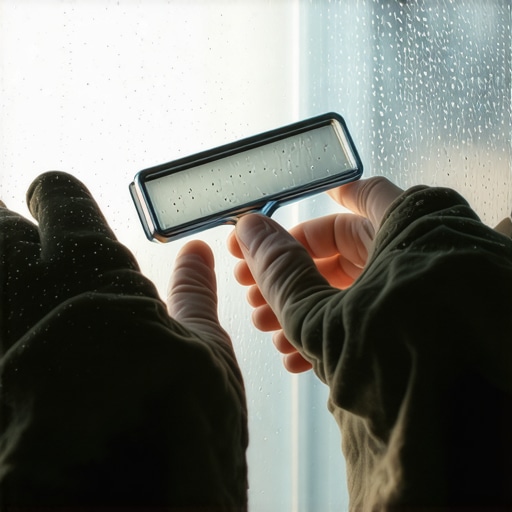
The Science of Glass Privacy and the Myth of the Quick Fix
I have spent over twenty-five years staring through glass, and if there is one thing I have learned, it is that most people treat their bathroom windows as an afterthought until the neighbors move in. A window is a complex thermal barrier, yet many homeowners approach privacy film as if they are putting a sticker on a lunchbox. They ignore the surface tension, the humidity levels, and the structural integrity of the sash. If you want a result that does not bubble, peel, or cause thermal stress fractures, you have to respect the physics of the glazing. In my career, I have seen thousands of failed DIY attempts that ended in a costly window repair because the homeowner trapped moisture against a wooden glazing bead, leading to rot that ate through the bottom rail before they even noticed.
A homeowner called me in a panic because their new windows were ‘sweating’ and the film was curling at the edges. I walked in with my hygrometer and showed them the humidity was 60 percent. It was not the windows; it was their lifestyle. They were running a high-moisture shower with zero ventilation and expecting the glass to remain a passive participant. That moisture was migrating behind the film, attacking the adhesive, and creating a greenhouse effect against the glass surface. This is why understanding your environment is the first step in any glass modification. In colder northern climates, the temperature differential between the interior glass surface and the outdoor air is massive. When you apply a film, you are changing the thermal profile of that glass. You are effectively adding a layer that can shift the dew point, and if you do not do it perfectly, you are inviting disaster into your bathroom.
“Installation is just as critical as the window performance itself. A high-performance window installed poorly will fail.” – AAMA Installation Masters Guide
The Physics of Thermal Stress and Film Selection
Before you even touch a roll of frosted or tinted film, you must understand the type of glass in your bathroom. Most modern bathrooms use tempered glass for safety, which handles thermal expansion well. However, if you are working with older annealed glass, applying a dark or highly reflective film can lead to thermal shock. The film absorbs solar radiation, the glass expands at an uneven rate compared to the frame, and suddenly you have a crack running from the edge of the glass into the center. This is not a situation where you want to be looking for a window cleaner; you will be looking for someone to replace windows entirely. To avoid this, always check the Solar Heat Gain Coefficient (SHGC) impact of your chosen film. In northern climates, we want a film that allows some radiant heat in during the winter while providing the necessary obscuration. If you are in a cold zone, focus on the U-factor. You do not want a film that significantly increases the interior surface temperature of the glass without a way to manage the resulting condensation at the glazing bead.
The Anatomy of the Perfect Prep: Beyond the Window Cleaner
The secret to a perfect application is not in the film itself, but in the microscopic cleanliness of the glass. Glass is not a flat, solid surface; it is a porous, amorphous solid with peaks and valleys that trap oils, skin cells, and residue from previous cleanings. If you use a standard household window cleaner with ammonia or silicone, you are guaranteed failure. Those chemicals leave a sacrificial layer that prevents the film’s adhesive from forming a permanent ionic bond with the silica. You need to perform a mechanical cleaning. This involves using a new stainless steel razor blade held at a thirty-degree angle to scrape the entire surface, ensuring you reach the very edge of the glazing bead. This removes ‘paint over-spray’ and mineral deposits that the eye cannot see but the film will highlight as a physical bump. The rough opening of the frame should be masked if it is prone to shedding dust or old paint flakes during the application process.
“The performance of any fenestration product is dependent on the environment in which it is placed and the precision of its secondary treatments.” – NFRC Performance Standards
The Technical Execution: Shims, Squeegees, and Surfactants
When you are ready to apply, you must create a controlled environment. Close the bathroom door and run the shower on cold for a minute to knock any floating dust out of the air. Measure the glass precisely, then cut your film so it is oversized by at least one inch on all sides. You will trim to the final dimension on the glass. The solution you use is critical. I use a specific surfactant mixture, usually just a few drops of baby shampoo (which lacks the harsh detergents of dish soap) in a quart of distilled water. Tap water contains minerals that will create white spots once the water evaporates. Spray the glass liberally. This creates a slip-plane that allows you to float the film into position. Use a professional-grade, high-durometer squeegee. Start from the center and work outward in a ‘T’ pattern to lock the film in place. Then, use overlapping strokes to push the water toward the edges. If you leave even a microliter of water trapped in the center, it will eventually turn into a bubble as the bathroom warms up.
Managing the Edges and the Weep Hole Logic
The most common failure point is the edge. If the film touches the glazing bead or the sash frame, it will lift. There must be a tiny gap, roughly the thickness of a dime, between the edge of the film and the frame. This allows for the natural expansion and contraction of the glass. Use a sharp break-away blade for every single cut. If the blade is dull, it will tear the film rather than slicing it, creating a jagged edge that collects dirt. Once trimmed, do a final ‘bump’ of the edges with a soft cloth wrapped around your squeegee to soak up any remaining moisture. In high-moisture environments, pay attention to the bottom rail. If your window has an operable sash, ensure that the film does not interfere with the weatherstripping or the weep holes. Weep holes are designed to allow water that bypasses the outer seals to escape. If you block these or if your film application causes water to pool at the bottom glazing bead, you are inviting rot into the very structure of the window. This is the difference between a master glazier’s approach and a ‘caulk-and-walk’ amateur. We look at the window as a system, not just a view.