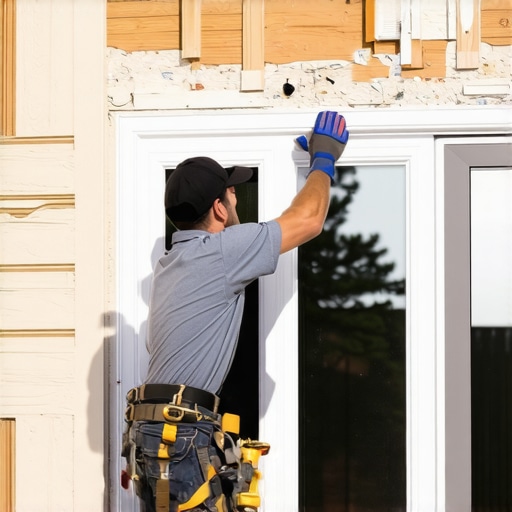
The Crisis of the Hammer-Happy Homeowner
When a storm is brewing on the horizon or a stray baseball turns an insulated glass unit into a web of shards, the immediate instinct is to grab a hammer and some plywood. In my twenty-five years as a glazier, I have seen more damage done by the boarding-up process than by the actual events that necessitated the protection. Most people treat the exterior of their home like a scrap of lumber, driving 16d nails through vinyl J-channels or fiber-cement planks without a second thought. This approach is a disaster for the building envelope. You are essentially trading a broken window for a long-term rot problem that will eventually force you to replace windows and siding alike. Proper window protection is about managing physics and water shedding, not just blocking a hole.
“Installation is just as critical as the window performance itself. A high-performance window installed poorly will fail.” – AAMA Installation Masters Guide
I recall a specific project in a coastal region where I was called in for a routine window repair. The homeowner had boarded up their home for a hurricane the previous year by nailing 5/8-inch plywood directly into the face of their cedar siding. I pulled a vinyl window out of that house and the header was completely black with rot. Why? The previous installer or homeowner had bypassed the shingle principle. Every nail hole became a direct conduit for bulk water to bypass the siding and soak into the Rough Opening. By the time I arrived, the structural integrity of the wall was compromised. This is why we use the compression method, also known as the ‘Tension Bolt’ technique, which requires zero penetrations into your home’s exterior skin.
Understanding the Physics of the Tension Bolt Method
To board up a window without damaging the siding, you must understand the geometry of the window frame. Most modern windows, whether they are operable double-hung units or fixed casements, are recessed slightly from the exterior trim or siding. We leverage this recess. Instead of nailing into the wall, we create a sandwich. You have a sheet of plywood on the outside and 2×4 bracing on the inside, connected by long carriage bolts that pass through the window opening. This creates a friction fit that is incredibly strong against wind pressure but leaves the siding untouched. This is the only acceptable method for high-wind zones where the positive and negative wind pressures can reach sixty pounds per square foot.
“Penetrations in the exterior wall system must be properly flashed or sealed to prevent the intrusion of bulk water into the wall cavity.” – ASTM E2112-19
The Technical Blueprint for Non-Destructive Boarding
First, you must measure the Rough Opening but focus on the exterior casing. Your plywood should be cut to fit inside the trim if possible, or sized to overlap the opening while resting on the window frame itself, never the siding. If you have vinyl siding, the J-channel is incredibly brittle; any pressure against it will cause it to crack, especially in colder climates where the PVC loses its plasticizers and becomes prone to shattering. For the boarding material, use CDX plywood at least 1/2-inch thick. Avoid OSB for this application as it swells when exposed to edge moisture, which can then press against your window cleaner or glazing bead, causing further damage.
Next, you will need to drill holes in the plywood that align with the gaps where the window sash meets the frame. If the window is already broken and you are performing a window repair, you can pass the bolts through the area where the glass was. If the window is intact and you are boarding up for protection, you must slightly open the sash if it is an operable unit. Insert a 1/2-inch carriage bolt through the plywood, through the window opening, and through a 2×4 member on the interior. Use a large washer and a nut to tighten the assembly. This creates a ‘clamp’ that holds the board in place. This method ensures that the weight and pressure of the board are distributed through the structural framing of the window opening rather than the decorative siding.
Thermal Considerations and Moisture Management
In cold climates, boarding up a window creates a secondary thermal boundary. This can shift the Dew Point. If you leave a board up for an extended period, moisture from the interior of the house will migrate toward the cold exterior plywood and condense. This is why you should never leave a window boarded for more than a few weeks without some form of ventilation. If the window is broken, the interior humidity, which might be 40 to 50 percent, will hit that cold plywood and turn into liquid water. This water then drips down into the Sill Pan. If your sill pan wasn’t installed with a proper slope or back dam, that water is going straight into your floor joists. When you eventually replace windows, you will see the evidence of this neglect in the form of colonized mold and fungal decay.
Protecting the Glazing and Hardware
When applying the boards, ensure the plywood does not actually touch the glass. A 2-inch air gap is ideal. During a wind event, plywood will flex. If it is resting against the glass, that flex will transfer the load directly to the glazing bead or the spacer bar of the IGU (Insulated Glass Unit). This can blow the seal, leading to a fogged window later on. Use a small Shim or spacer block made of scrap wood to keep the plywood off the glass. This is a technical nuance that most ‘caulk-and-walk’ contractors ignore, but it is what separates a master glazier from a handyman. Furthermore, be mindful of the hardware. If you have an out-swing casement, the handle and the crank mechanism must be protected or temporarily removed so the board doesn’t crush the gear housing.
The Final Inspection
Once the boards are secure, do a perimeter check. Use a high-quality flashing tape or even temporary painters tape to seal the very top edge of the plywood where it meets the window header. This prevents water from running down behind the board and sitting on the window sill. Water is the ultimate enemy of the window installer. Even if you are just waiting for a window cleaner to finish the job or for the glass shop to manufacture a new IGU, maintaining a dry environment is paramount. When the boards come down, you should be able to wipe the frame with a microfiber cloth and see no evidence that the board was ever there. No holes to putty, no siding to replace, just a clean window ready for its next twenty years of service.