The Condensation Crisis and the Myth of the Bad Window
A homeowner called me in a panic because their new windows were ‘sweating.’ I walked in with my hygrometer and showed them the humidity was 60%. It was not the windows; it was their lifestyle. However, that moisture was not just sitting on the glass. It was migrating into the rough opening because the previous installer performed a ‘caulk and walk’ job. When we talk about how to caulk around your windows, we are not just talking about aesthetics. We are discussing the primary defense against air infiltration and catastrophic structural rot. Most people think a window cleaner just wipes glass, but a professional knows that the state of the sealant determines the longevity of the entire wall assembly. If you are performing a window repair or deciding if you need to replace windows, the sealant joint is your most critical data point.
“Installation is just as critical as the window performance itself. A high-performance window installed poorly will fail.” – AAMA Installation Masters Guide
The Physics of the Sealant Joint: More Than Just Goo
To caulk like a professional, you must understand the physics of the bond line. We do not use the word ‘caulk’ in the master glazing trade often; we use ‘sealant.’ Traditional latex caulk is for baseboards, not for an operable sash exposed to a forty-degree temperature swing. In northern climates where heat loss is the enemy, the U-Factor of your window is compromised the moment air bypasses the frame. A professional painter understands that the joint between the window frame and the siding is a dynamic moving part. The vinyl or wood expands at a different rate than the brick or fiber cement. This is why we focus on adhesive and cohesive properties. If the sealant pulls away from the wall, that is an adhesive failure. If it rips down the middle, that is a cohesive failure. Both lead to drafts that make your furnace work overtime.
Preparation: The Rough Opening and Substrate Readiness
You cannot achieve professional results on a dirty substrate. This is where the window cleaner mentality comes into play. Every surface must be debrided of old, brittle thermoplastic sealants. I use a sharp pull-scraper and follow up with a high-grade solvent. If you are working on a window repair, you might find that the old glazing bead is cracked. Replace it before you seal. For a professional finish, you need to examine the rough opening. Is there a gap larger than 3/8 of an inch? If so, do not reach for the sealant gun yet. You need a backer rod. A backer rod is a closed-cell foam rope that you insert into the gap. It serves two purposes: it limits the depth of the sealant and prevents three-point adhesion. Sealant needs to stretch like a rubber band. If it sticks to the back of the gap as well as the sides, it cannot stretch and will fail during the first freeze-thaw cycle.
The Tooling Technique: Achieving the Hourglass Shape
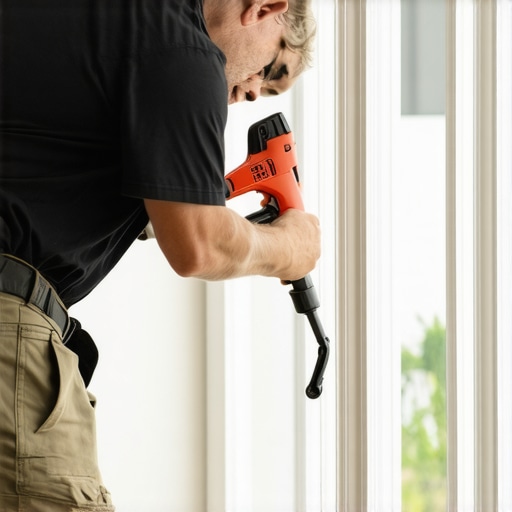
Professional painters do not just use their fingers to smooth a bead. We use tooling spatulas or specifically shaped wooden sticks soaked in a jointing solution. The goal is to create an hourglass shape in the sealant cross-section. This shape allows the material to flex without tearing. When you are looking to replace windows, check the factory seals. If they are sloppy, the internal gas fills like Argon will eventually leak out. [IMAGE_PLACEHOLDER] To apply the bead, hold the gun at a 45-degree angle and push the bead rather than pulling it. Pushing the sealant ensures it is forced into the pores of the substrate, creating a mechanical bond that resists wind-driven rain. This is especially vital in cold climates where the dew point often ends up inside your wall cavity if air leakage is not controlled.
Material Science: Silicone vs. Polyurethane vs. Hybrids
Not all tubes of goop are created equal. For exterior window work, I demand high-performance hybrids or polyurethanes. Silicone is excellent for glass-to-glass contact on a glazing bead, but it does not take paint. If you want to caulk like a professional painter, you likely want a paintable surface. High-grade silyl-terminated polyether (STPE) sealants offer the best of both worlds: the UV resistance of silicone and the paintability of polyurethane. They have low VOCs and do not shrink. If you use a cheap latex product, it will evaporate its water content and pull away from the shim or the sash within a year. This leads to the very drafts that homeowners try to fix when they decide to replace windows prematurely.
“Standard Practice for Installation of Exterior Windows, Doors and Skylights emphasizes the importance of a continuous air barrier and proper sealant selection to maintain the thermal envelope.” – ASTM E2112
The Shingle Principle and Water Management
We must respect the shingle principle: everything on top must overlap everything on the bottom. When caulking the head flashing or the drip cap, you never seal the bottom edge of the window frame to the sill pan in a way that traps water. Every window system needs a way to breathe. Look for the weep hole. If you caulk over the weep hole, you are essentially building a small swimming pool inside your wall. I have seen headers completely black with rot because a well-meaning painter thought they were being thorough by sealing every single crack. A master glazier knows where to seal and where to leave a gap for drainage. This is the difference between a dry home and a mold-infested nightmare.
The ROI of Proper Sealing
Homeowners often ask if they should perform a window repair or just replace windows entirely. Often, the frame is structurally sound, but the perimeter seals have failed. By spending a weekend properly cleaning and resealing your windows with a high-thrust caulk gun and premium sealant, you can improve the comfort of a room by several degrees. You are effectively lowering the U-Factor of the opening by eliminating convective heat loss. It is not as flashy as new triple-pane glass, but it is the most cost-effective maintenance task you can perform. Remember to check the muntin and the glazing bead for signs of stress. If the glass is rattling, your sealant has failed and the thermal bridge is wide open. Treat your windows like the technical equipment they are, and they will protect your home for decades.