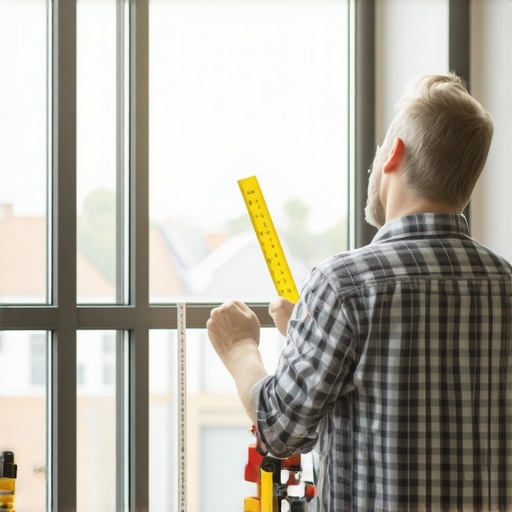
The Invisible Cost of a Quarter Inch
In my twenty five years of hanging glass and setting frames, I have learned that a window is not merely a product you buy off a shelf. It is a critical component of the building envelope, a sophisticated thermal barrier that must integrate with your siding, your insulation, and your structural framing. When homeowners decide to replace windows, they often treat the process like buying a piece of furniture. They take a tape measure, eyeball the distance between the trim, and head to the big box store. This is the first step toward a catastrophic installation failure. A homeowner called me in a panic because their new windows were sweating. I walked in with my hygrometer and showed them the humidity was 60 percent. It was not the windows. It was their lifestyle, combined with a poorly fitted frame that had trapped moisture in the wall cavity. The windows were sized incorrectly, leaving massive gaps that the installer tried to bridge with nothing but canned foam and a prayer. This created a thermal bridge that dropped the interior glass temperature below the dew point, leading to the condensation crisis they faced.
The Anatomy of a Rough Opening
Before you even touch a tape measure, you must understand what you are measuring for. You are not measuring the glass. You are not even measuring the visible frame from the inside. You are looking for the Rough Opening, often abbreviated as the RO. The Rough Opening is the structural space between the wood studs. Many people make the mistake of measuring the interior casing or the exterior brick mold. This is a recipe for disaster. If you order a window based on the trim size, the actual unit will either be too large to fit or so small that you will have no structural surface to secure your shims. According to the industry standards that govern our trade, precision is not optional.
Installation is just as critical as the window performance itself. A high-performance window installed poorly will fail. – AAMA Installation Masters Guide
This failure often starts with the very first measurement. If the window is too tight, there is no room for the window to expand and contract. Vinyl frames, in particular, have a high coefficient of thermal expansion. In a cold climate like Chicago or Minneapolis, a vinyl frame will shrink in the winter and grow in the summer. If you have not left a 1/4 inch gap around the perimeter for proper shimming and insulation, the frame will bow, the sash will become difficult to operate, and the weatherstripping will fail to make contact.
Mistake Number One: The Single Point Measurement
Perhaps the most frequent error I see is the single measurement. A homeowner measures the width at the bottom and the height in the middle. They assume the house is square. I have yet to find a house that is perfectly square, especially those older than twenty years. You must measure the width in three places: the top, the middle, and the bottom. You must measure the height in three places: the left, the center, and the right. In the world of professional window repair and installation, we always take the smallest of those three measurements. If the top of your Rough Opening is 36 inches but the bottom has settled to 35 and 1/2 inches, and you order a 36 inch window, you are going to be staring at a window that does not fit while your house is wide open to the elements. This is where the term Rough Opening becomes vital. You need that clearance to ensure the window sits level even if the house is leaning.
Mistake Number Two: Ignoring the Squareness and Plumb
A window can be the correct width and height but still not fit if the opening is a parallelogram. This is why we measure diagonals. You must measure from the top left corner to the bottom right, and from the top right to the bottom left. If those two numbers are not within 1/8 to 1/4 inch of each other, your opening is out of square. If you force a square window into an out of square opening, you will put stress on the corner welds of the sash. This leads to stress cracks in the glass and the eventual failure of the Insulated Glass Unit, or IGU. Once the seal on that IGU fails, the Argon gas escapes and you lose your thermal protection. This is why a window cleaner might notice fogging between the panes. It is not a cleaning issue. It is a structural failure caused by a bad measurement.
Mistake Number Three: Misunderstanding the Sill Slope
The bottom of a window opening is not just a flat board. It should be a sloped surface designed to shed water. When you measure for a replacement window, you have to account for the sill angle. If you are doing a pocket replacement, where the new window sits inside the old frame, you need to know that angle so the new sill adapter can sit flush. If there is a gap, water will find it. This brings us to the Shingle Principle. In glazing, we believe that water is the enemy. Every layer of the window must overlap the layer below it like shingles on a roof.
Standard practice for the installation of exterior windows requires that the flashing system must be integrated with the water resistive barrier to ensure a continuous drainage plane. – ASTM E2112
When you measure incorrectly and the window does not sit deep enough in the pocket, you break that drainage plane. You end up with water sitting on the Sill Pan, which will eventually rot your subfloor.
The Physics of Heat Loss in Cold Climates
In northern regions, the U-Factor is the most important number on that NFRC label. The U-Factor measures the rate of non solar heat loss. The lower the number, the better the window is at keeping the heat you paid for inside your home. But here is what the salesman won’t tell you: the U-Factor is measured at the center of the glass. If your measurements were off and you have a large gap around the frame that you stuffed with fiberglass batts instead of using low expansion foam and Flashing Tape, your effective U-Factor is garbage. Fiberglass does not stop air. It acts as a filter. Cold air will blow right through it, creating a convective loop behind your drywall. This is why you feel a draft even with a brand new triple pane window. It is not the glass. It is the void created by a bad measurement.
The Role of the Glazing Bead and Muntins
When you are measuring, you also need to consider the aesthetic and structural components like the Glazing Bead and Muntins. The Glazing Bead is the strip of plastic or wood that holds the glass in the sash. If you are doing a window repair rather than a full replacement, you need to measure the glass thickness precisely. If you replace a single pane with a double pane but don’t account for the width of the Glazing Bead, the sash will not close. Similarly, if your home has historical Muntins (the grids that divide the glass), the measurements must align with the existing windows to maintain curb appeal. A professional window cleaner can tell you that poorly installed, snap-in Muntins are the first thing to break. Real, simulated divided lites are integrated into the measurement and manufacturing process.
The Importance of the Sill Pan and Weep Holes
If you have measured correctly, you will have exactly enough room to install a Sill Pan. This is a flashing component that sits at the bottom of the Rough Opening. It has a back dam and side dams. If water gets past the secondary seals of the window, it hits the Sill Pan and is directed out through the Weep Holes. Weep Holes are those small slots at the bottom of the exterior frame. I cannot tell you how many times I have seen homeowners caulk those shut because they thought they were air leaks. If you do that, you are trapping water inside your wall. Proper measurement ensures the window sits at the right depth so the Weep Holes can breathe and drain as designed.
Why Pocket Replacements Are Not Always the Answer
Many homeowners choose pocket replacements because they are cheaper and easier to measure. You just measure the inside of the existing frame. But you are gambling on the integrity of the old frame. If the old frame was not flashed correctly when the house was built, putting a new window inside it is like putting a clean shirt over a dirty body. I always recommend a full frame tear out. This allows us to see the Rough Opening, inspect for rot, and apply Flashing Tape directly to the sheathing. It requires more precise measurement because you are working with the raw skeleton of the house, but the result is a window that will last fifty years instead of ten.
Summary of Professional Advice
Do not trust a single measurement. Use a laser level to check for plumb and square. Always account for the thickness of your flashing materials. If you are unsure, hire a specialist to do the final measure. Most reputable companies will do a tech measure before ordering because they know that if the window is an inch off, it is a piece of expensive trash. Focus on the U-Factor if you live in the north and ensure your Low-E coating is on Surface 3 to keep the warmth in. Finally, never skip the Sill Pan. It is the only thing standing between a dry house and a moldy nightmare. Measuring windows is a science of fractions, and in this trade, a fraction is the difference between a satisfied client and a legal dispute. Take the time to do it right, or you will be paying someone like me to tear it out and start over in five years. Check your sash operation, ensure your shims are placed at the load points, and never rely on caulk to fix a measurement error. Your home’s envelope depends on the precision of your tape measure.