The Glazier’s Perspective on Screen Integrity
In the world of high-performance fenestration, the window screen is often dismissed as a mere accessory. However, after twenty-five years in the trade, I view the screen as the sacrificial first layer of a window’s atmospheric management system. A hole in that mesh is not just an aesthetic flaw; it is a breach in your home’s envelope that invites debris into the weep holes and disrupts the intended airflow of an operable sash. Many homeowners assume that a small tear requires a trip to the glass shop or a total window repair service call, but for less than the cost of a gourmet coffee, you can restore the mechanical barrier of your glazing system.
A homeowner once called me in a panic because their new windows were ‘sweating’ and they suspected a catastrophic seal failure. I walked in with my hygrometer and showed them the humidity was 60 percent. It was not the windows; it was their lifestyle. They were keeping their windows closed even during temperate ‘shoulder season’ days because a series of small screen tears had allowed a local gnat infestation to take over. By refusing to use their windows for natural ventilation, they had turned their home into a terrarium. This is why a simple patch is critical: it enables the homeowner to utilize the window’s design for passive cooling without compromising indoor air quality.
“Installation is just as critical as the window performance itself. A high-performance window installed poorly will fail.” – AAMA Installation Masters Guide
While the AAMA quote refers to the rough opening and flashing tape, the same logic applies to maintenance. If you cannot maintain the screen, you are less likely to operate the window, leading to stagnant air and localized humidity spikes near the sash. In southern climates like Florida or Texas, where Solar Heat Gain Coefficient (SHGC) is the metric we live and die by, the screen actually provides a secondary benefit. A standard fiberglass mesh can reduce the SHGC by a fractional but measurable amount by intercepting solar radiation before it hits the glass Surface #2. When that mesh is torn, you create a hot spot on the glass that can lead to uneven thermal expansion.
Material Science: Fiberglass vs. Aluminum Mesh
Before you spend your five dollars, you must understand what you are patching. Most modern residential windows use fiberglass mesh coated with PVC. It is flexible, easy to work with, and does not dent. Older homes or high-traffic areas might use aluminum mesh. You cannot effectively patch a fiberglass screen with aluminum wire, nor vice versa, due to the way the materials react to thermal cycling. Fiberglass will stretch, while aluminum will fatigue and snap. For a sub-five-dollar fix, we are looking at adhesive-backed fiberglass patches or a small roll of repair tape. These products utilize a pressure-sensitive adhesive (PSA) that is designed to withstand UV degradation, though its lifespan is rarely as long as a full re-screen.
When you replace windows, you are often paying for the NFRC rated performance. A torn screen allows insects to enter and eventually die in the sill pan. Their carapaces, combined with dust, create a biological sludge that plugs the weep holes. Once those holes are plugged, water cannot exit the frame during a heavy rain event. The water backs up, hits the shim, and finds its way into your rough opening, rotting your headers. This is why a screen patch is actually a structural preventative measure.
The Technical Patching Process
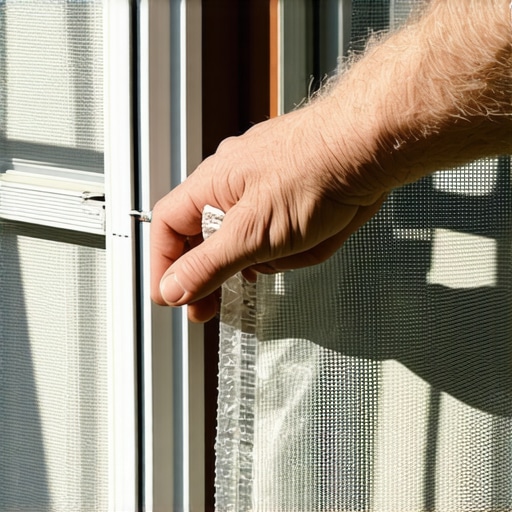
To perform a professional-grade patch, you must first clean the area. Use a mild window cleaner or a solution of isopropyl alcohol. This is critical because the mesh is likely covered in environmental pollutants and oxidation. If the adhesive cannot bond to the substrate, your patch will fail within one season. Trim the frayed edges of the tear with a sharp utility knife so the glazing bead is not disturbed. Apply the patch to the exterior side of the screen. Why the exterior? Because wind pressure typically pushes the screen toward the interior; placing the patch on the outside uses that pressure to help maintain the bond.
“Maintenance of fenestration products is essential to ensure they continue to perform as tested and intended.” – NFRC Performance Guidelines
Beyond the Patch: When to Call a Pro
If your screen has more than three significant tears, or if the spline (the rubber gasket holding the mesh in the frame) is cracked and brittle, patching is a fool’s errand. At that point, you are looking at a full re-screening. This involves removing the screen frame, pulling the old spline, and rolling in new mesh with a specialized tool. It is still a DIY task, but it pushes you over that five-dollar budget. Furthermore, if you notice the screen frame itself is bowed, it might be a sign that the sash was not square in the rough opening, causing the frame to torque over time. No amount of mesh repair will fix a structural alignment issue.
Conclusion: The Five-Dollar Insurance Policy
Maintaining your screens is the most cost-effective way to protect your larger investment. By spending a few dollars on a patch kit, you ensure that you can continue to use your operable windows to manage your home’s microclimate. Do not let a small hole lead to a clogged weep hole and a thousand-dollar rot repair. Take the time to clean the frame, inspect the muntins, and keep the mesh intact. Your window’s performance depends on every component working in concert, from the flashing tape behind the siding to the mesh that keeps the bugs out.