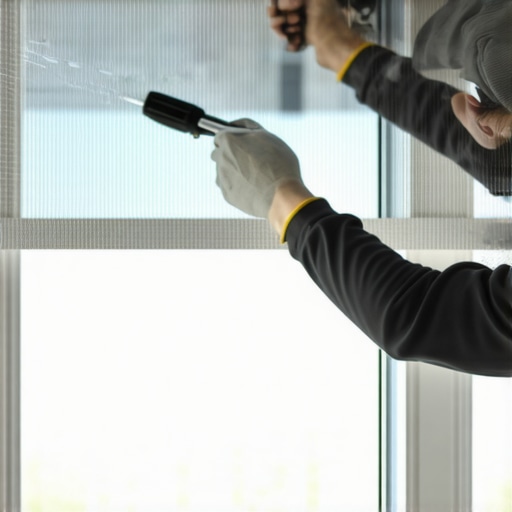
The Master Glazier’s Approach to Window Screen Restoration
In the world of high-performance fenestration, many installers overlook the humble window screen. They see it as a simple bug barrier, but after twenty-five years in the trade, I view it as the first line of defense for the entire window assembly. A properly tensioned screen protects the glazing bead from debris and manages the airflow that interacts with the glass surface. When a screen is torn, it is not just an aesthetic failure; it is a breach in the system’s utility. I once encountered a homeowner in a panic because their brand-new, high-efficiency windows were sweating profusely on the interior. I walked in with my hygrometer and found the indoor humidity was north of 60 percent. The owner had kept the windows closed and the screens off, thinking the screens were the cause of the moisture. In reality, the lack of proper ventilation and the removal of the screen’s thermal buffer layer were contributing to a localized dew point issue. It was not the window; it was the lifestyle and the misunderstanding of how an operable sash functions within a climate-controlled envelope.
“Installation is just as critical as the window performance itself. A high-performance window installed poorly will fail.” AAMA Installation Masters Guide
The Anatomy of the Screen System
Before you attempt a ten-minute fix, you must understand the components. The frame is typically an extruded or roll-formed aluminum channel. The mesh is the medium, and the spline is the vinyl or rubber cord that locks the mesh into the frame’s groove. If you are dealing with a historic wood sash, you might see a wood stop or a glazing bead holding the mesh, but modern window repair almost always involves the spline-and-groove method. When you replace windows in a residential setting, the screen is often the first thing to degrade due to UV exposure and mechanical stress. The mesh itself is not just wire; it is a technical fabric. Fiberglass mesh is standard, coated with a PVC layer to resist the sun’s rays. In northern climates like Chicago or Minneapolis, we prioritize a mesh that allows for maximum visible transmittance while standing up to the thermal expansion and contraction cycles of extreme winters. A screen that is too tight can actually bow the frame when the temperature drops, causing it to pop out of the rough opening’s exterior tracks.
The Ten-Minute Restoration: A Step-by-Step Technical Protocol
To perform this repair correctly, you need the right tools: a spline roller with both a concave and convex wheel, a sharp utility knife, and the correct diameter spline. Do not guess on the spline size. If you use a spline that is too thick, you risk bending the frame or snapping the mitered corners. If it is too thin, the mesh will sag, creating a vibrating ‘whistle’ when the wind hits it. First, remove the old spline by finding the end and pulling it out with a small flat-head screwdriver. Inspect the frame. If the frame is out of square or the corners are loose, a simple mesh replacement will not suffice. You must ensure the frame is flat. Lay the new mesh over the frame, leaving at least an inch of overhang on all sides. Use your spline roller’s convex wheel to pre-crease the mesh into the groove. This is a critical step that ‘caulk-and-walk’ amateurs skip. It sets the memory of the mesh so the spline can seat properly without bunching.
“The selection of the appropriate installation method is dependent on the window type and the wall construction.” ASTM E2112 Standard Practice
Mastering Tension and Visible Transmittance
As you roll the spline in, start from one corner and work your way around. The secret to a professional finish is tension management. You want the mesh taut but not under so much stress that it pulls the long sides of the frame inward. This is known as ‘hour-glassing.’ A master glazier knows that a screen should have just enough ‘give’ to absorb the impact of a bird or a heavy gust of wind without tearing the spline out of the channel. Once the spline is seated, use a sharp blade to trim the excess mesh. Angle the blade away from the spline and toward the outside of the frame to avoid nicking the cord. This ensures a clean look that mimics a factory-installed unit. For those in colder climates, remember that the screen acts as a minor thermal break. It creates a stagnant layer of air in front of the glass, which can slightly improve the U-factor of the assembly during the shoulder seasons. However, the primary goal remains airflow. A clean, well-installed screen allows for a higher rate of ventilation, which is essential for managing indoor air quality and preventing the accumulation of moisture on the interior sash.
Material Science: Fiberglass vs. Aluminum Mesh
Not all mesh is created equal. Fiberglass is the industry standard because it is easy to work with and does not dent. However, in high-traffic areas or homes with pets, a polyester-coated pet screen is superior due to its higher denier and tear strength. Aluminum mesh is more durable against rodents but is notoriously difficult to install without kinks. If you are a window cleaner by trade, you know that aluminum screens are a nightmare to scrub because they oxidize over time, leaving a white chalky residue on the glass. When you replace windows, always recommend a high-transmittance fiberglass mesh to the homeowner. This ensures they get the most out of their investment by not blocking the very light they paid for with expensive Low-E coatings. The relationship between the screen mesh and the Solar Heat Gain Coefficient (SHGC) is often ignored, but a dark mesh can actually act as a micro-shading device, reducing the amount of direct solar radiation that hits Surface #2 or #3 of the insulated glass unit. This is the kind of technical nuance that separates a master installer from a handyman. You are not just fixing a hole; you are recalibrating a complex thermal barrier.