The Anatomy of a Thermal Failure
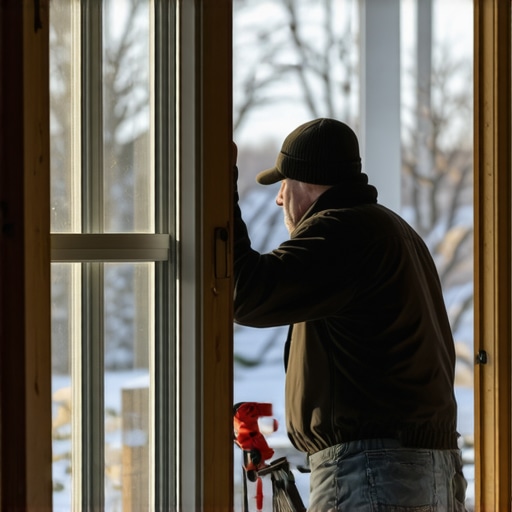
As a master glazier with a quarter-century in the field, I have seen every imaginable failure of the building envelope. Most homeowners treat their windows as static objects, like a piece of furniture. In reality, a window is a dynamic thermal valve. When the mercury drops, that valve is under immense pressure. I recall a specific instance last winter where a homeowner called me in a panic because their brand-new, high-efficiency units were ‘sweating’ profusely. I didn’t bring a toolbox to that inspection; I brought a hygrometer. I discovered that while the windows were perfectly sealed, the interior relative humidity was hovering at 65 percent due to a lack of proper ventilation. It was not a window failure; it was a physics failure. The dew point on the interior glass surface was being reached because the home was essentially a plastic bag. This is the level of technical nuance required when we talk about winterizing.
“Installation is just as critical as the window performance itself. A high-performance window installed poorly will fail.” AAMA Installation Masters Guide
The Physics of Winter Heat Loss
To properly winterize, you must understand the U-Factor. Unlike the R-value used for insulation, the U-Factor measures the rate of non-solar heat flow. In cold climates, we want a lower number. This is achieved through a combination of Low-E coatings on Surface #3, which is the interior-facing side of the outboard pane of glass. This coating reflects long-wave infrared radiation back into your living space. If your windows are older single-pane units, you are essentially trying to heat the outdoors. When we discuss window repair versus a full replace windows strategy, we are looking at the ROI of thermal comfort. A drafty sash isn’t just an inconvenience; it is a constant drain on your HVAC system. A window cleaner might make them sparkle, but only a technical inspection of the Rough Opening and the Sill Pan will tell you if your home is actually protected.
The 5-Minute Winterization Checklist
1. Inspect the Compression Seals: Open your operable units and look at the weatherstripping. Is it flattened or cracked? A high-quality EPDM or silicone seal should bounce back when pressed. If it stays compressed, your window is leaking air. 2. Clear the Weep Holes: These small openings in the bottom of the frame are designed to allow water to exit the Sill Pan. If they are clogged with debris, water will back up into the wall cavity, leading to rot. 3. Check the Glazing Bead: This is the strip of vinyl or wood that holds the glass in the frame. If it is loose, air can bypass the glass entirely. 4. Evaluate the Sash Reveal: Close the window and look at the gap between the sash and the frame. It should be uniform. If it is wider at the top than the bottom, the window has shifted or was never properly shimmed. 5. Hardware Torque: Ensure the locking mechanism pulls the sash tightly against the frame seals. A loose lock is a thermal leak.
The Installation Autopsy: Why Most Winterization Fails
Most people think a bead of caulk is a universal fix. It is not. In fact, improper caulking can trap moisture behind the Flashing Tape, leading to catastrophic structural rot. I once pulled a window out where the header was completely disintegrated because the previous installer ‘caulked and walked’ instead of ensuring the Shingle Principle of water shedding. Water must always have a path down and out. When we perform a window repair, we are looking for evidence of air infiltration through the Rough Opening. If the original installer didn’t use low-expansion foam or backer rod between the frame and the studs, you are losing heat through the walls, not the glass. This is why a professional replace windows project involves more than just a new piece of glass; it involves restoring the integrity of the entire opening.
“Standard Practice for Installation of Exterior Windows, Doors and Skylights requires a continuous air barrier and proper water shedding to maintain the integrity of the building envelope.” ASTM E2112
Thermal Bridges and Spacer Technology
The coldest part of any window is the edge of the glass. In older units, aluminum spacers were used to separate the panes. Aluminum is a fantastic conductor of heat, which is exactly what you don’t want. Modern ‘warm-edge’ spacers use stainless steel or structural foam to break that thermal bridge. This prevents the interior glass edge from dropping below the dew point, which is the primary cause of condensation and mold on the Glazing Bead. If you are cleaning your windows and notice black spots on the corners, your spacers have likely failed, or they were under-engineered for your climate. No amount of window cleaner will fix a failed IGU (Insulated Glass Unit) seal. If you see fogging between the panes, the desiccant inside the spacer is saturated and the unit must be replaced.