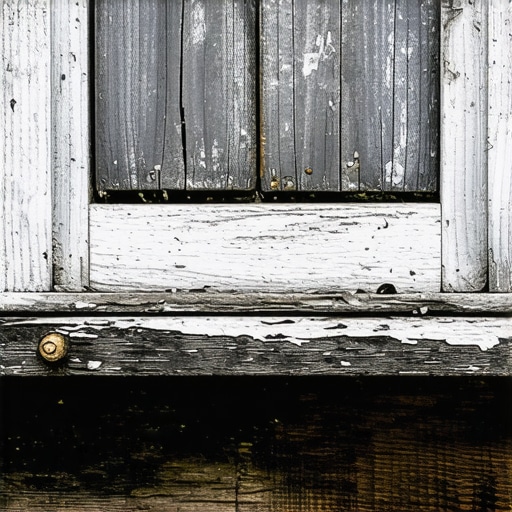
The Hidden Enemy Beneath the Paint
As a master glazier with over two decades in the field, I have seen thousands of wooden window sills that looked pristine from the curb but were structurally compromised beneath a fresh coat of latex paint. Dry rot is a misnomer; it is actually a fungal infestation, specifically Serpula lacrymans, which requires moisture to thrive. If you are noticing a soft spot in your window frame or if your window cleaner is reporting stubborn grime that looks like rust, you are likely dealing with a moisture management failure. Understanding how to identify this before it necessitates a full-scale effort to replace windows is critical for any homeowner.
“Installation is just as critical as the window performance itself. A high-performance window installed poorly will fail.” – AAMA Installation Masters Guide
The Narrative of a Failed Flashing
I recall a project in a historic district where I pulled a beautiful mahogany sash out of a brick masonry opening. From the outside, the wood looked solid. However, the moment my flat bar touched the sill, it sank two inches into what felt like wet mulch. The previous installer had relied entirely on the nailing fin and a bead of cheap silicone rather than installing a proper flashing tape or a sloped sill pan. The water had been wicking behind the brick molding for five years, feeding a fungal colony that eventually ate through the structural header. This is the reality of the ‘caulk and walk’ mentality that plagues the industry today.
Identifying the Symptoms of Brown Rot
To spot dry rot, you must look for the ‘cuboidal cracking’ pattern. As the fungus consumes the cellulose within the wood fibers, the material shrinks and breaks into small, brittle cubes. This is often hidden under paint, but you can detect it by looking for ‘alligatoring’ or ripples in the finish. Take a small awl or a flat-head screwdriver and press it into the sill, especially near the corner joints where the vertical stile meets the horizontal rail. If the metal sinks in without resistance, the lignins that provide the wood its strength are gone. You are no longer looking at a window repair; you are looking at a structural failure. We often see this in northern climates where condensation forms on the interior glass surface during winter. This liquid water runs down the sash and pools on the wood, saturating the grain and inviting spores to take root.
The Physics of Moisture and Thermal Bridges
In colder regions, the U-Factor of your glazing plays a massive role in rot prevention. When you have a high U-Factor, the interior surface of the glass stays cold. When warm, humid indoor air hits that cold surface, it reaches the dew point, and liquid water manifests. This is not a ‘window leak’ in the traditional sense, but a failure of thermal physics. Using warm-edge spacers and ensuring your Low-E coating is on Surface #3 can help keep that interior pane warmer, reducing the moisture load on your wooden sills. If your windows are ‘sweating’ every morning, you are effectively watering a fungal garden.
“The primary purpose of a window flashing system is to shed water to the exterior of the building envelope, preventing accumulation within the wall cavity.” – ASTM E2112 Standard Practice
The Installation Autopsy: Why Sills Fail
The sill is the most vulnerable part of the rough opening. In a proper installation, we utilize a sill pan, a three-sided flashing component that sits under the window. If water manages to bypass the primary seal, the sill pan catches it and directs it out through weep holes. Many installers skip this, simply setting the window on a flat piece of 2×4. Without a slope or a path for egress, water stays trapped by capillary action. This is why a ‘pocket replacement’ or insert window can be dangerous; if the original wooden sill is already damp, capping it in aluminum or vinyl just creates a dark, moist terrarium for rot to accelerate.
When to Repair vs. When to Replace
If the rot is localized to a small area of the sill, a high-quality epoxy consolidation system can work. This involves drilling small holes into the wood, injecting a liquid resin to stabilize the fibers, and then filling the void with a wood-grade putty. However, if the rot has reached the side jambs or the rough opening framing, the only professional solution is to replace windows entirely. When you do, prioritize fiberglass or thermally broken frames that offer the aesthetic of wood without the organic vulnerability. A master glazier knows that we are not just selling glass; we are managing the interface between a controlled interior environment and the chaotic exterior elements.
Final Inspection Checklist
Before you call a window cleaner to mask the issues, perform your own autopsy. Check the drip cap, the metal flashing that should sit atop the exterior casing. If it is missing, water will run behind the window frame every time it rains. Inspect the glazing bead; if it is cracked, water is entering the sash itself. Finally, look at the paint on your sills. If you see orange-brown dust, those are fungal spores. At that point, the time for simple maintenance has passed, and you need a technical intervention to save your home’s structural integrity. Water management is a science, not a hobby. Don’t let a ‘caulk and walk’ contractor tell you otherwise.