The Hidden Failure of the Caulk-and-Walk Culture
In my twenty-five years of handling glass and glazing, I have seen the same disaster repeated across hundreds of jobsites. I once pulled a series of high-performance casement units out of a coastal residence where the header was entirely black with rot, crumbling under the weight of the lintel. The homeowner was baffled because they had spent a fortune on the units. The culprit was not the glass or the frame, it was a fundamental failure in the flashing and the subsequent sealant application. The previous installer relied entirely on the nailing fin and a messy, erratic bead of cheap latex caulk rather than employing a proper flashing tape and a disciplined sealing strategy. This is the reality of the industry: the best window repair or full-scale replacement is only as good as the seal that protects the rough opening.
The Physics of the Perfect Sealant Bead
When we talk about the painter’s tape method, we are not just discussing aesthetics. We are discussing the structural integrity of the building envelope. A window is a dynamic component. It expands and contracts at a different rate than the surrounding substrate, whether that be brick, siding, or stucco. If your sealant bead is too thin, it will tear. If it is too thick, it lacks the flexibility to move. This is known as the joint’s movement capability. For a professional glazier, the goal is a concave bead that maintains a specific depth-to-width ratio, typically 1:2. This ensures that the sealant can stretch without losing adhesion to the window frame or the siding.
“Installation is just as critical as the window performance itself. A high-performance window installed poorly will fail.” AAMA Installation Masters Guide
The North-Country Conflict: Heat Loss and Air Infiltration
In colder climates like Chicago or Minneapolis, the sealant is your primary defense against air infiltration. While a homeowner might focus on the U-factor of their triple-pane glass, a poorly sealed frame allows cold air to bypass the glass entirely. This air carries moisture, and when that warm, humid indoor air hits the cold rough opening, it reaches the dew point. This leads to interstitial condensation, which is the silent killer of wood framing. When you replace windows, you are essentially installing a thermal barrier. If the caulk lines are gapped or brittle, that barrier is compromised. A professional window cleaner often sees this first: the tell-tale black spots of mold growing on the interior glazing bead because the exterior seal has failed, allowing cold air to chill the frame from the inside out.
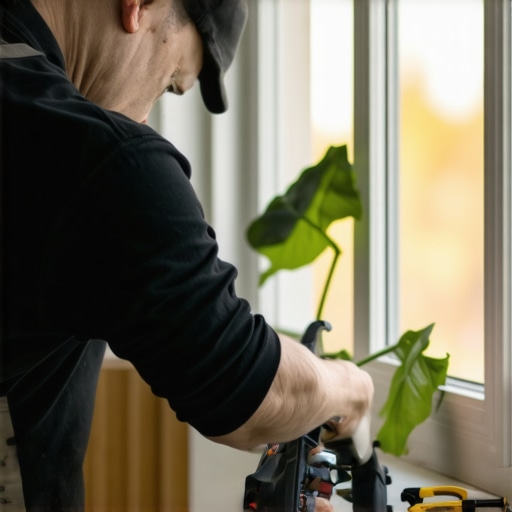
Step-by-Step: The Painter’s Tape Methodology
To achieve a factory-finish look that actually performs, you must follow a rigid protocol. First, the substrate must be pristine. Use a high-quality window cleaner or isopropyl alcohol to strip away oils and dust. Any residue will prevent the sealant from achieving a molecular bond with the sash or the frame. Next, apply your masking tape. This is where precision matters. You must leave a gap of exactly 1/8 to 1/4 inch between the tape edge and the corner of the joint. This creates the shoulder for the sealant. Do not use standard tan masking tape; use a dedicated blue or green low-tack tape that won’t leave adhesive behind or tear the paint off your trim.
Once the tape is set, apply a bead of high-performance polyurethane or 100 percent silicone. Avoid the cheap acrylic latex found at big-box stores; it shrinks too much during the curing process. Use a caulking gun with a smooth-rod trigger to maintain constant pressure. After the bead is laid, tool it with a specialized spatulate tool or a gloved finger dipped in a mixture of water and a few drops of dish soap. This reduces surface tension and creates that perfect concave profile. The critical moment is the tape removal: pull the tape away from the bead at a 45-degree angle while the sealant is still wet. This leaves a crisp, clean line that looks like it was part of the original window manufacturing process.
The Technical Reality of Water Management
We must adhere to the shingle principle: water must always be directed down and out. This means the top drip cap must overlap the window frame, and the side flashing must overlap the sill pan. Caulking is the final aesthetic and air-barrier layer, but it should never be the only defense. Weep holes in the bottom of the window frame must remain unobstructed. If you caulk over a weep hole, you are trapping water inside the frame, which will eventually find its way into your subfloor. This is why the precision of the tape method is so important: it allows you to seal the perimeter without accidentally clogging the vital drainage paths of the window unit.
“The window installation shall be designed to collect and drain any water that enters the assembly back to the exterior.” ASTM E2112 Standard Practice
Why Installer Skill Outweighs Material Cost
You can buy the most expensive fiberglass window with a U-factor of 0.15, but if the installer does not understand the relationship between the rough opening and the shim placement, the frame will bow. When the frame bows, the operable sash will not sit flush against the weatherstripping, and your energy efficiency evaporates. The painter’s tape method is a sign of a glazier who cares about the details. It indicates a level of patience and technical discipline that usually extends to the hidden parts of the job, like the proper application of flashing tape and the correct density of low-expansion foam insulation. When you look for someone to replace windows or perform a complex window repair, look at their caulk lines. If they are messy, the parts you cannot see are likely even worse.