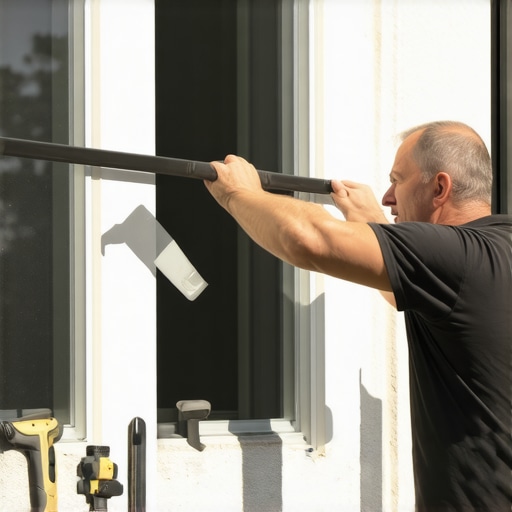
The Immediate Vulnerability of a Breached Envelope
The sound of shattering glass is a visceral shock that compromises more than just your peace of mind. It is a structural failure of the building envelope. As a master glazier with over two decades in the field, I look at a broken window and see a cascade of failures: the loss of the thermal break, the exposure of the rough opening to moisture, and the immediate invitation for hydrostatic pressure to drive rain into your wall cavity. Securing your home fast is not just about keeping intruders out; it is about managing the physics of a hole that shouldn’t be there.
I once pulled a smashed double-hung out of a brick bungalow in Chicago and found the header was completely black with rot. Why? The homeowner had suffered a break months prior and simply taped a piece of plexiglass over the sash. Because they ignored the shingle principle of water shedding, every rainstorm drove water behind the casing and into the structural framing. That is the cost of a caulk-and-walk mentality. When you face a break, you must act with technical precision.
The Emergency Board-Up: More Than Plywood
When you need to secure a home after a window break, the goal is a temporary weather-tight seal that respects the structural integrity of the window repair process. You do not just hammer nails into the vinyl or wood frame. Doing so destroys the window’s ability to be repaired, forcing you to replace windows entirely when a simple sash swap might have sufficed. First, you must clear the area. Use a professional-grade window cleaner to remove glass dust from the sill and tracks. Microscopic shards can score the glazing bead or foul the balance system of an operable sash, leading to mechanical failure later.
“Installation is just as critical as the window performance itself. A high-performance window installed poorly will fail.” AAMA Installation Masters Guide
To board up correctly, measure the rough opening. Cut your plywood a quarter-inch smaller than the opening to allow for shims. Use 2×4 bracing on the interior to create a compression fit rather than screwing directly into your exterior siding or trim. This protects the flashing tape and the existing weather barrier. If the break occurs in a cold climate like Minneapolis or Toronto, you are now fighting the U-Factor. A hole in your wall means your interior heat is escaping via convection at an astronomical rate. You need to create an air-tight seal using heavy-duty polyethylene sheeting tucked behind the plywood to serve as a temporary vapor retarder.
The Physics of the Thermal Breach
In northern climates, the enemy is heat loss and the subsequent dew point shift. When the glass breaks, the argon or krypton gas fill between the panes is lost instantly. This gas serves as an insulator by reducing convective currents within the Insulated Glass Unit (IGU). Once that gas is replaced by humid atmospheric air, your U-Factor (the rate of heat transfer) skyrockets. This is why a temporary fix must be replaced by a professional window repair or full replacement as soon as possible. If you leave a breach open, the interior surfaces of your remaining windows will likely see increased condensation as your HVAC system struggles to maintain a stable interior relative humidity.
In these cold zones, we prioritize Low-E coatings on Surface #3. This reflects long-wave infrared radiation back into your living space. When you eventually replace windows after a break, you should look for warm-edge spacers. These spacers, often made of structural foam or thermoplastic, break the thermal bridge at the edge of the glass, preventing the perimeter of the IGU from becoming a cold spot where mold can colonize the glazing bead.
Assessing Damage: Repair vs. Replace
Not every break requires a full frame tear-out. If the frame and the sill pan are intact, a sash replacement is often the most surgical and cost-effective route. However, if the impact that broke the glass also warped the master frame or cracked the mitered corners of a vinyl window, the structural integrity is gone. Vinyl has a high coefficient of thermal expansion; if the frame is stressed, it will never again hold a seal against the rough opening, leading to air infiltration that no amount of weatherstripping can fix.
“The window installation shall be designed to provide a redundant sea against air and water infiltration.” ASTM E2112 Standard Practice
When evaluating the need to replace windows, look at the weep holes. If the break resulted from a storm or impact that shifted the frame, these critical drainage paths may be blocked. A window that cannot weep is a window that will eventually rot your subfloor. This is why technical knowledge of the fenestration system is vital. You are not just looking at glass; you are looking at a complex water management system.
The Professional Glazier’s Approach to Security
Once the immediate danger is mitigated, the permanent fix requires a deep dive into NFRC ratings. Do not be swayed by high-pressure sales tactics. If you live in a region with heavy winters, your primary metric is U-Factor. You want a value below 0.27. If the break occurred in a south-facing room that gets hammered by the sun, you must balance that with the Solar Heat Gain Coefficient (SHGC). In the South, we put the Low-E coating on Surface #2 to stop the heat before it even enters the glass assembly.
The installation of the new unit is where most homeowners get cheated. Insist on a full-height sill pan with end dams. This ensures that any water that bypasses the primary seals is directed back to the exterior. Watch your installer: if they are not using shims to level the unit and instead are just hanging it by the nailing fin, they are setting you up for a future failure. A window must be plumb, level, and square within a tolerance of 1/16th of an inch across the diagonal. Anything less and the sash will not operate correctly, and the weatherstripping will not compress evenly, leading to the very drafts you are trying to eliminate.
How to Secure and Repair Your Window
Step 1: Clear and Clean
Remove all loose glass shards using puncture-resistant gloves. Use a vacuum with a HEPA filter to clear the tracks. Wipe down the remaining frame with a professional window cleaner to ensure tape and sealants will adhere to the surface.
Step 2: Measure the Rough Opening
Measure the width and height of the opening at three different points. Use the smallest measurement to ensure your temporary board-up or replacement sash will fit without forcing the frame.
Step 3: Create a Weather-Tight Seal
Apply heavy-duty plastic sheeting over the opening, securing it with flashing tape to the exterior cladding. This prevents moisture from reaching the untreated wood of the rough opening.
Step 4: Install Reinforcement
Cut a piece of 5/8-inch CDX plywood to fit the opening. Secure it using carriage bolts and 2×4 cleats on the interior. This prevents the plywood from being easily kicked in from the outside, providing true security.
Step 5: Schedule Professional Repair
Contact a specialist to determine if you can perform a window repair on the sash or if you must replace windows entirely. Ensure they provide a NFRC label for the new glass to verify thermal performance.
In conclusion, a broken window is a technical challenge that requires more than a hammer and a sheet of plastic. By understanding the physics of the thermal envelope and the importance of proper water management through the shingle principle and sill pan usage, you can protect your home from both intruders and the elements. Never settle for a caulk-and-walk fix. Your home’s structural integrity depends on the precision of the glazing and the quality of the installation.