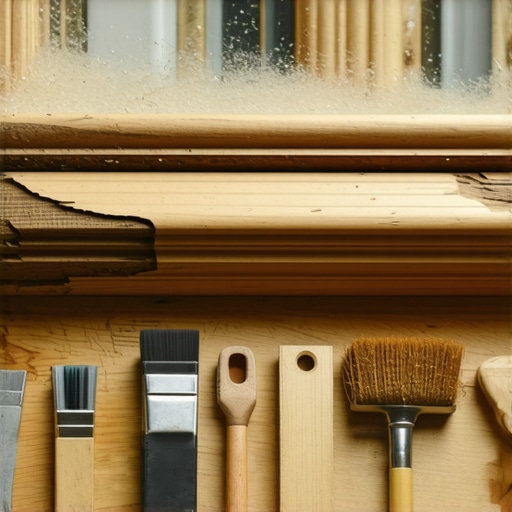
The Anatomy of a Rotted Sash: Why Your Windows are Failing
When you see water pooling on your interior window stool, the damage has already moved past the surface. As a glazier with over two decades in the field, I have performed what I call an ‘installation autopsy’ on thousands of residential units. Most homeowners assume that wood rot is simply the result of old age, but it is actually a failure of water management physics. Wood sills rot because they reach a moisture content of 20 percent or higher, providing the perfect environment for fungal spores to consume the lignin that gives timber its structural integrity. If your window cleaner has noticed soft spots during a routine wash, you are likely looking at a compromised sash that requires more than a simple coat of paint.
The Rot Repair: A Case Study in the Pacific Northwest
I recently pulled a double-hung wood sash out of a 1920s bungalow in a damp coastal climate where the lower rail was completely mush. The homeowner thought they could just slap some hardware store putty over it. I had to show them that the previous installer had ignored the ‘Shingle Principle.’ Instead of using proper flashing tape and a sloped sill pan, they had relied on a bead of cheap latex caulk that had shrunken and pulled away from the rough opening. Water was being sucked into the end-grain of the wood via capillary action every time it rained. I spent three days excavating the rot, treating the remaining fibers with a liquid consolidant, and rebuilding the profile with a two-part structural epoxy. This was not a ‘caulk-and-walk’ job; it was a surgical reconstruction of the window’s drainage plane.
“Installation is just as critical as the window performance itself. A high-performance window installed poorly will fail.” AAMA Installation Masters Guide
The Physics of the North: Why Wood Sills Rot from the Inside Out
In colder climates like Chicago or Minneapolis, the enemy is often not the rain outside, but the air inside. This is where the concept of the Dew Point becomes critical. When you have a single-pane or poorly insulated sash, the interior surface of the wood stays cold. When the warm, humid air of a kitchen or bathroom hits that cold surface, it reaches its saturation point and turns into liquid water. This condensation runs down the glass, pools in the glazing bead, and eventually seeps into the wood fibers. To prevent this, you must look at your window repair through the lens of thermal performance. A warm-edge spacer in a modern insulated glass unit (IGU) keeps the edges of the glass warmer, preventing that moisture cycle from starting. If you choose to replace windows rather than repair them, you must ensure the new units have a low U-Factor to manage this thermal bridging effectively.
Structural Wood Fillers: Epoxy vs. Polyester
Not all fillers are created equal. Most amateur DIYers reach for polyester-based fillers (similar to auto-body putty) because they are cheap and dry fast. However, polyester does not bond chemically with wood fibers and has a different expansion coefficient than timber. Over time, as the wood swells and shrinks with the seasons, the polyester plug will pop out. For a permanent window repair, I only recommend two-part epoxies. These materials are essentially liquid plastic that penetrates the wood cellular structure. High-build epoxies can be shaped with a chisel or sander to match the original muntin profile or the specific slope of a sill. They are impervious to water and will not shrink, ensuring that the repair remains airtight and watertight for decades.
“The primary objective of window installation and repair is the management of water and the prevention of air infiltration through the building envelope.” ASTM E2112 Standard Practice
The Step-by-Step Restoration Process
To fix a rotting sash, you must first remove all the soft, decayed wood. I use an oscillating tool or a sharp wood chisel to get down to ‘bright’ wood. If you leave even a small amount of active fungus, the rot will continue to spread under your repair. Once the cavity is clean, I apply a wood consolidant: a thin, watery resin that soaks into the soft fibers to harden them. Next comes the ‘slugging’ phase. I pack the cavity with a structural epoxy filler, leaving it slightly proud of the surface. Once cured, I sand it back to match the sash’s original lines. This is also the time to inspect the glazing bead. If the putty is cracked, water will get behind it and start the rot cycle all over again. A master glazier knows that the window cleaner is your first line of defense; if they report that the paint is bubbling near the glass, it means the seal has failed.
When to Repair and When to Replace Windows
I often sit across from homeowners who are being pressured by ‘Tin Man’ salesmen to rip out their historic wood windows and replace them with cheap vinyl. While vinyl is low maintenance, it expands and contracts significantly more than wood or fiberglass, which can lead to air leaks around the rough opening shims. If the frame of your window is still structurally sound, a sash repair is often the better investment. However, if the rot has moved into the structural headers or the side jambs, it might be time to replace windows entirely. The ROI on new windows is rarely found in energy savings alone; it takes decades to recoup that cost. The real value is in the elimination of drafts, the improvement of the home’s sound dampening, and the protection of your interior finishes from UV damage via modern Low-E coatings.
Technical Glazing: The Invisible Shield
For those in the North, we prioritize a Low-E coating on Surface #3. This reflects the long-wave infrared heat from your furnace back into the room, reducing your heating load. If you are repairing a sash, you might consider swapping the old single-pane glass for a new IGU with an Argon gas fill. This gas is denser than air and slows down the convective currents between the panes, significantly raising the interior surface temperature of the glass and preventing the condensation that caused your rot in the first place. Every component, from the weep hole in the sill to the flashing tape behind the brick mold, must work in harmony to keep the structure dry.
Final Expert Advice
Do not be fooled by quick-fix solutions. Managing a hole in your wall requires an understanding of structural integrity and fluid dynamics. Use high-quality epoxies, maintain your paint seal, and always address moisture issues the moment they appear. If you are diligent, a well-repaired wood sash can last another hundred years, outliving the vinyl replacements sold by high-pressure firms. Keep your sills dry, your glazing tight, and your rough openings properly flashed. That is the only way to win the war against wood rot.
{“@context”:”https://schema.org”,”@type”:”HowTo”,”name”:”How to Repair a Rotting Wood Window Sill”,”description”:”A professional guide to restoring rotted wood sills using structural epoxies and proper glazing techniques.”,”step”:[{“@type”:”HowToStep”,”name”:”Excavate the Rot”,”text”:”Use a chisel or oscillating tool to remove all decayed wood until you reach solid, healthy timber.”},{“@type”:”HowToStep”,”name”:”Apply Consolidant”,”text”:”Saturate the remaining wood fibers with a two-part liquid epoxy consolidant to stabilize the material.”},{“@type”:”HowToStep”,”name”:”Fill the Cavity”,”text”:”Pack the area with a high-build structural wood epoxy, shaping it to match the original sill profile.”},{“@type”:”HowToStep”,”name”:”Sand and Seal”,”text”:”Once cured, sand the filler smooth and apply a high-quality primer and paint to seal the repair from UV and moisture.”}]}