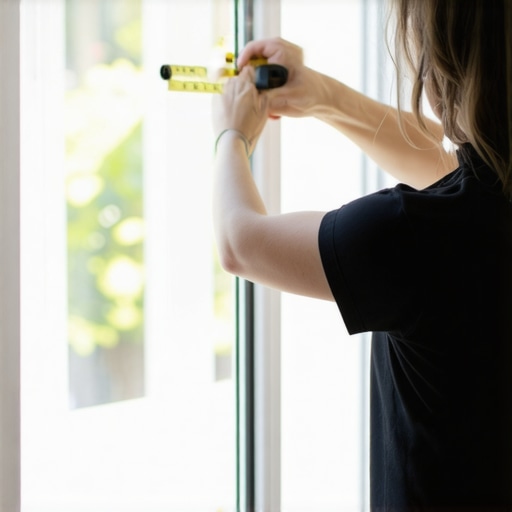
The Science of the Perfect Fit
A window is not merely a piece of glass in a frame; it is a complex thermal barrier designed to manage the ingress and egress of energy, moisture, and air. When a homeowner approaches me about a window repair or the need to replace windows, the conversation often starts with the visible failure. However, the most frequent point of frustration I encounter involves the simplest component: the window screen. A poorly measured screen is more than an eyesore; it allows pests into the living space and can even damage the glazing bead or the sash if forced into place. This is where my $2 ruler trick comes into play, a method born from decades in the field where precision is the only currency that matters.
A homeowner called me in a panic because their new windows were ‘sweating.’ I walked in with my hygrometer and showed them the humidity was 60%. It was not the windows; it was their lifestyle, specifically how they were managing airflow and their interior climate. During that visit, I noticed they had replaced their screens with generic kits that did not fit the screen track correctly. These ill-fitting screens were rattling and actually abrading the frame finish. I pulled out my wooden ruler and showed them the trick that would save them hundreds in future repairs. Precision in the fenestration world is measured in sixteenths of an inch, and most metal tapes are simply too bulky to get the job done in the tight tolerances of a screen channel.
“Installation is just as critical as the window performance itself. A high-performance window installed poorly will fail.” – AAMA Installation Masters Guide
Why a $2 Wooden Ruler Beats a $30 Metal Tape
In the trade, we understand that tools have specific use cases. A metal tape measure has a floating hook at the end designed to compensate for its own thickness during inside or outside measurements. Over time, that hook can become loose or bent, introducing a margin of error that is unacceptable when you are fitting a screen into an operable sash. Furthermore, the metal housing of a tape measure prevents you from getting the tape perfectly flush into the screen channel at the head of the window. A thin, $2 wooden ruler, however, is rigid and has a zero-point that starts exactly at the edge of the wood. This allows you to seat the ruler deep into the top screen track, ensuring your measurement accounts for the full depth required for the spring-loaded hardware to engage.
The Anatomy of the Screen Track
To understand the $2 ruler trick, you must first understand the anatomy of the rough opening and the window frame itself. Most modern vinyl or aluminum windows utilize a dual-track system. The inner track houses the sash, while the outer track is dedicated to the screen. Within that outer track, there is a deep pocket at the top (the head) and a shallower lip at the bottom (the sill). The goal of a well-fitted screen is to be tall enough to stay in the top pocket when it is resting on the bottom lip, but short enough that it can be lifted up into that top pocket to clear the bottom lip during installation or removal. If you measure this with a standard tape, you are guessing at the internal depth of that top pocket.
Executing the $2 Ruler Trick
First, open the operable sash. This gives you clear access to the screen track. Take your wooden ruler and insert it into the top screen channel. Push it up until it hits the very back of the pocket. Now, look at where the bottom of the ruler sits relative to the top of the sill lip. Note this measurement. Next, measure from the bottom of that top pocket down to the very top of the sill lip. This is your maximum height. To ensure the screen can actually be installed, you subtract exactly 1/8th of an inch. This 1/8th of an inch is the tolerance required for the screen to clear the sill lip while being pushed up into the head. For the width, you measure from the depth of the left jamb channel to the depth of the right jamb channel and subtract 1/8th of an inch. Using a wooden ruler allows you to see the numbers clearly against the frame without the curve of a metal tape distorting your perspective.
The Impact of Precision on Window Repair and Maintenance
When you engage in window repair, you are often dealing with units that have settled or warped over time. A screen that is too tight will put lateral pressure on the jambs, potentially interfering with the balance system or the weatherstripping. This can lead to air infiltration, which ruins the U-Factor performance of the unit. The U-Factor, as defined by the NFRC, measures the rate of heat transfer. If your screen is forcing the frame out of square, you are effectively creating a thermal bridge where cold air can bypass the glass entirely. This is why a master glazier focuses on the fit of every component, no matter how small.
“The National Fenestration Rating Council provides a fair, accurate, and credible rating system for the energy performance of windows, doors, and skylights.” – NFRC Standards Board
Choosing the Right Screen Mesh for Your Climate
Once you have used the ruler trick to get your dimensions, you must choose the mesh. In northern climates where heat loss and condensation are the primary enemies, a standard fiberglass mesh is often sufficient. However, if you are in a southern climate where the Solar Heat Gain Coefficient (SHGC) is the driving force behind your utility bills, you might consider a solar screen. These meshes are woven more densely to block a percentage of the sun radiant heat before it even hits the glass. This protects the Low-E coating on Surface #2 of your insulated glass unit (IGU). By reflecting long-wave infrared radiation, the screen acts as the first line of defense in your thermal envelope.
Window Cleaner and Screen Longevity
Maintenance is the final pillar of the glazing trade. Many people use a window cleaner that contains ammonia, which can be catastrophic for certain frame materials and screen meshes. Ammonia can degrade the glazing bead and cause the mesh to become brittle. I always recommend a pH-neutral solution. When you remove your perfectly measured screens for cleaning, use a soft brush and mild soap. This prevents the accumulation of particulate matter in the weep holes of the window frame. If those weep holes become clogged, water will back up into the sill pan, leading to the kind of rot that necessitates a full window replacement.
Conclusion: The Installer Matters Most
Whether you are performing a simple repair or deciding to replace windows throughout your home, remember that the numbers on the NFRC label only tell half the story. The other half is told by the precision of the installation and the maintenance of the system components. The $2 ruler trick is a testament to the fact that you do not need expensive technology to achieve professional results; you simply need an understanding of the physics of the window unit. By taking the time to measure correctly, you ensure that your screens, your sashes, and your frames work together to provide a comfortable, energy-efficient environment for years to come. Do not settle for the caulk-and-walk approach. Demand precision in every measurement, because in the world of glazing, there is no such thing as close enough.