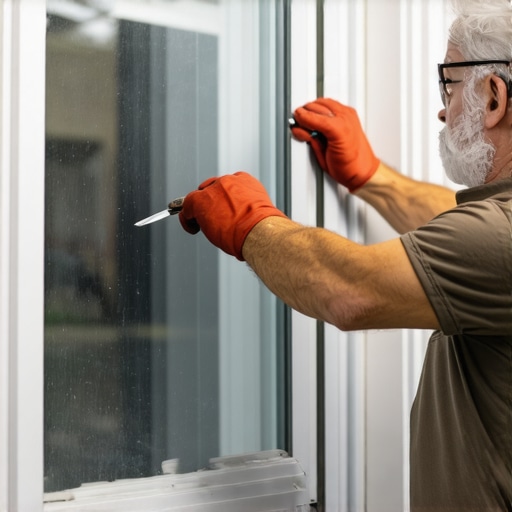
The Condensation Crisis: Why Your Windows are Failing
A homeowner in Minneapolis called me last November in a panic because their historic wood sashes were literally dripping water onto the interior stool. They were convinced the wood was rotting from the outside in. I walked into that house with my hygrometer and a moisture meter, and I showed them that the interior humidity was spiked at 58 percent while it was 10 degrees outside. It was not a leak; it was the physics of the dew point. Because the glazing compound had dried, cracked, and pulled away from the glass, cold air was infiltrating the sash perimeter, dropping the surface temperature of the glass below the dew point of the indoor air. The ‘sweating’ was a symptom of a failed thermal seal. This is the reality of window repair that most DIY enthusiasts ignore: if you do not manage the interface between the glass and the wood, you are inviting structural failure.
“Installation is just as critical as the window performance itself. A high-performance window installed poorly will fail.” – AAMA Installation Masters Guide
The Anatomy of the Single-Pane Sash
To understand how to replace windows or repair them properly, you must understand the Sash. In a traditional single-pane unit, the glass is held in a Rough Opening within the wood frame, resting against a shoulder called the rabbet. The glass is secured with metal glazing points and then sealed with a triangular bead of glazing compound. This compound is not just caulk. It is a sacrificial barrier designed to expand and contract. When this compound fails, water enters the rabbet, sits against the end grain of the wood, and begins the process of lignocellulose degradation. This is why a window cleaner might notice the glass rattling; that rattle is the sound of an impending rot repair. You do not need to replace the entire unit if the wood is sound; you need a technical re-glazing.
Phase 1: The Surgical Removal of Failed Compounds
The first step in any professional window repair is the removal of the fossilized putty. Do not approach this with a hammer and screwdriver. You will shatter the glass or, worse, gouge the Muntin bars. I use a specialized heat gun with a shielded nozzle to soften the linseed oil-based putty. You are looking for the exact temperature where the compound becomes plastic but the wood does not char. As you scrape, you must expose the Glazing Bead area completely. Once the glass is out, you are left with the raw wood rabbet. This is where the ‘caulk-and-walk’ installers fail. You cannot apply new compound to raw, thirsty wood. The wood will suck the oil out of the putty instantly, leaving it brittle and prone to cracking within six months. You must seal the wood with a high-quality oil-based primer or boiled linseed oil to ensure the putty cures through slow oxidation rather than dehydration.
Phase 2: Setting the Bedding and the Glass
In our northern climate, the U-Factor is our primary concern. A single pane of glass has an abysmal R-value of roughly 1.0. To maximize what little thermal resistance we have, the air seal must be absolute. We start with ‘bedding’ the glass. This involves laying a thin, 1/16-inch rope of compound into the rabbet before the glass is even touched. When you press the glass into the frame, the compound should squeeze out around the entire perimeter. This creates a gasket. If you skip the bedding, air will whistle through the gaps between the glass and the wood, regardless of how pretty your exterior bead looks. Once bedded, you drive your glazing points every 4 to 6 inches. These points ensure the Operable sash can be slammed shut without the glass shifting and breaking the seal.
“The thermal performance of the fenestration system is dependent upon the continuity of the air barrier and the integrity of the glazing seal.” – ASTM E2112 Standard Practice
Phase 3: The Art of the Glazing Bead
Now we talk about the ‘Tooling.’ This is where the Master Glazier is separated from the amateur. You take a ball of compound and press it into the corner. Using a stiff-bladed glazing knife, you draw a single, continuous line. This bead must be angled precisely so that it is not visible from the interior of the house—meaning it must stay below the sightline of the wood Muntins—but it must also be steep enough to shed water like a roof. There are no Weep Holes in a traditional wood sash; the geometry of the putty is your only defense. This compound requires a skin-over period of 7 to 14 days before painting. If you paint too early, the gases from the curing oil will bubble the paint. If you wait too long, the sun will UV-degrade the oils. When you do paint, you must ‘lap’ the paint 1/16th of an inch onto the glass. This creates a secondary weather seal that prevents a window cleaner from accidentally injecting water behind the putty during maintenance.
Thermal Logic: Why Re-Glaze Instead of Replace?
In cold climates like Chicago or Toronto, salesmen will tell you that you need to replace windows with triple-pane units to save money. Let’s look at the physics. A single-pane window with a properly fitted storm window creates an insulating air space that rivals a standard double-pane IGU. By re-glazing the primary sash, you eliminate the air infiltration which accounts for 30 percent of heat loss. You are maintaining the ‘Warm-edge’ thermal break that natural wood provides. Unlike vinyl, which has a high coefficient of thermal expansion and will pull away from the Shim points in sub-zero temps, wood is dimensionally stable. A restored wood window, properly glazed, is a 100-year technology. A modern plastic window is a 20-year product. Don’t buy the marketing; buy the maintenance. When you understand the U-Factor and the importance of the air barrier, you realize that a tube of glazing compound and a steady hand are the most cost-effective tools in your energy-efficiency arsenal.