Precision Measurements in Glazing: Beyond the Tape Measure
In twenty five years of hanging sash and bedding glass, I have seen more failed DIY repairs than I care to count. Most of these failures do not stem from a lack of effort but from a lack of precision. When a homeowner calls me for a window repair, the most common error they make is misjudging the thickness of their glass. If you are off by even a sixteenth of an inch, your glazing bead will not snap back into the sash, or worse, you will create a pressure point that leads to a stress crack the first time the temperature drops to zero. This is where the penny test becomes an essential tool for any window cleaner or property manager attempting to diagnose a failing unit before they replace windows entirely.
A homeowner called me in a panic because their new windows were ‘sweating.’ I walked in with my hygrometer and showed them the humidity was 60%. It wasn’t the windows; it was their lifestyle. They were boiling pasta and running a humidifier in a sealed house. But more importantly, when I looked at the glass, the reflections were distorted. The original installer had used glass that was too thin for the size of the opening, causing the panes to bow inward under the pressure of the argon fill. This ‘scalloping’ effect is a direct result of ignoring glass thickness specifications. Measuring glass thickness without removing the pane is a challenge, but the penny test provides a reliable field estimate.
blockquote>”Proper glass selection and thickness are paramount to the structural integrity and thermal performance of the fenestration assembly. A failure to match glass specifications can lead to premature seal failure and compromised structural loads.” – AAMA Glass Selection Guide
The Optical Physics of the Penny Test
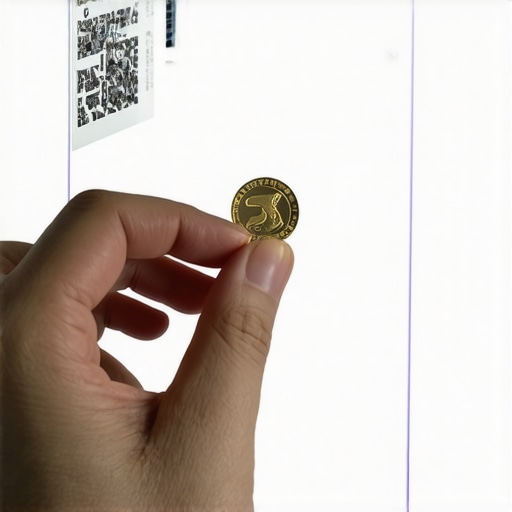
To perform the penny test, you are not using the coin as a ruler, but as a visual reference for refraction. Hold a penny against the exterior surface of the glass. Look at the reflections from a forty five degree angle. In a standard double pane Insulating Glass Unit (IGU), you will see multiple reflections of the coin. The first reflection is the exterior surface (Surface #1). The second reflection you see is the interior surface of that first pane (Surface #2). The distance between the actual penny and that first reflection indicates the glass thickness. A standard single strength glass is approximately 3/32 of an inch, while double strength is 1/8 of an inch. If the reflection looks nearly flush with the coin, you are dealing with thin, fragile glass that likely lacks the structural integrity for large openings.
Why does this matter for a window repair? In northern climates like Chicago or Minneapolis, the U-Factor is the primary metric for comfort. If you have a failing seal and need to order a replacement IGU, you must know the ‘Overall Thickness’ (OA). An IGU consists of two panes of glass, a spacer, and a gas fill. If you replace a 1/8 inch pane with a 3/32 inch pane, you have changed the internal air space. This alters the thermal convection currents inside the unit. In cold weather, this thinness allows the dew point to reach the interior surface of the glass, leading to the very condensation issues that rot out your rough opening and ruin your drywall.
Anatomy of the Glazing Pocket
When you prepare to replace windows, you must understand the relationship between the glass and the sash. The glass sits in a glazing pocket, secured by glazing bead or flashing tape and putty. If you are a window cleaner and notice that the glass rattles when you wipe it, the glazing bead has likely shrunk or the glass was replaced with an undersized thickness. This creates a path for air infiltration. In the trade, we call this a ‘loose fit’ failure. Using a penny to check thickness allows you to verify if the glass matches the original manufacturer specifications before you order a custom cut. A muntin bar can also hide the true thickness, so always test near the center of the pane where deflection is most visible.
“Thickness variations in glass panes can significantly alter the U-factor and Solar Heat Gain Coefficient of an insulating glass unit, potentially voiding energy performance ratings.” – NFRC 100 Procedure
Thermal Performance and Glass Mass
In the North, we fight heat loss. We want Low-E coatings on Surface #3 to reflect heat back into the room. However, the thickness of the glass itself acts as a thermal mass. Thicker glass has a slower thermal transfer rate. When you are performing a window repair on a large picture window, jumping from 3mm to 5mm glass can drastically reduce the resonant frequency of the window, meaning it also acts as a better sound barrier against street noise. The penny test helps you identify if a previous window repair was done on the cheap using single strength glass where double strength was required.
Every operable window, whether it is a double hung or a casement, relies on a balance of weight. If you use the penny test and realize your glass is thicker than standard, you must account for that weight when replacing the balance system. A heavy 1/4 inch laminated pane will burn out a standard coil spring balance designed for 1/8 inch glass within a year. Precision in measurement is the difference between a window that lasts thirty years and one that becomes a liability for the next window cleaner who touches it. Always check the weep hole for blockage while you are at it, as water backed up in the sill pan will delaminate even the thickest glass over time.